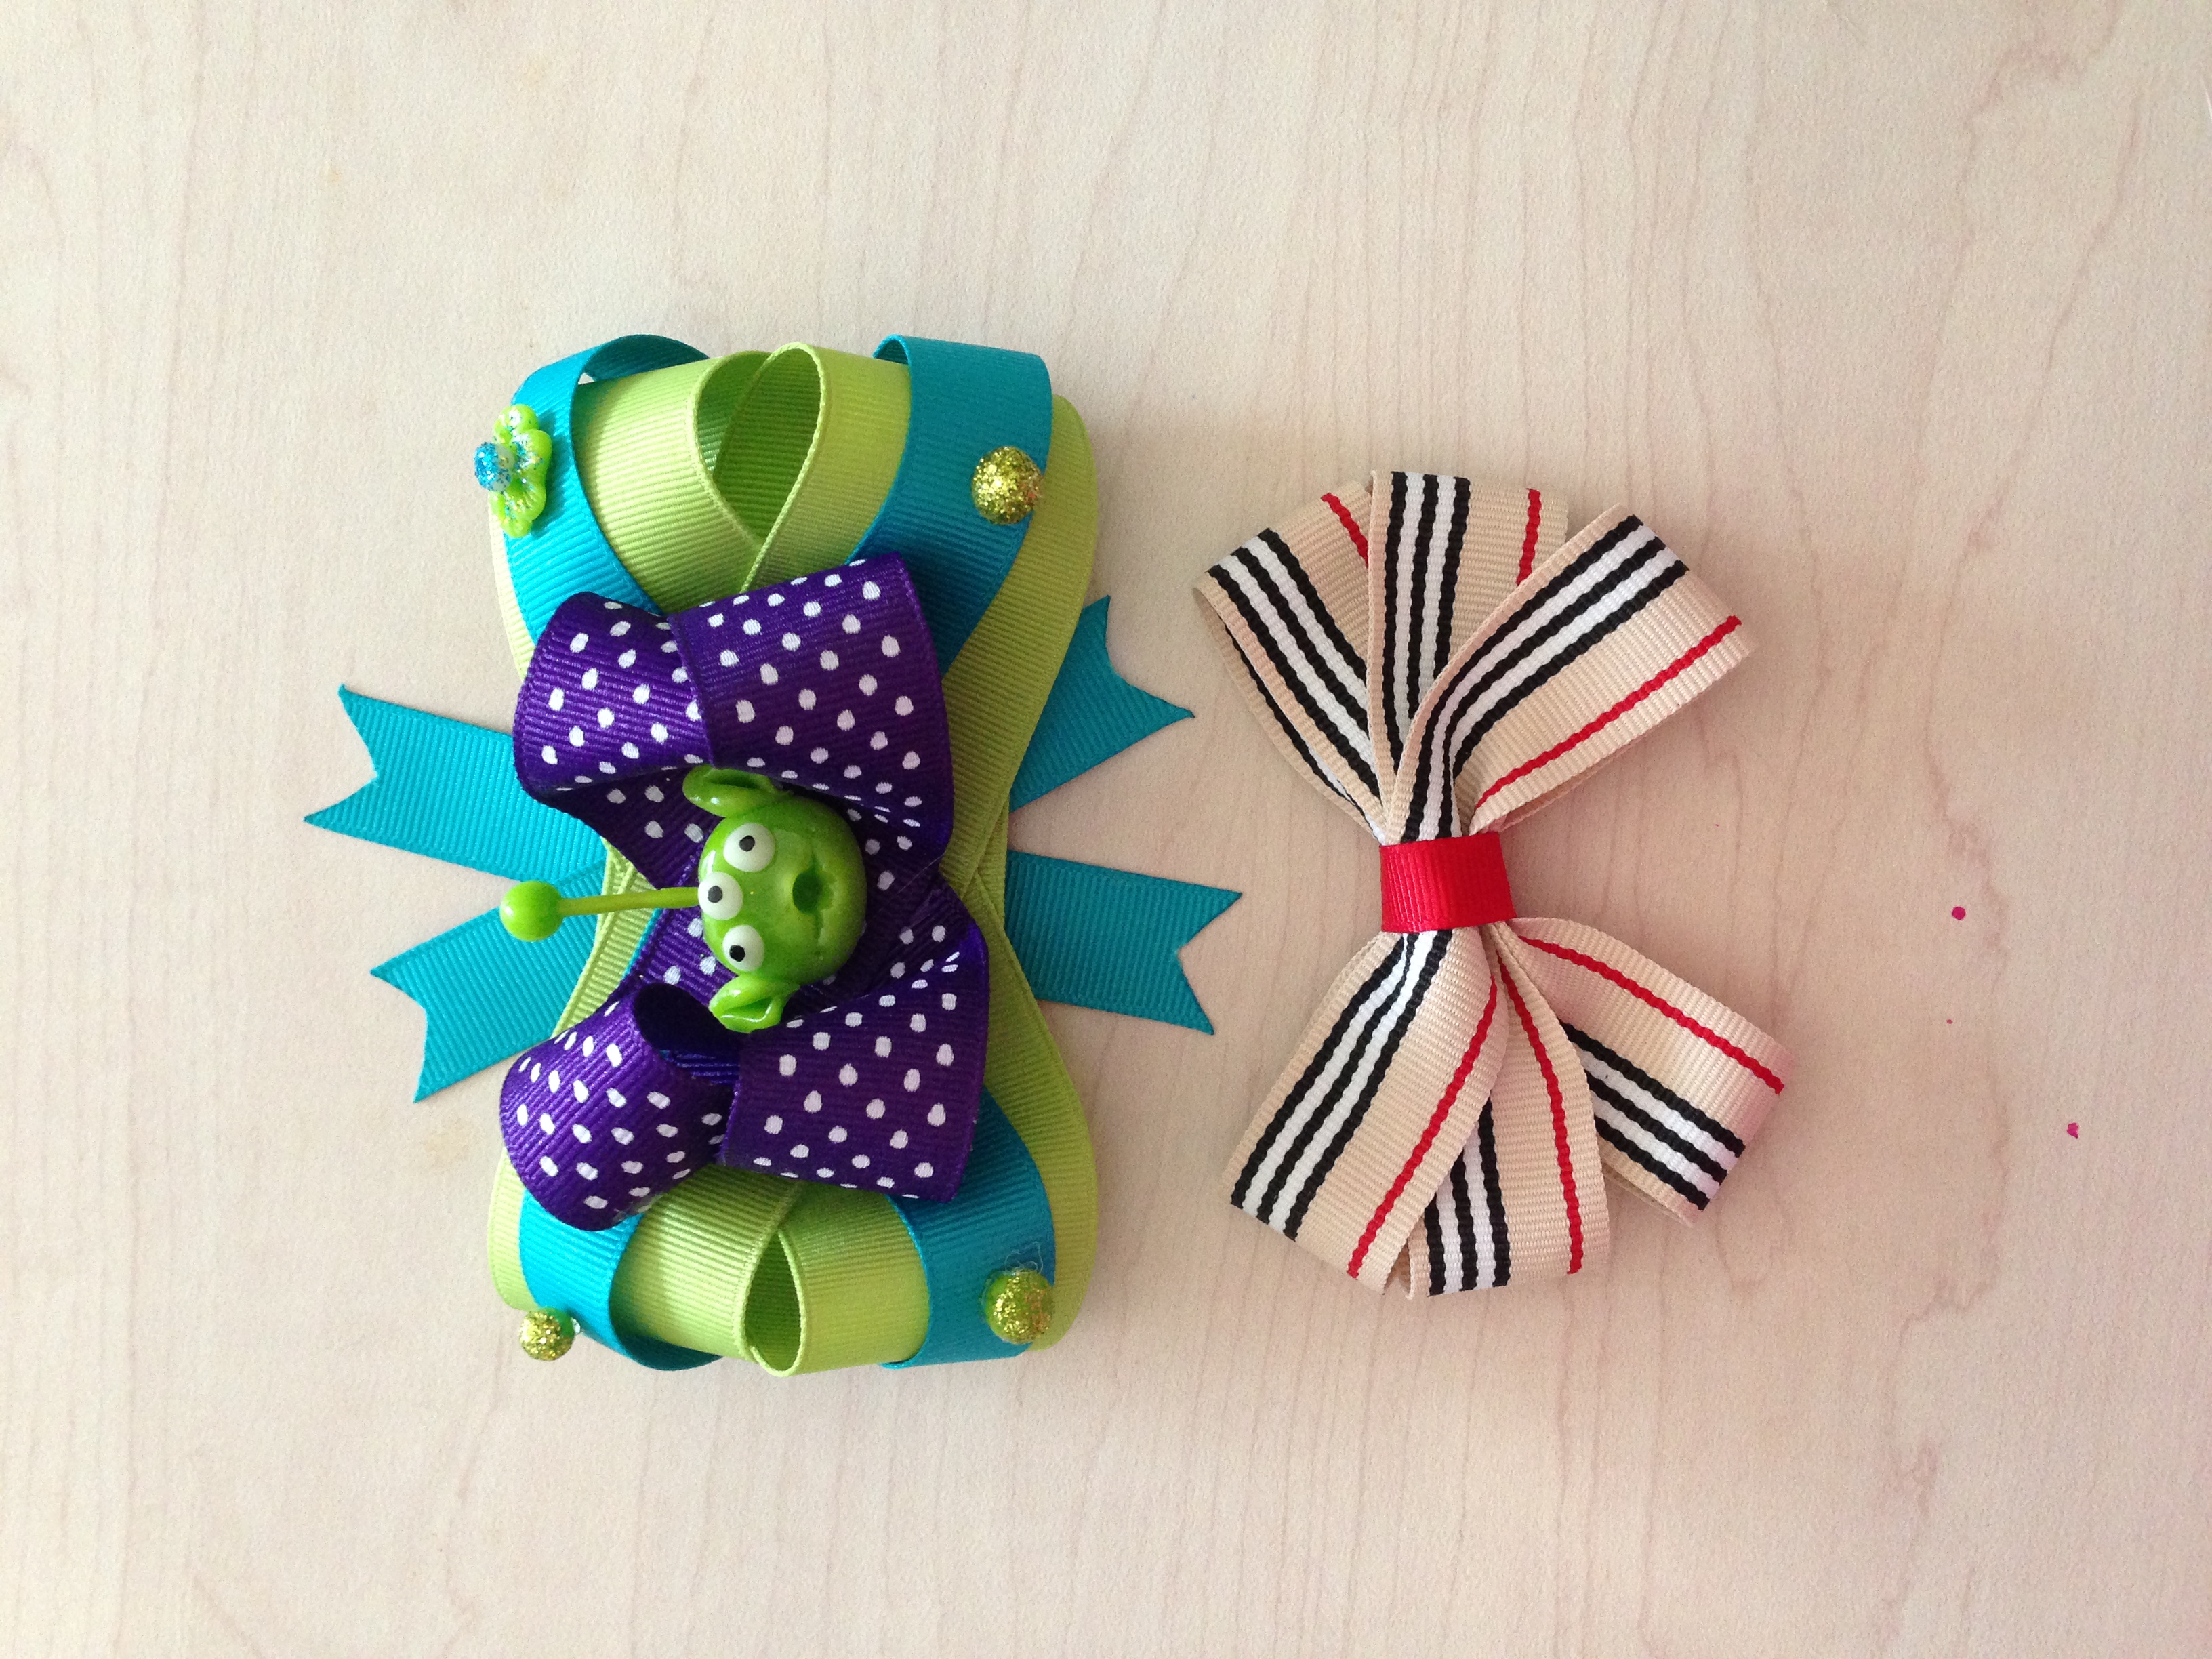
¡Hair Bow for baby Girl te ayudara a expresar tu estilo!
 | Este web la cree para presentarla en mi clase de computacion, pero voy aprovechar para ensenarles todas las manualidades que le hago a mi nina ¡ Espero que les guste ! Y que aprendan con las intrucciones y los videos que les dejo aqui . |
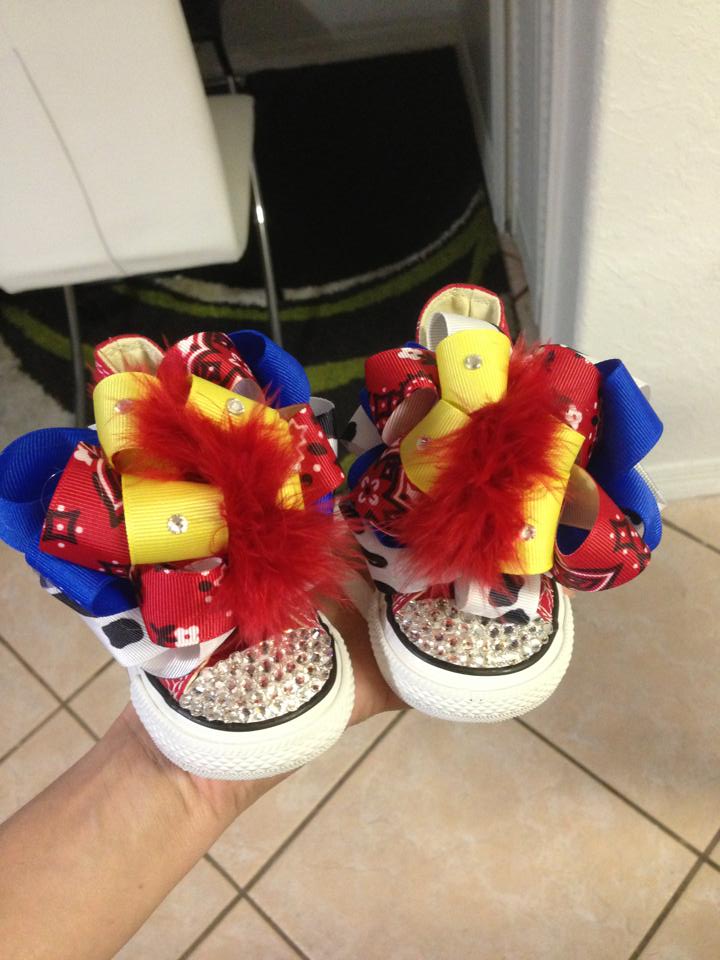
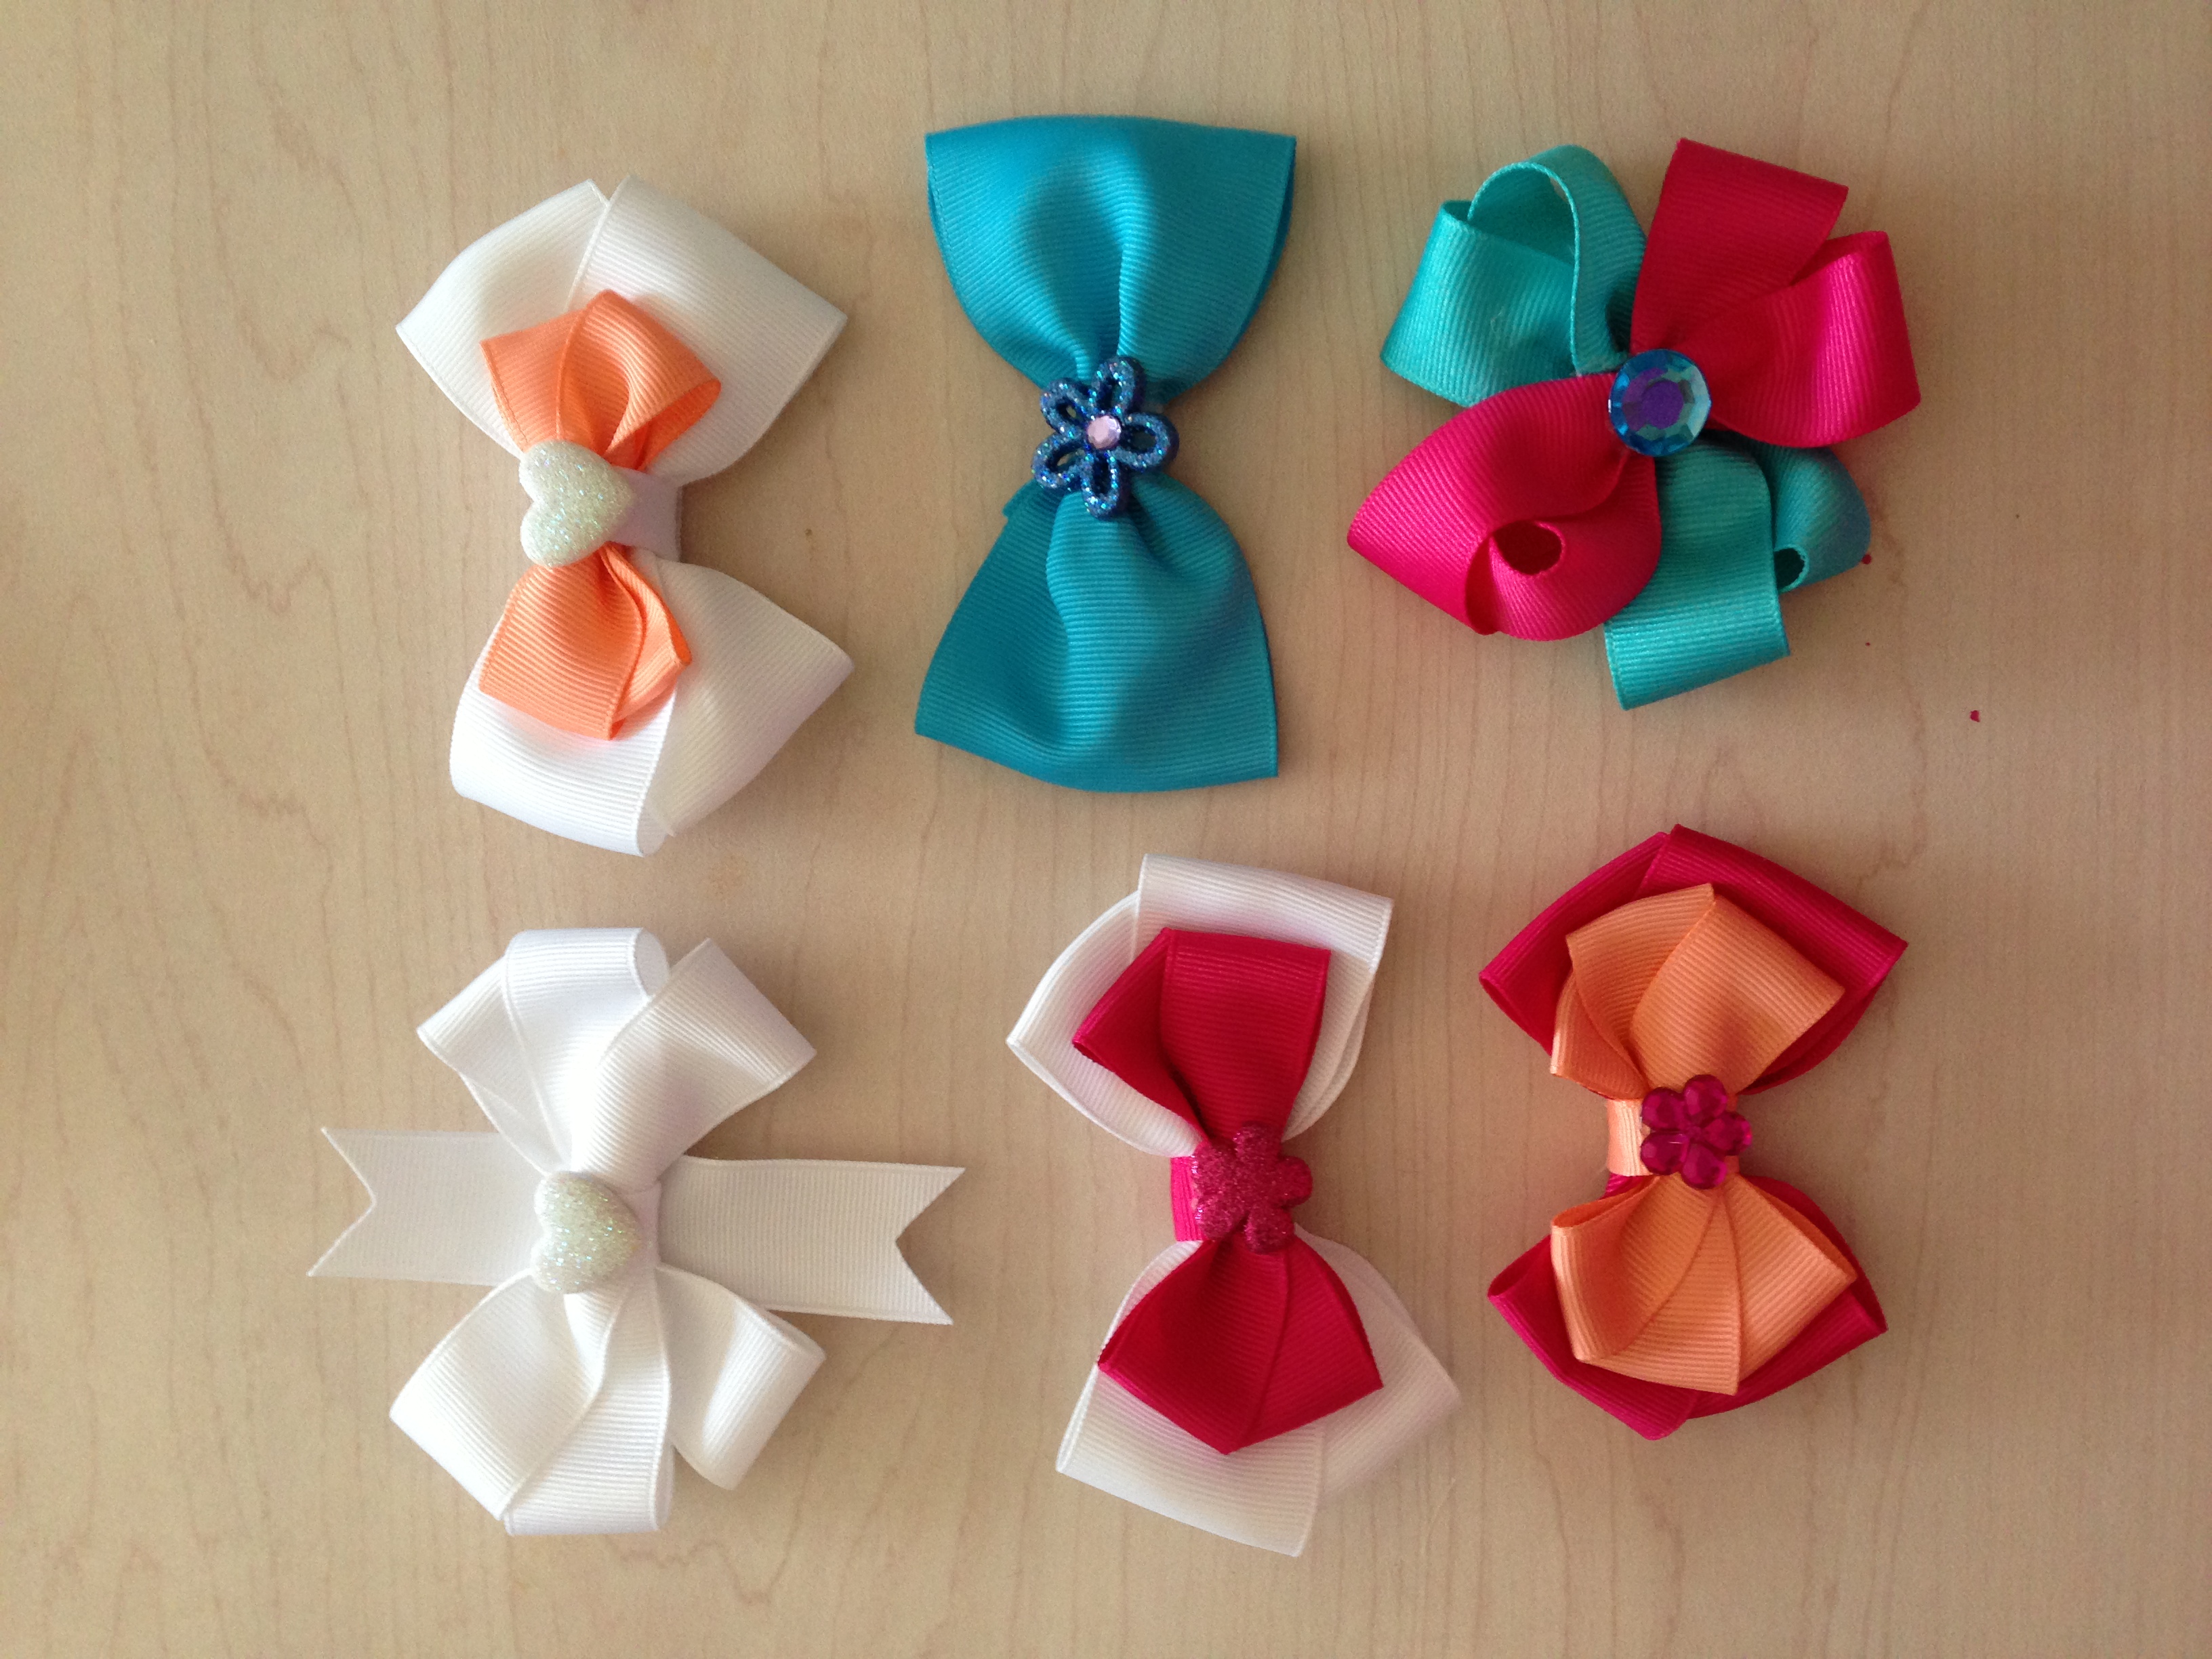
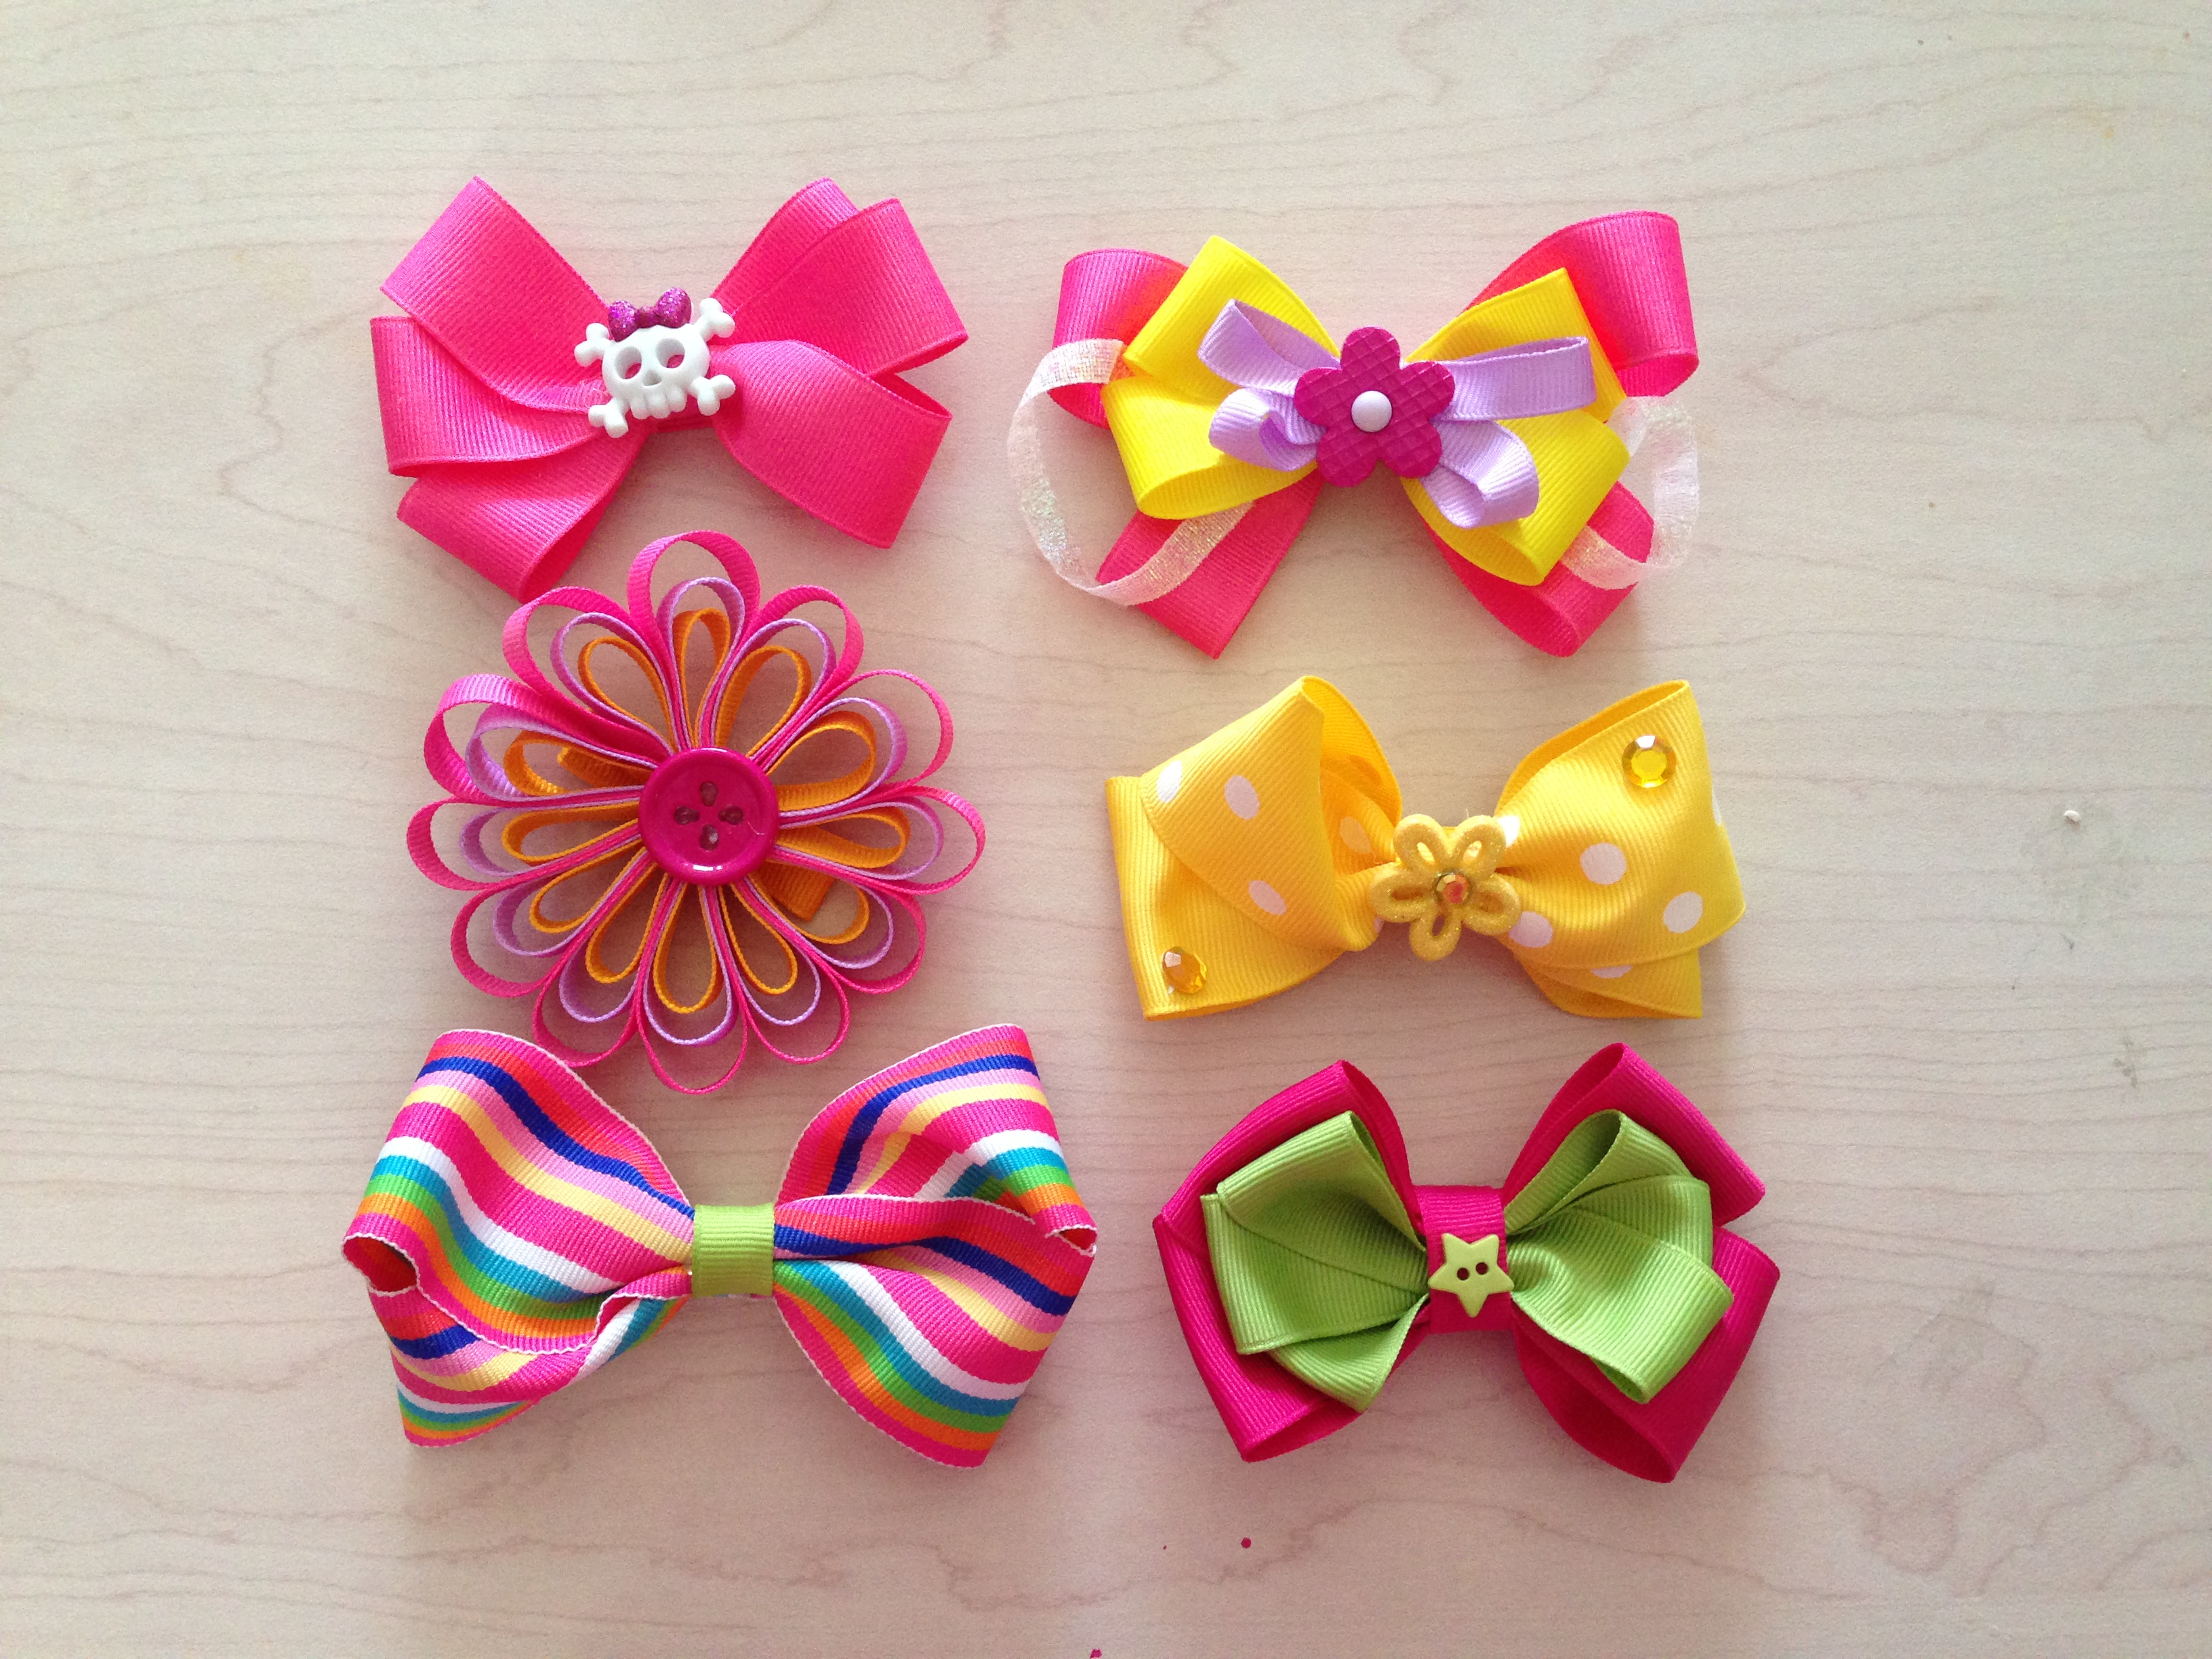
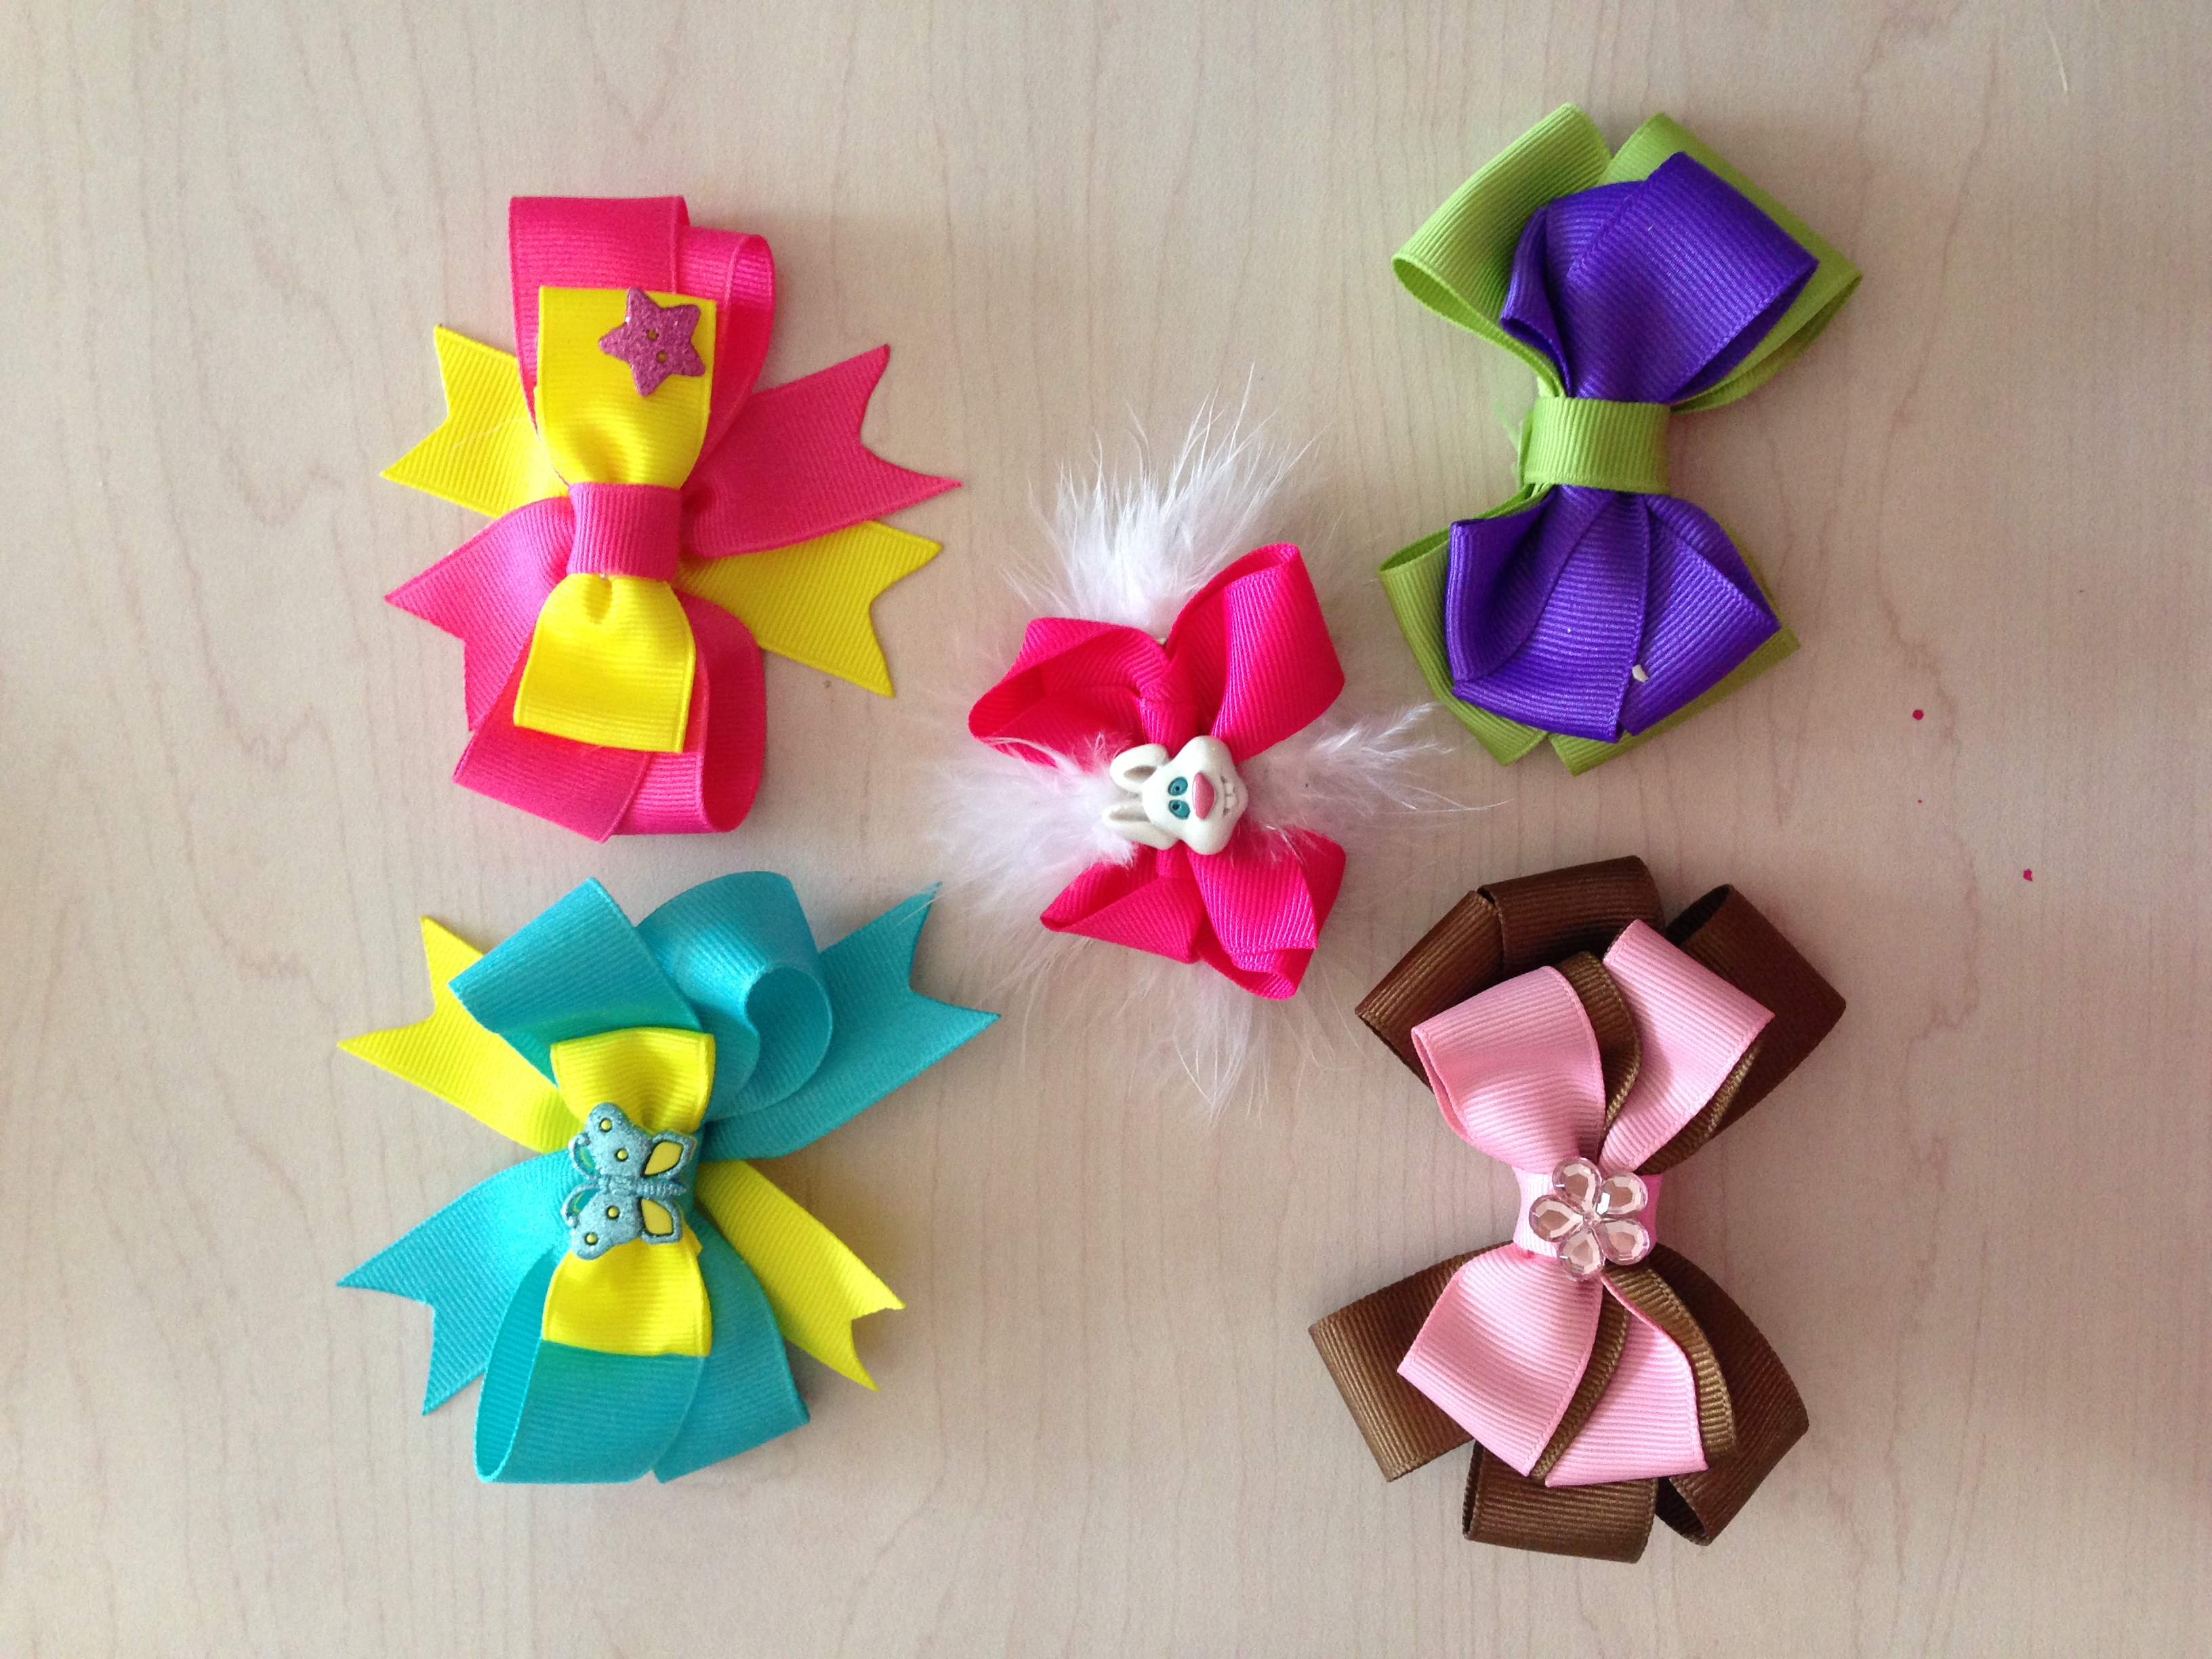
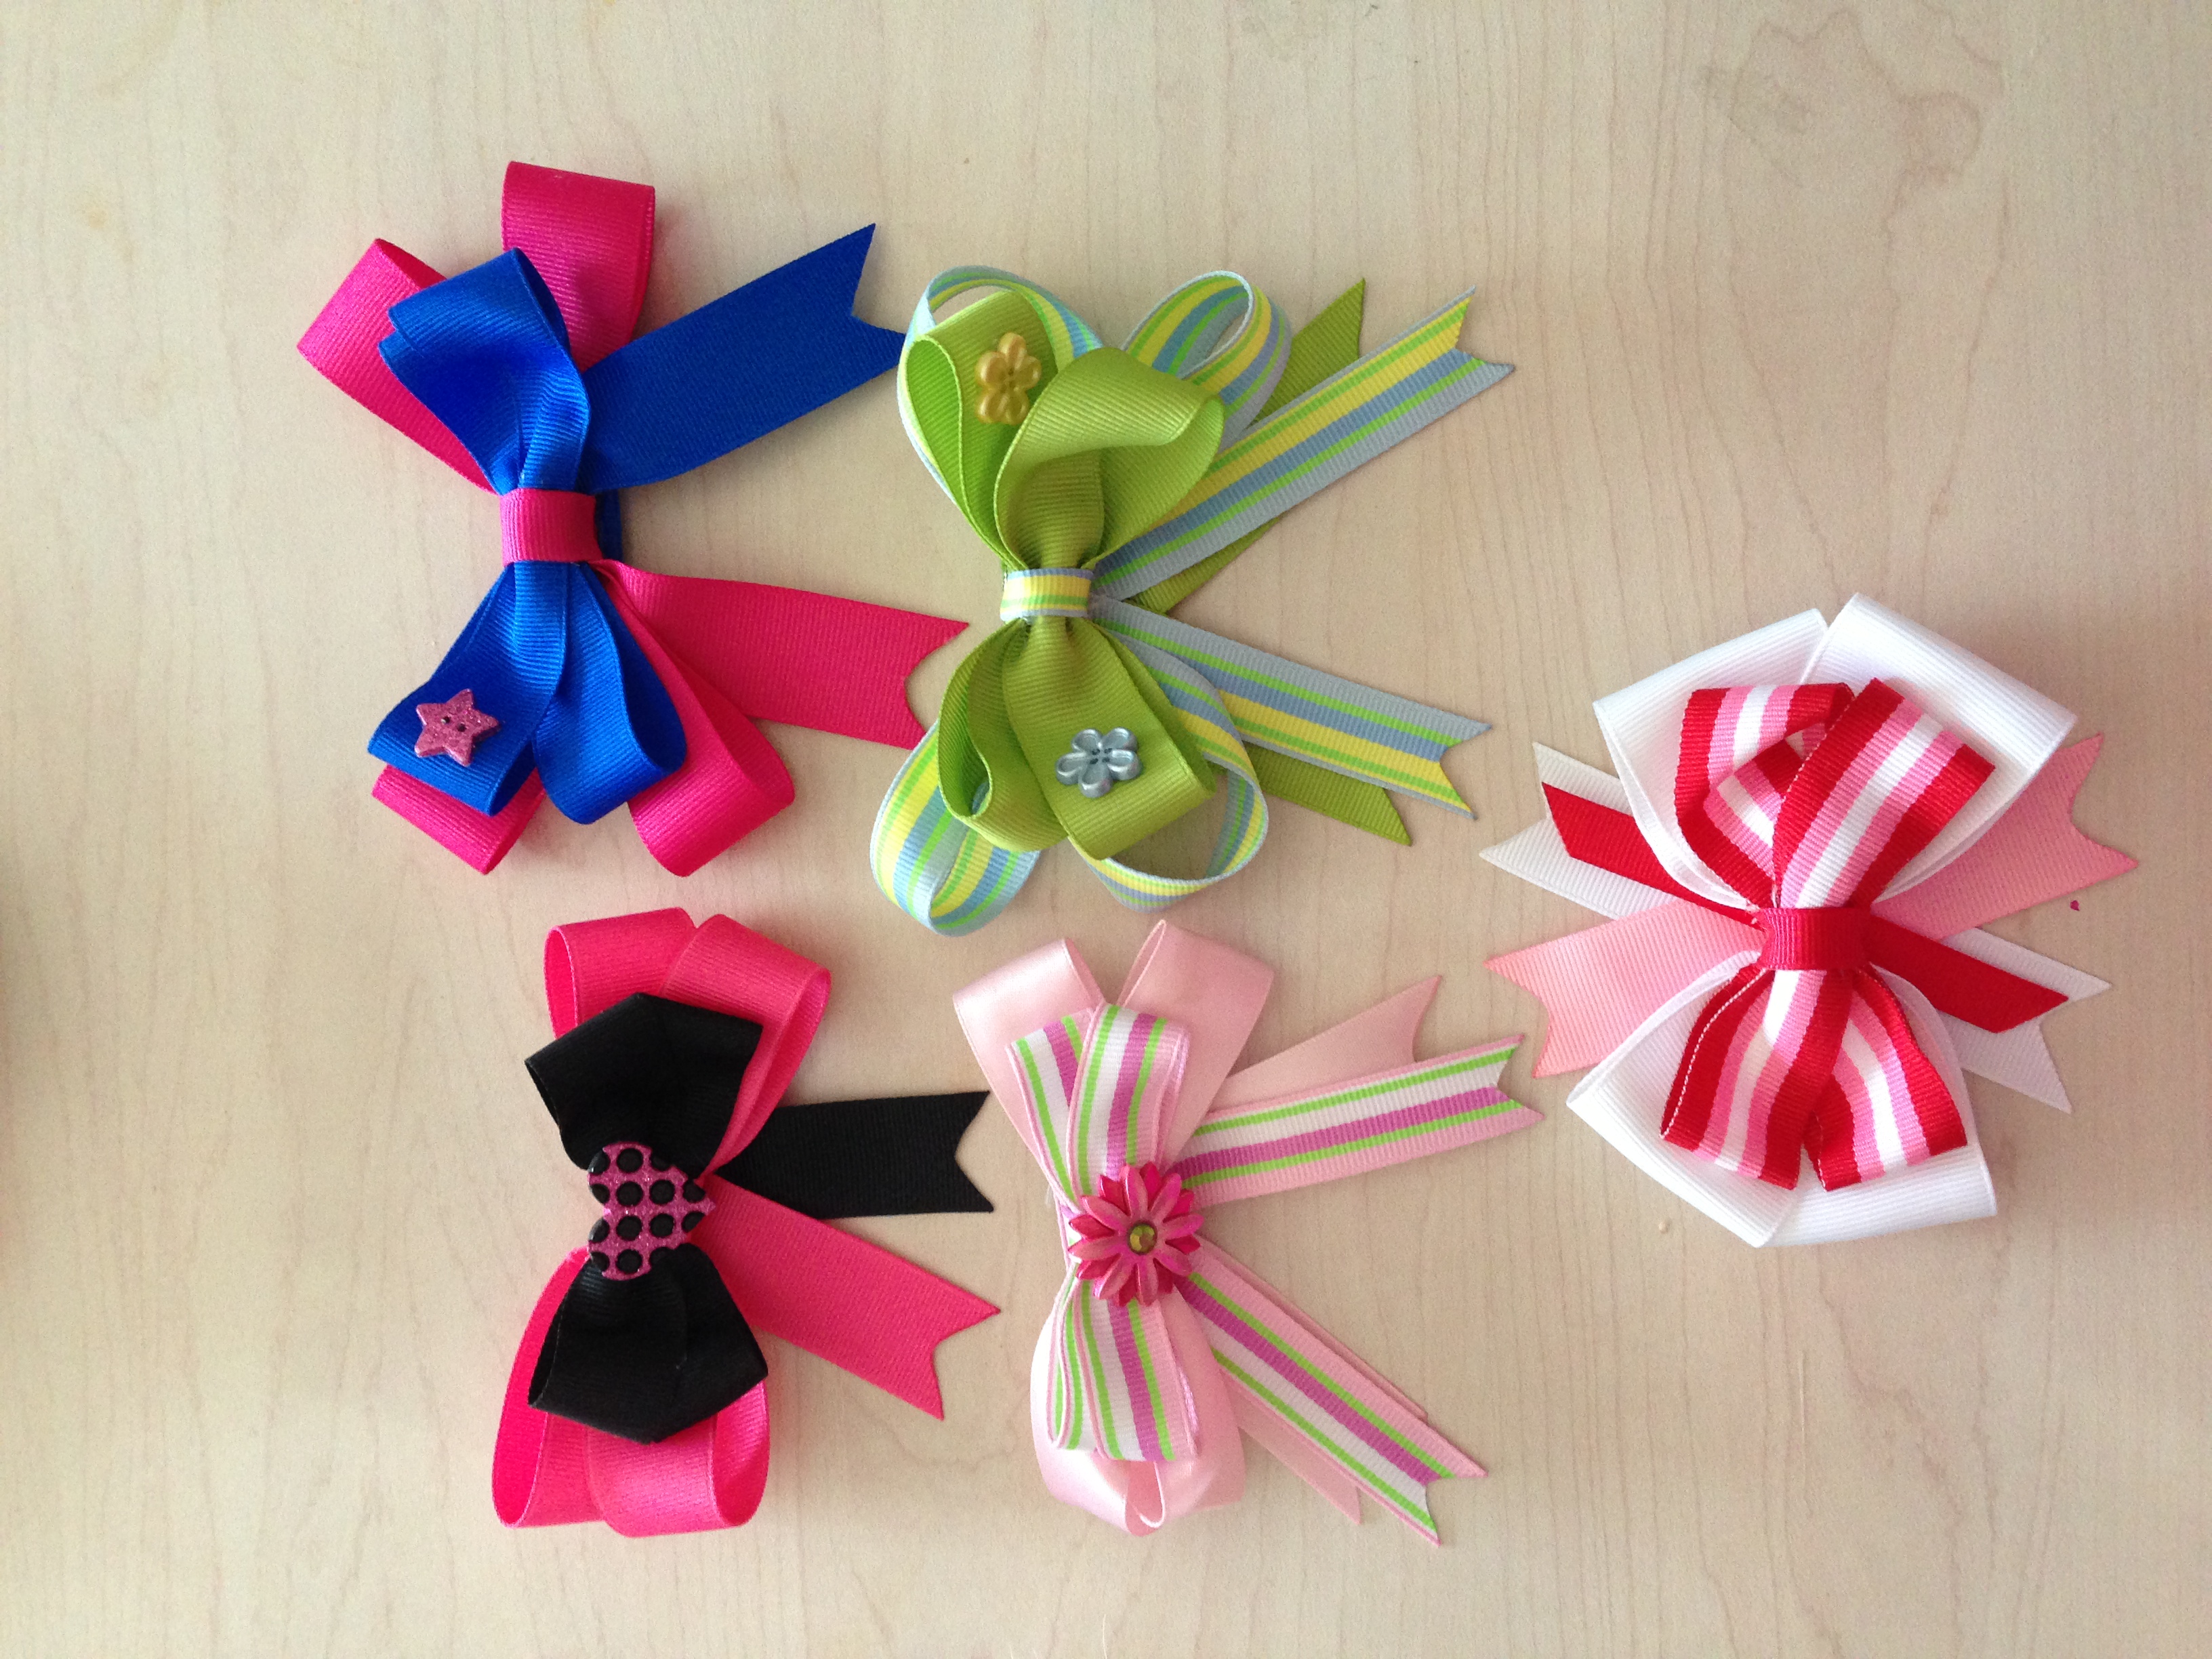
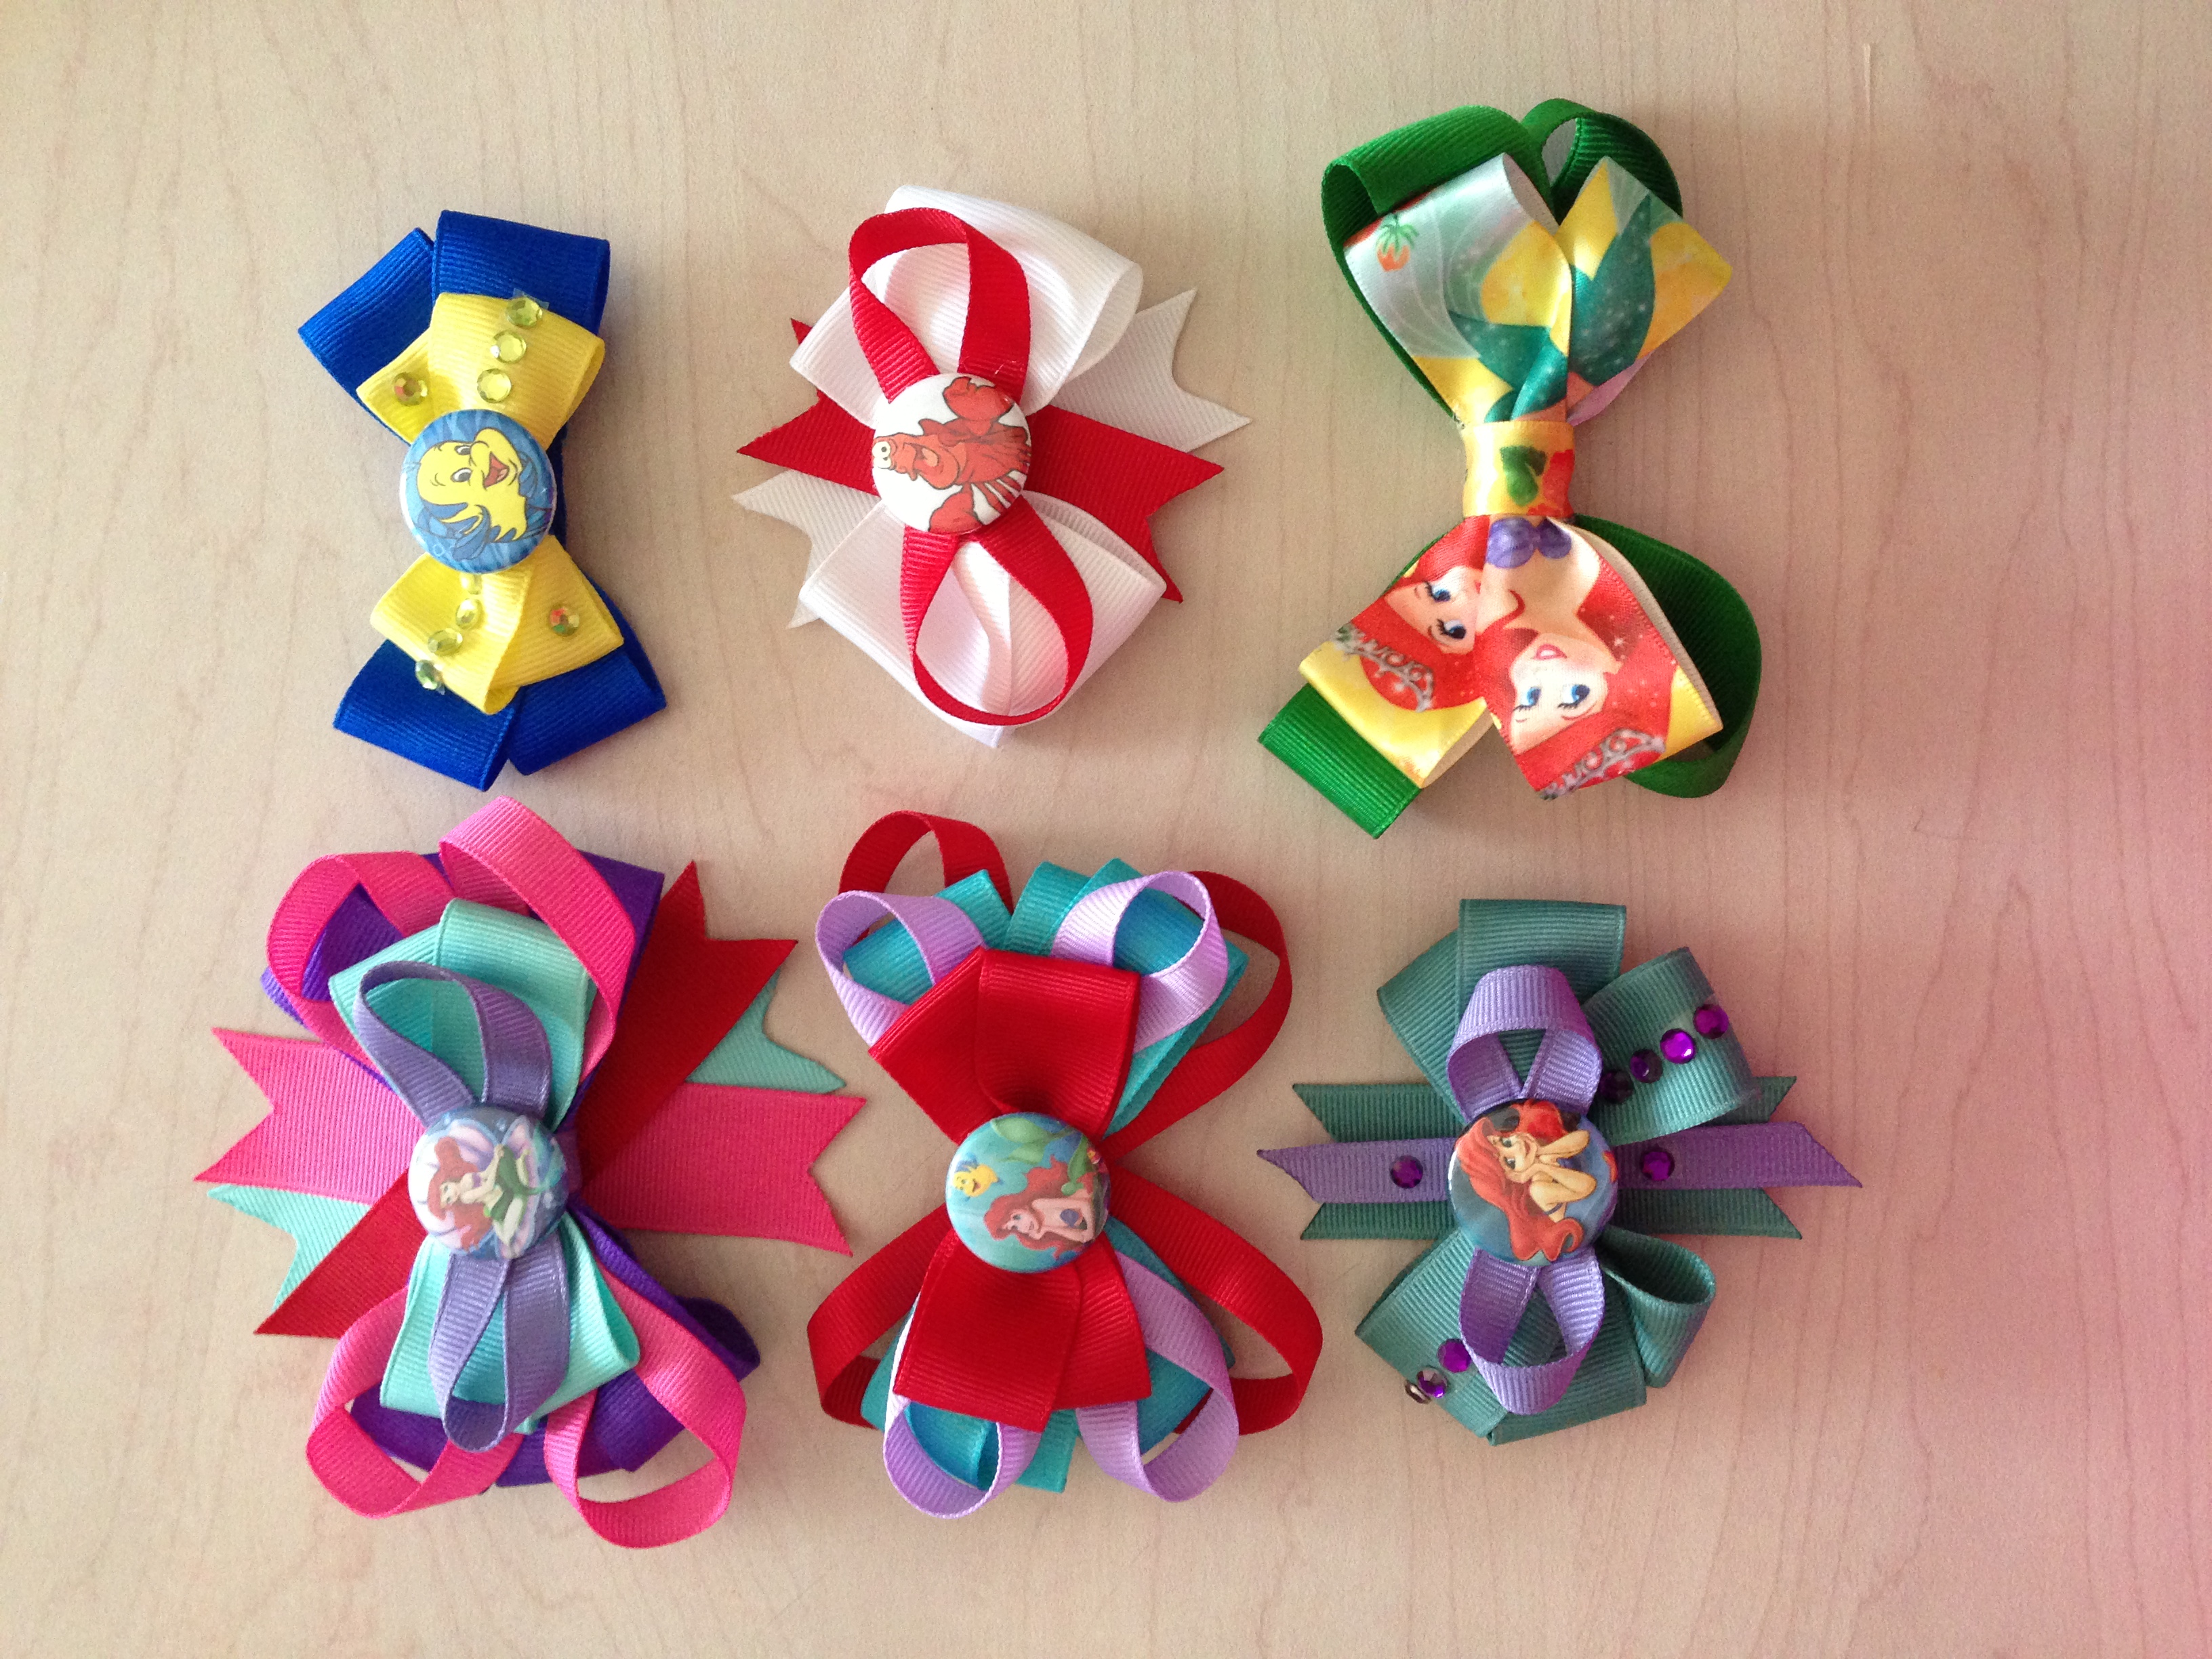
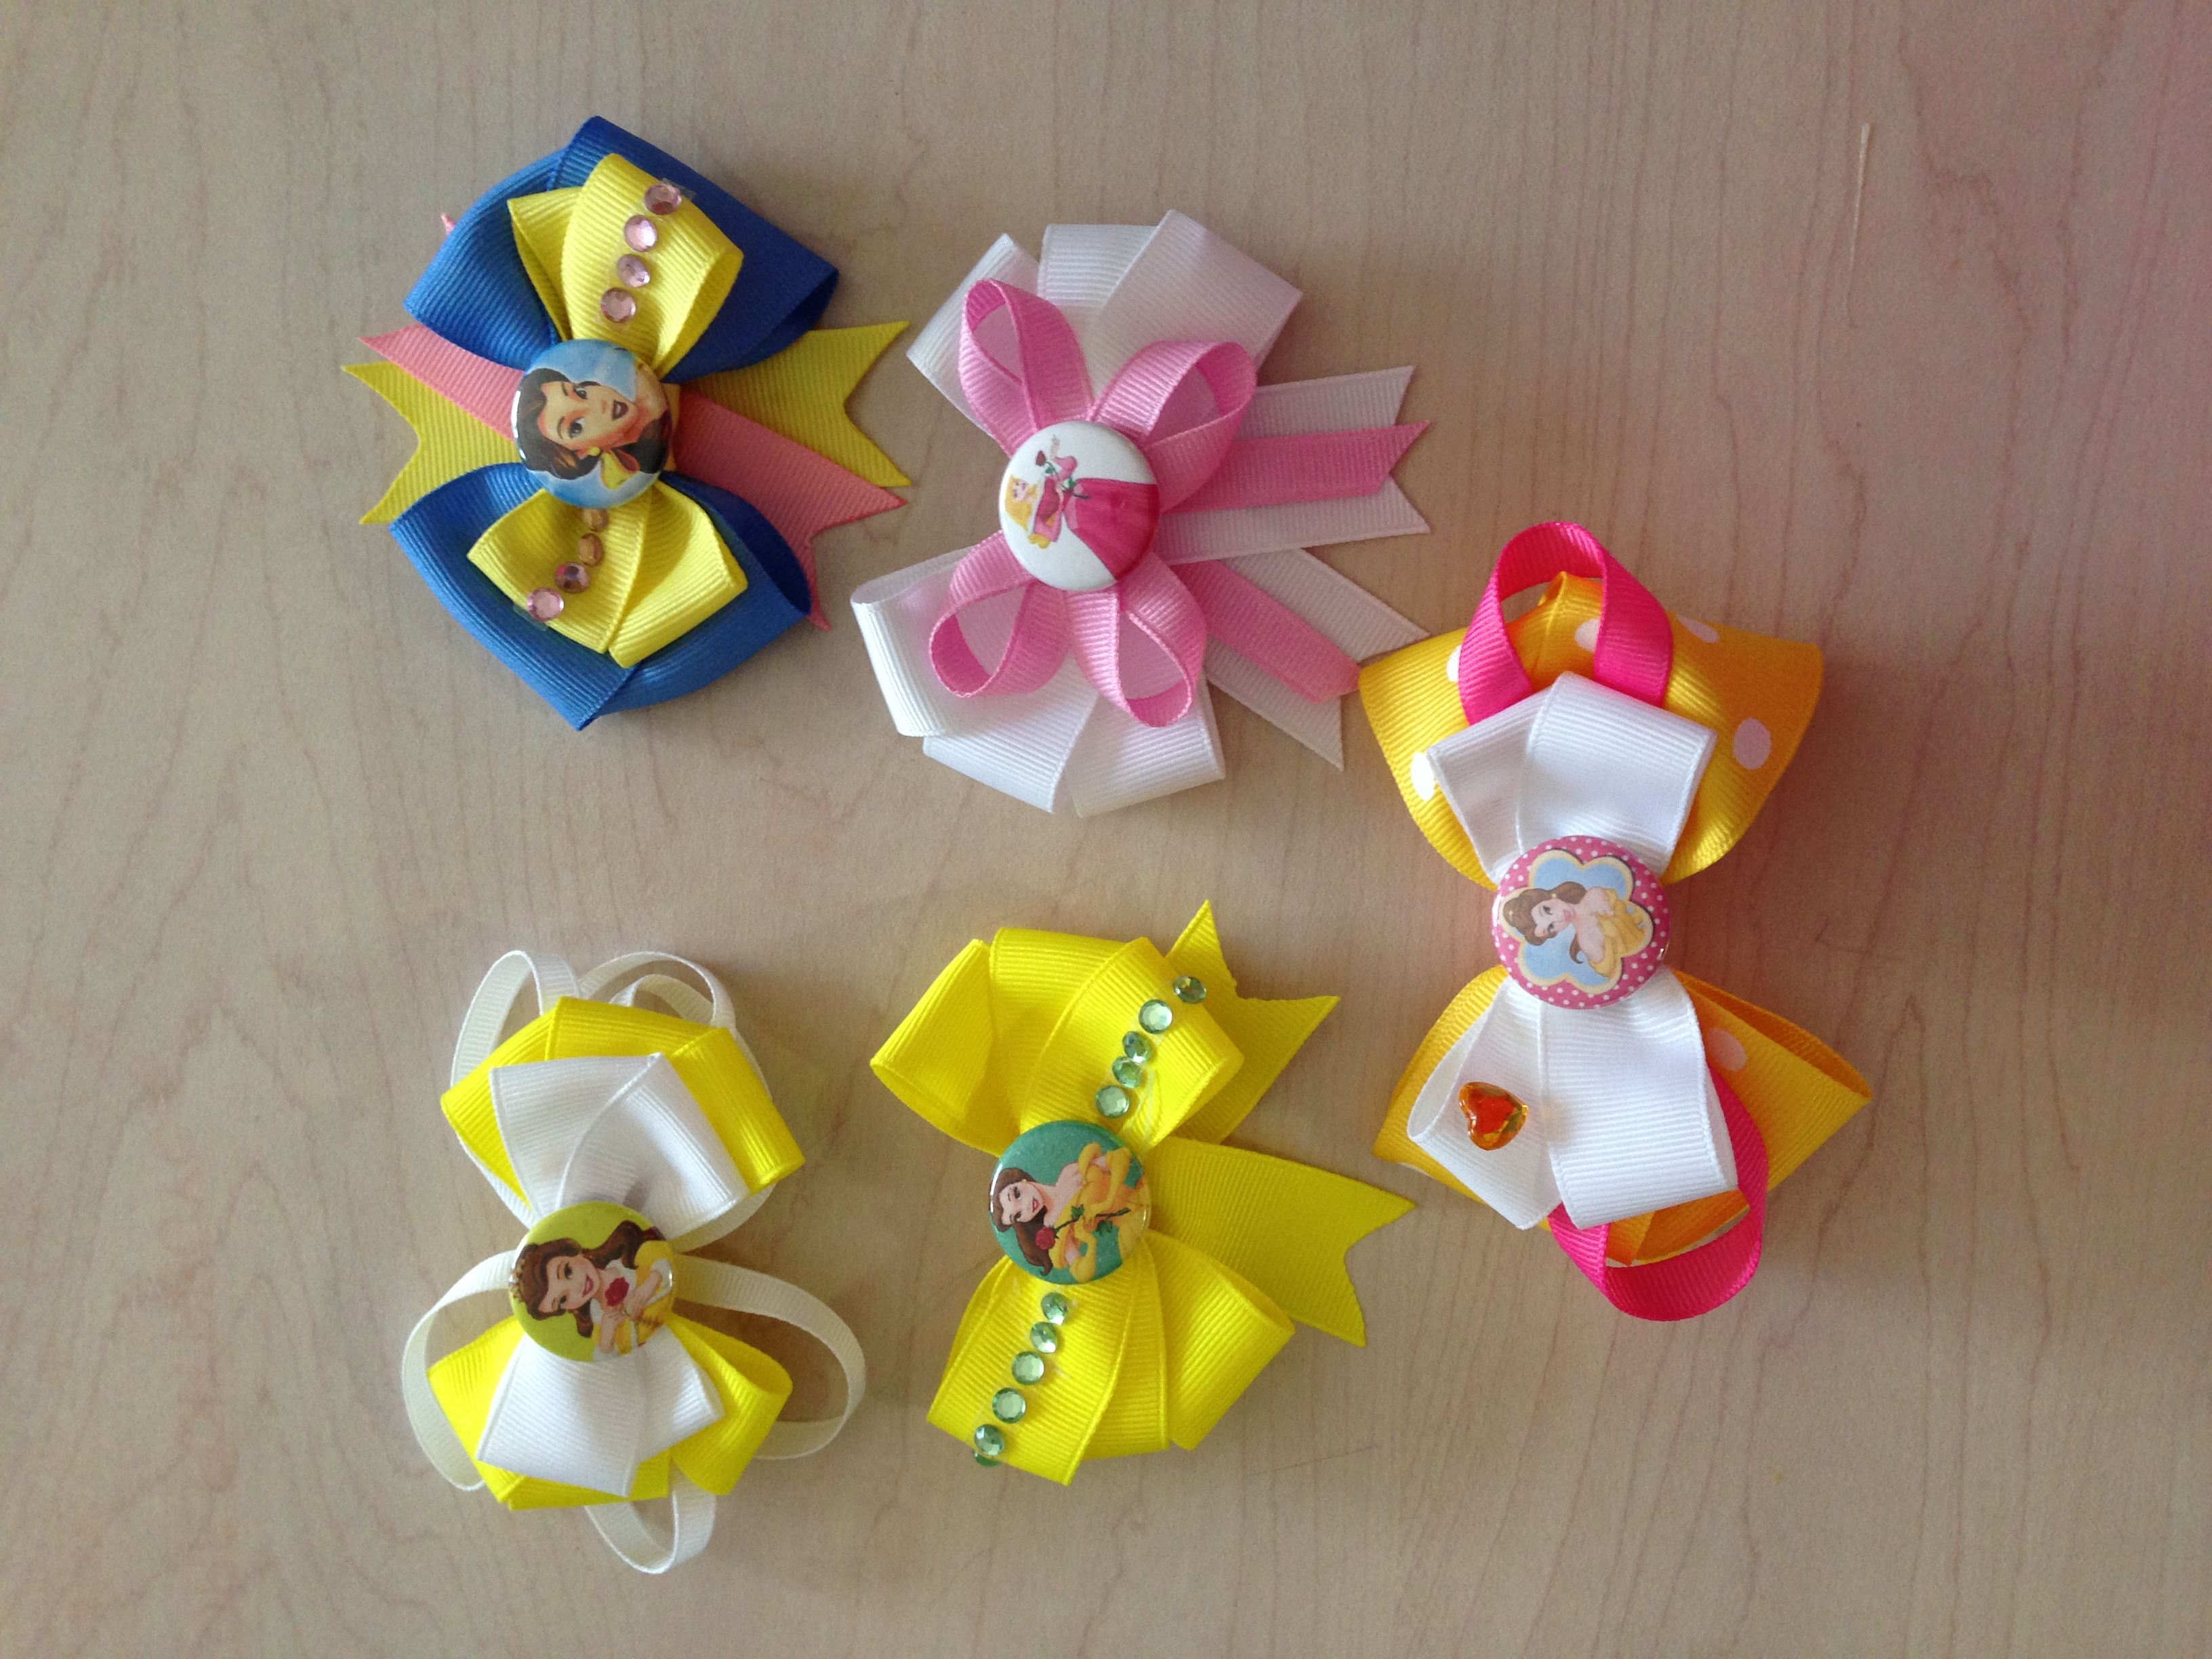
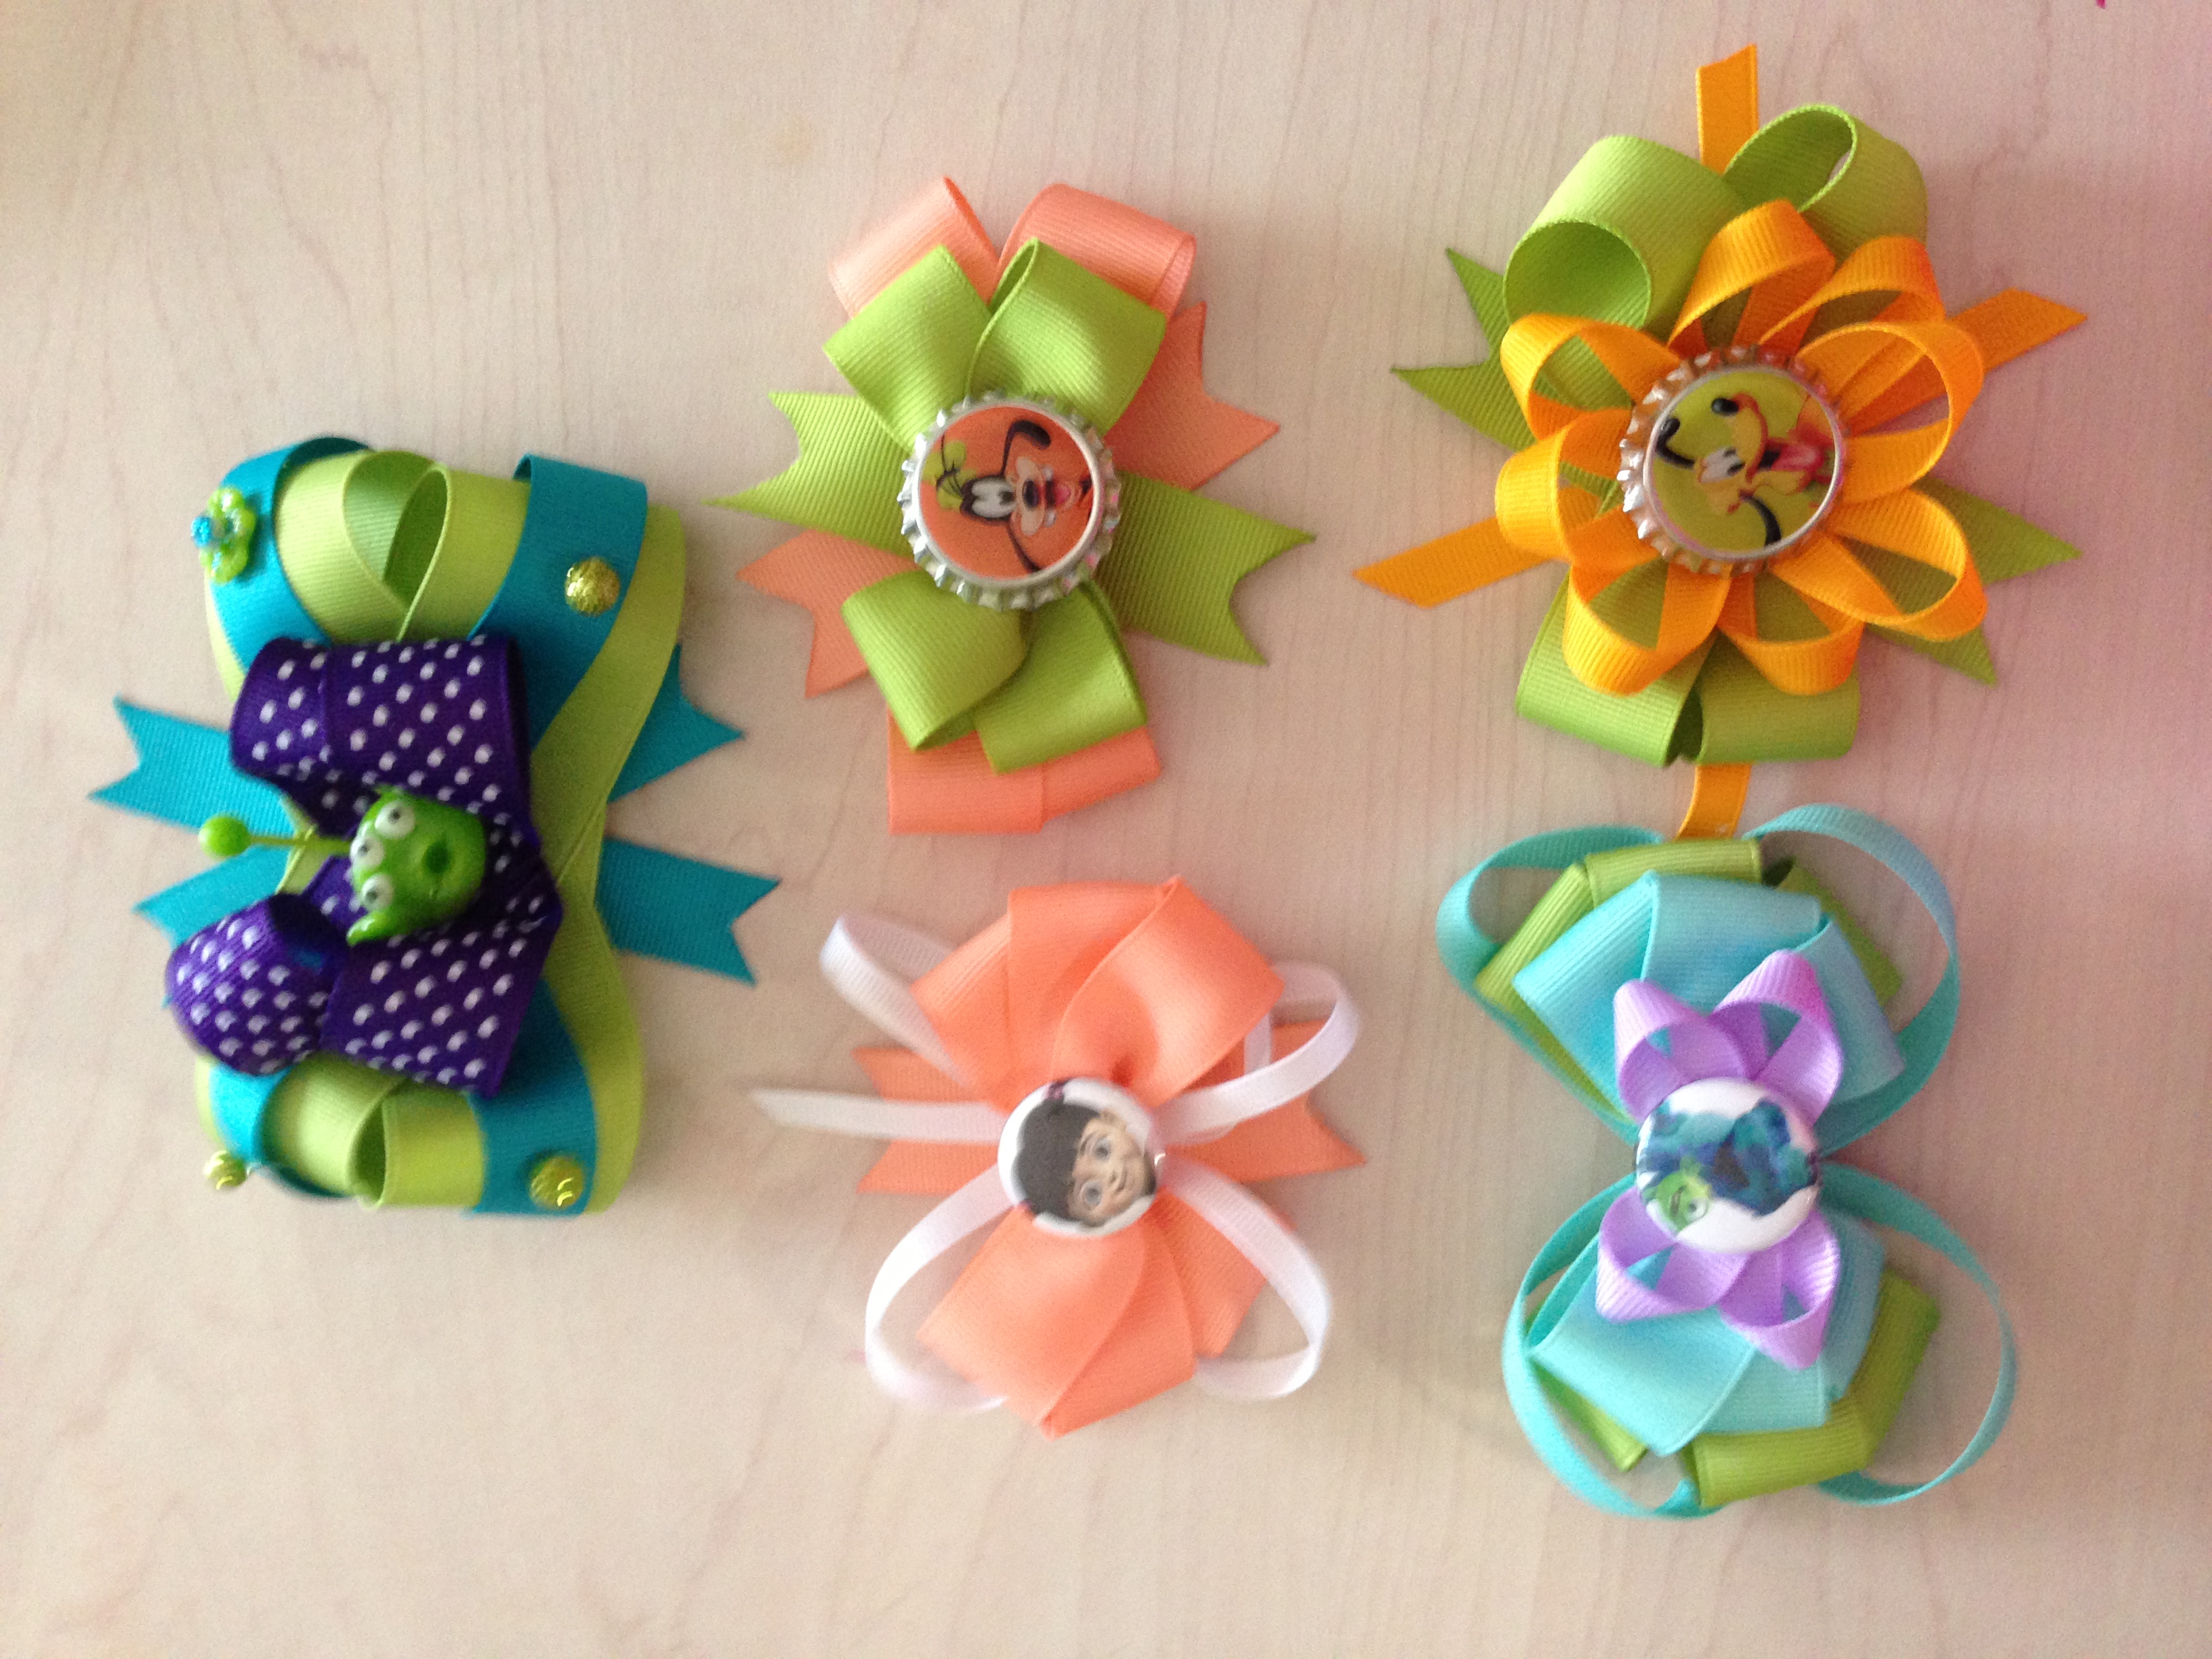
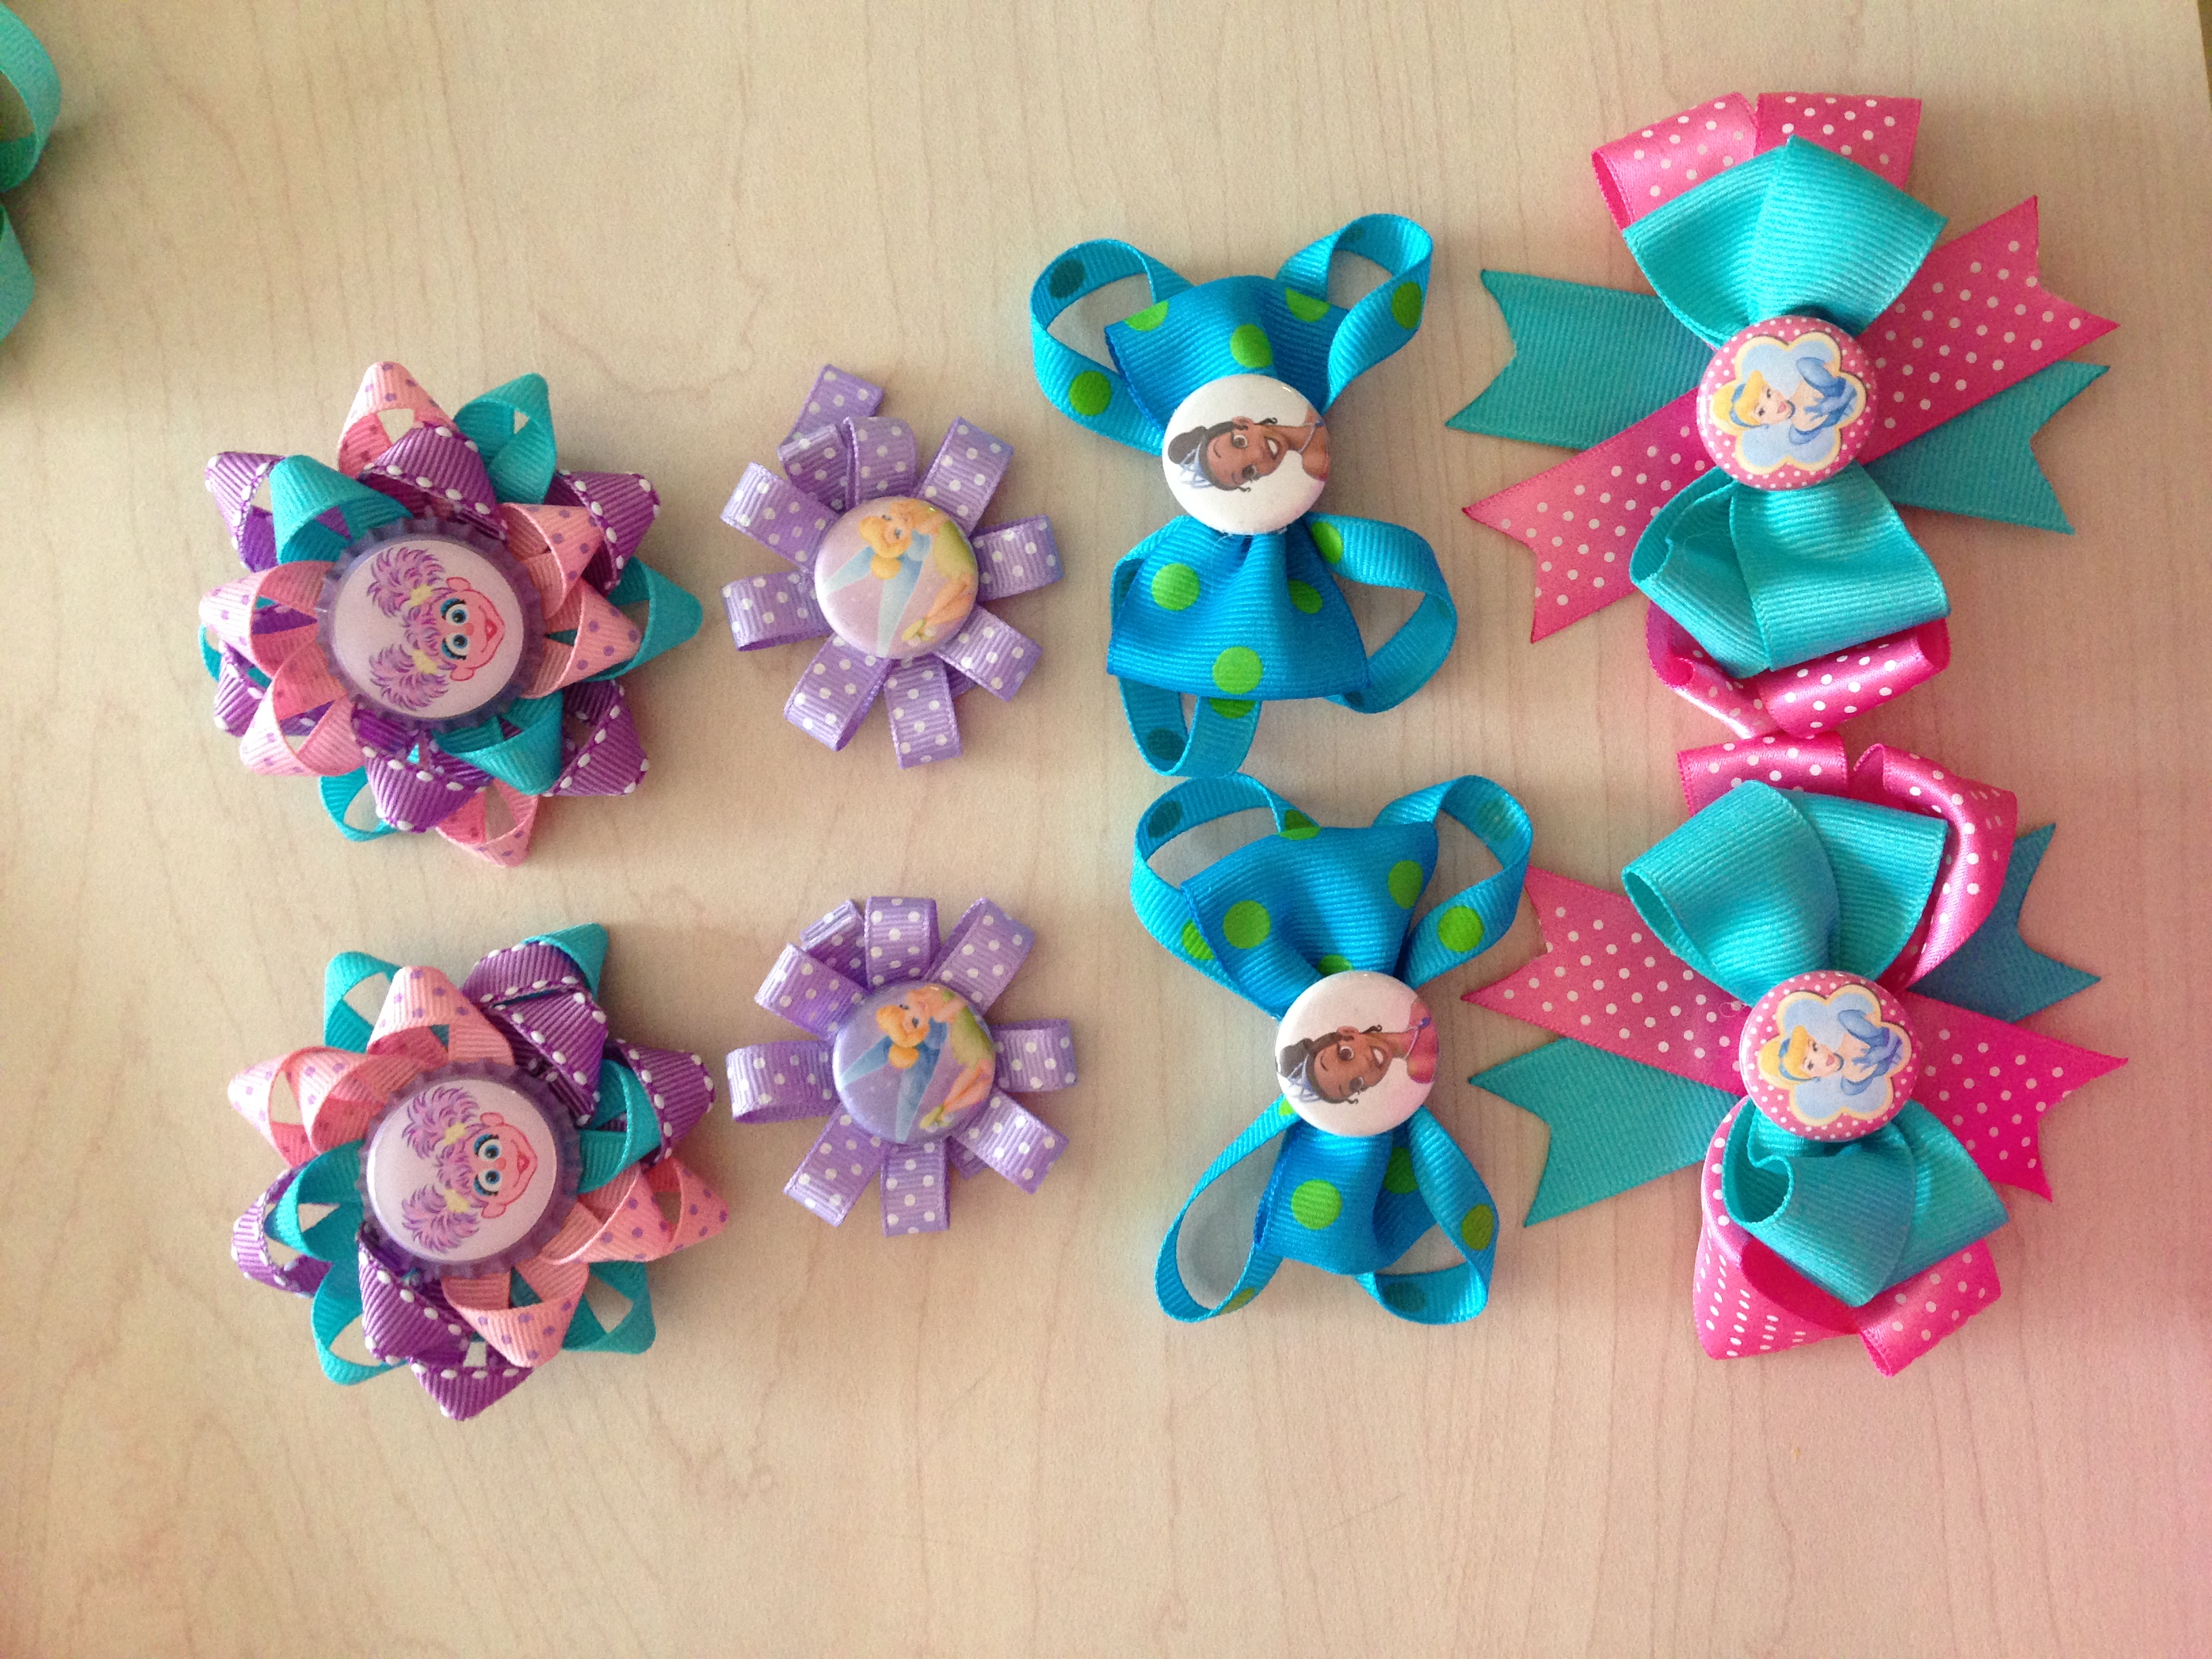
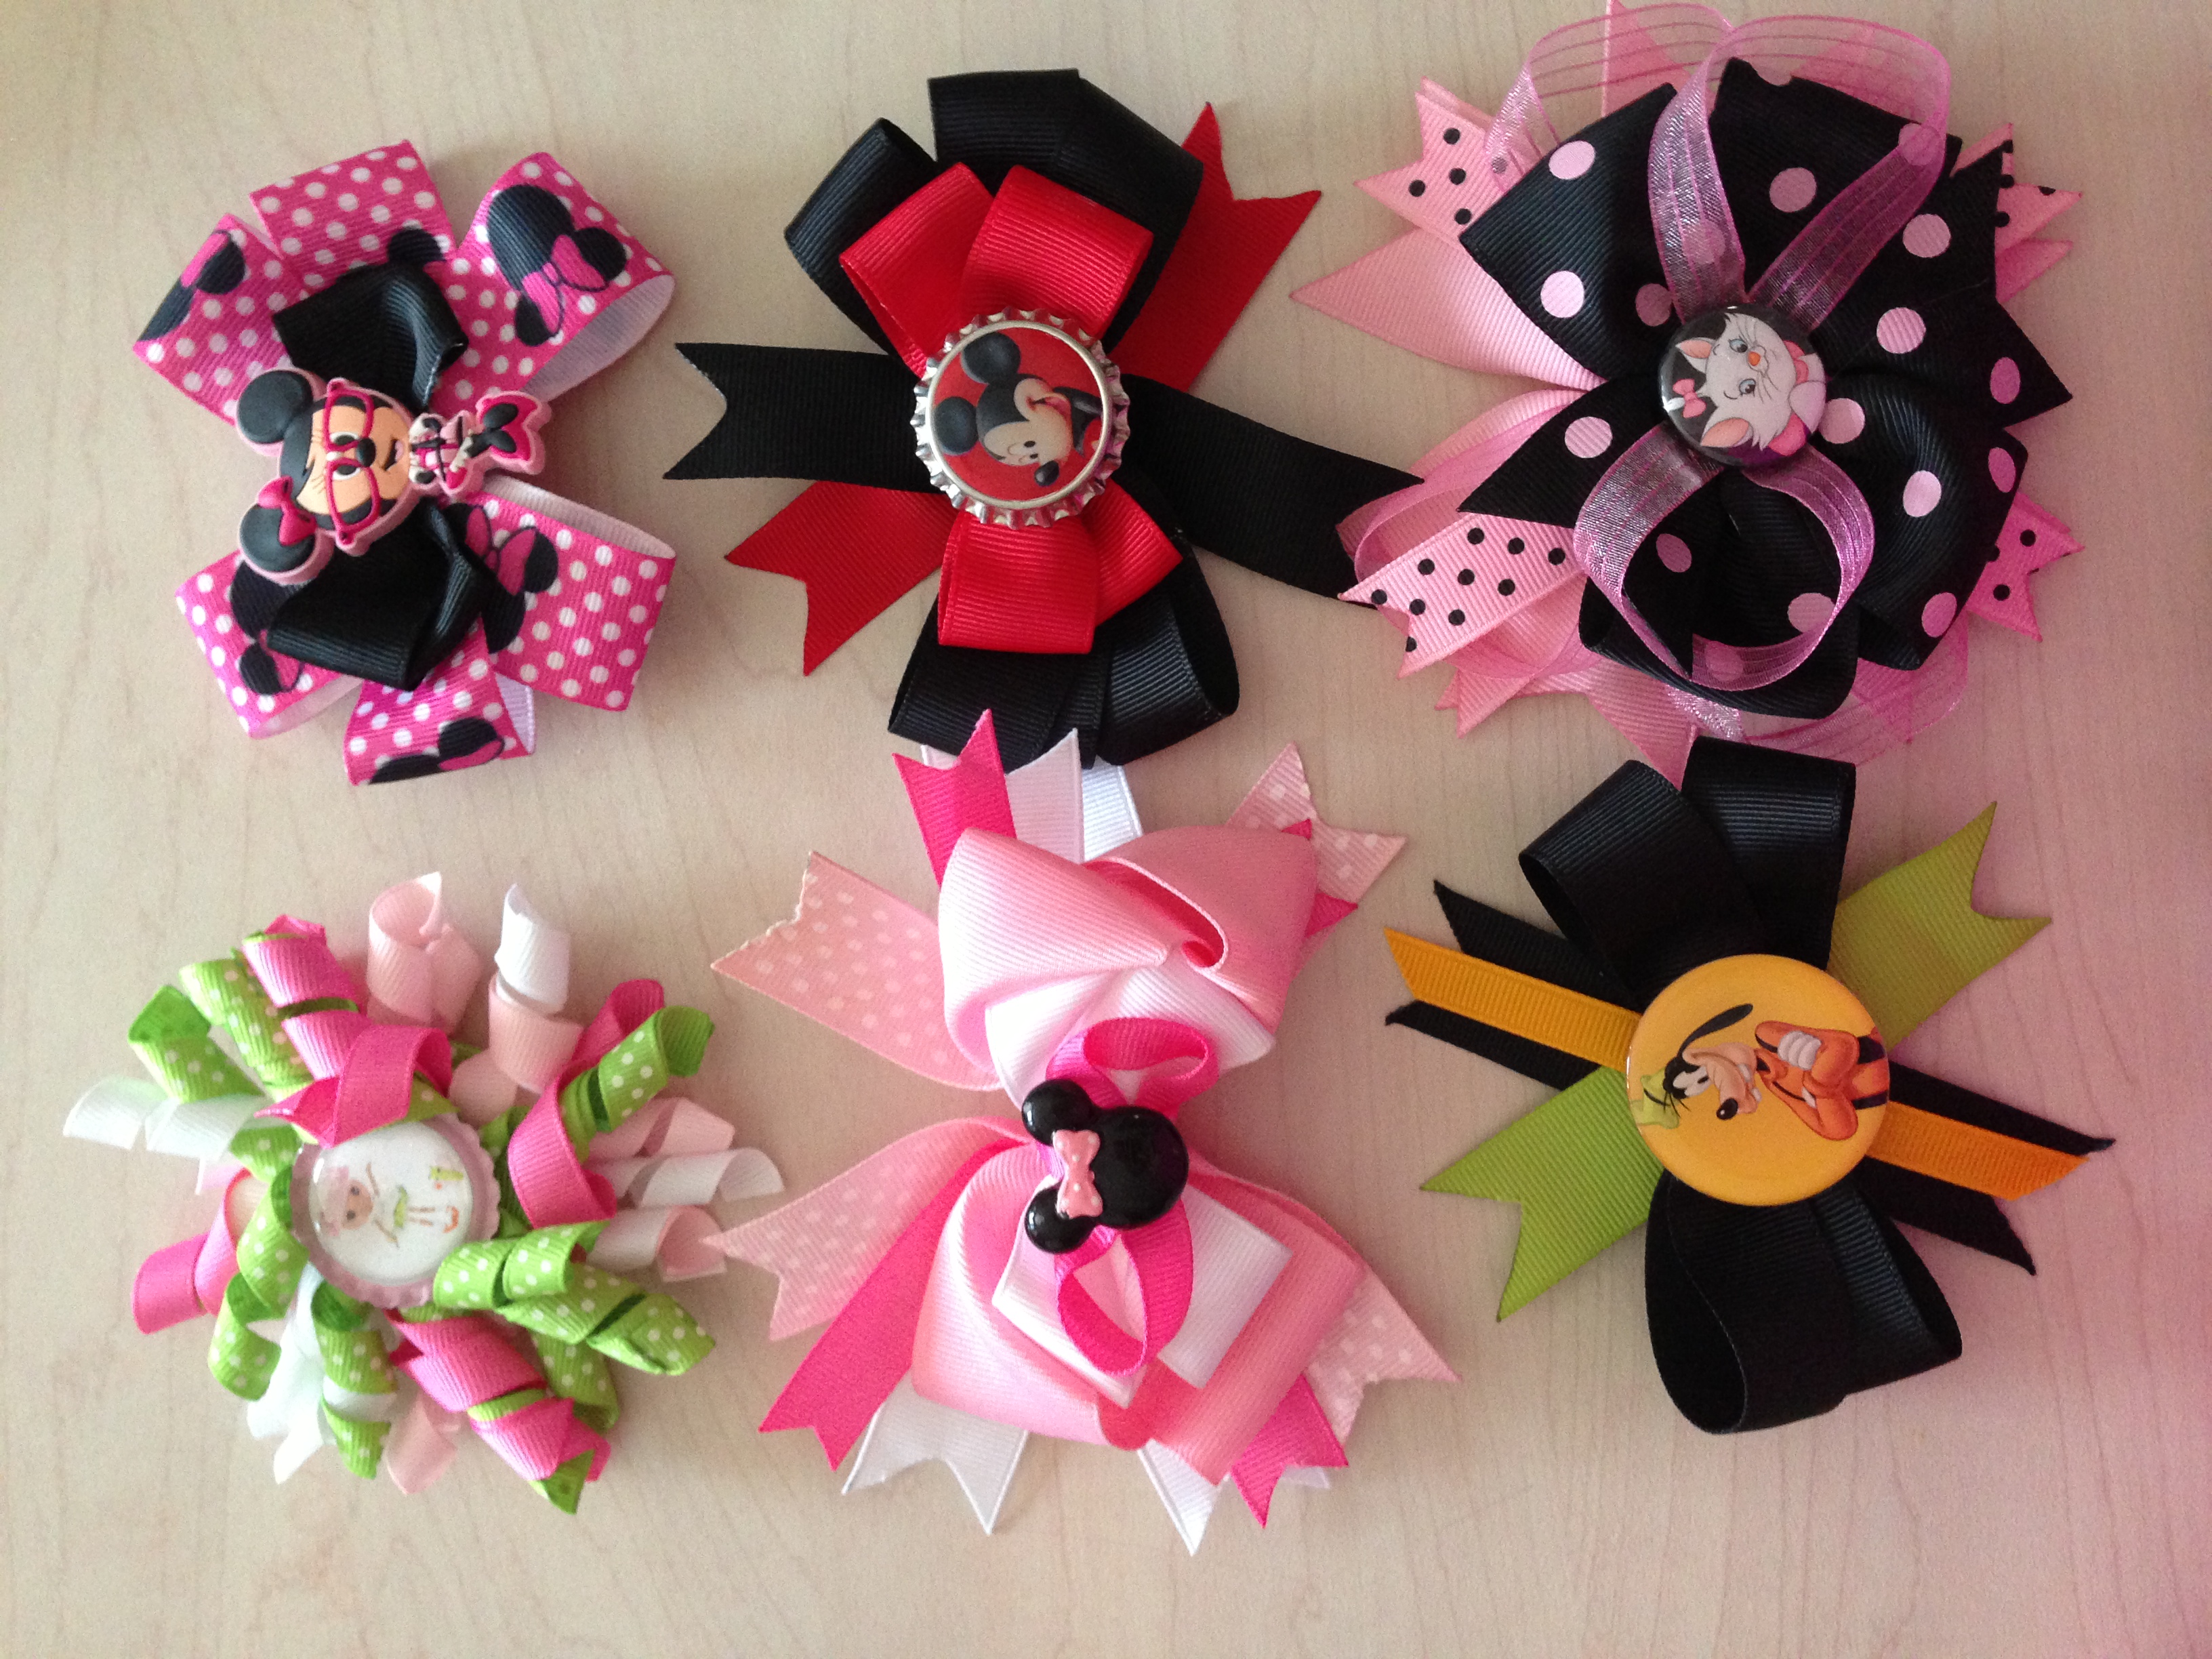
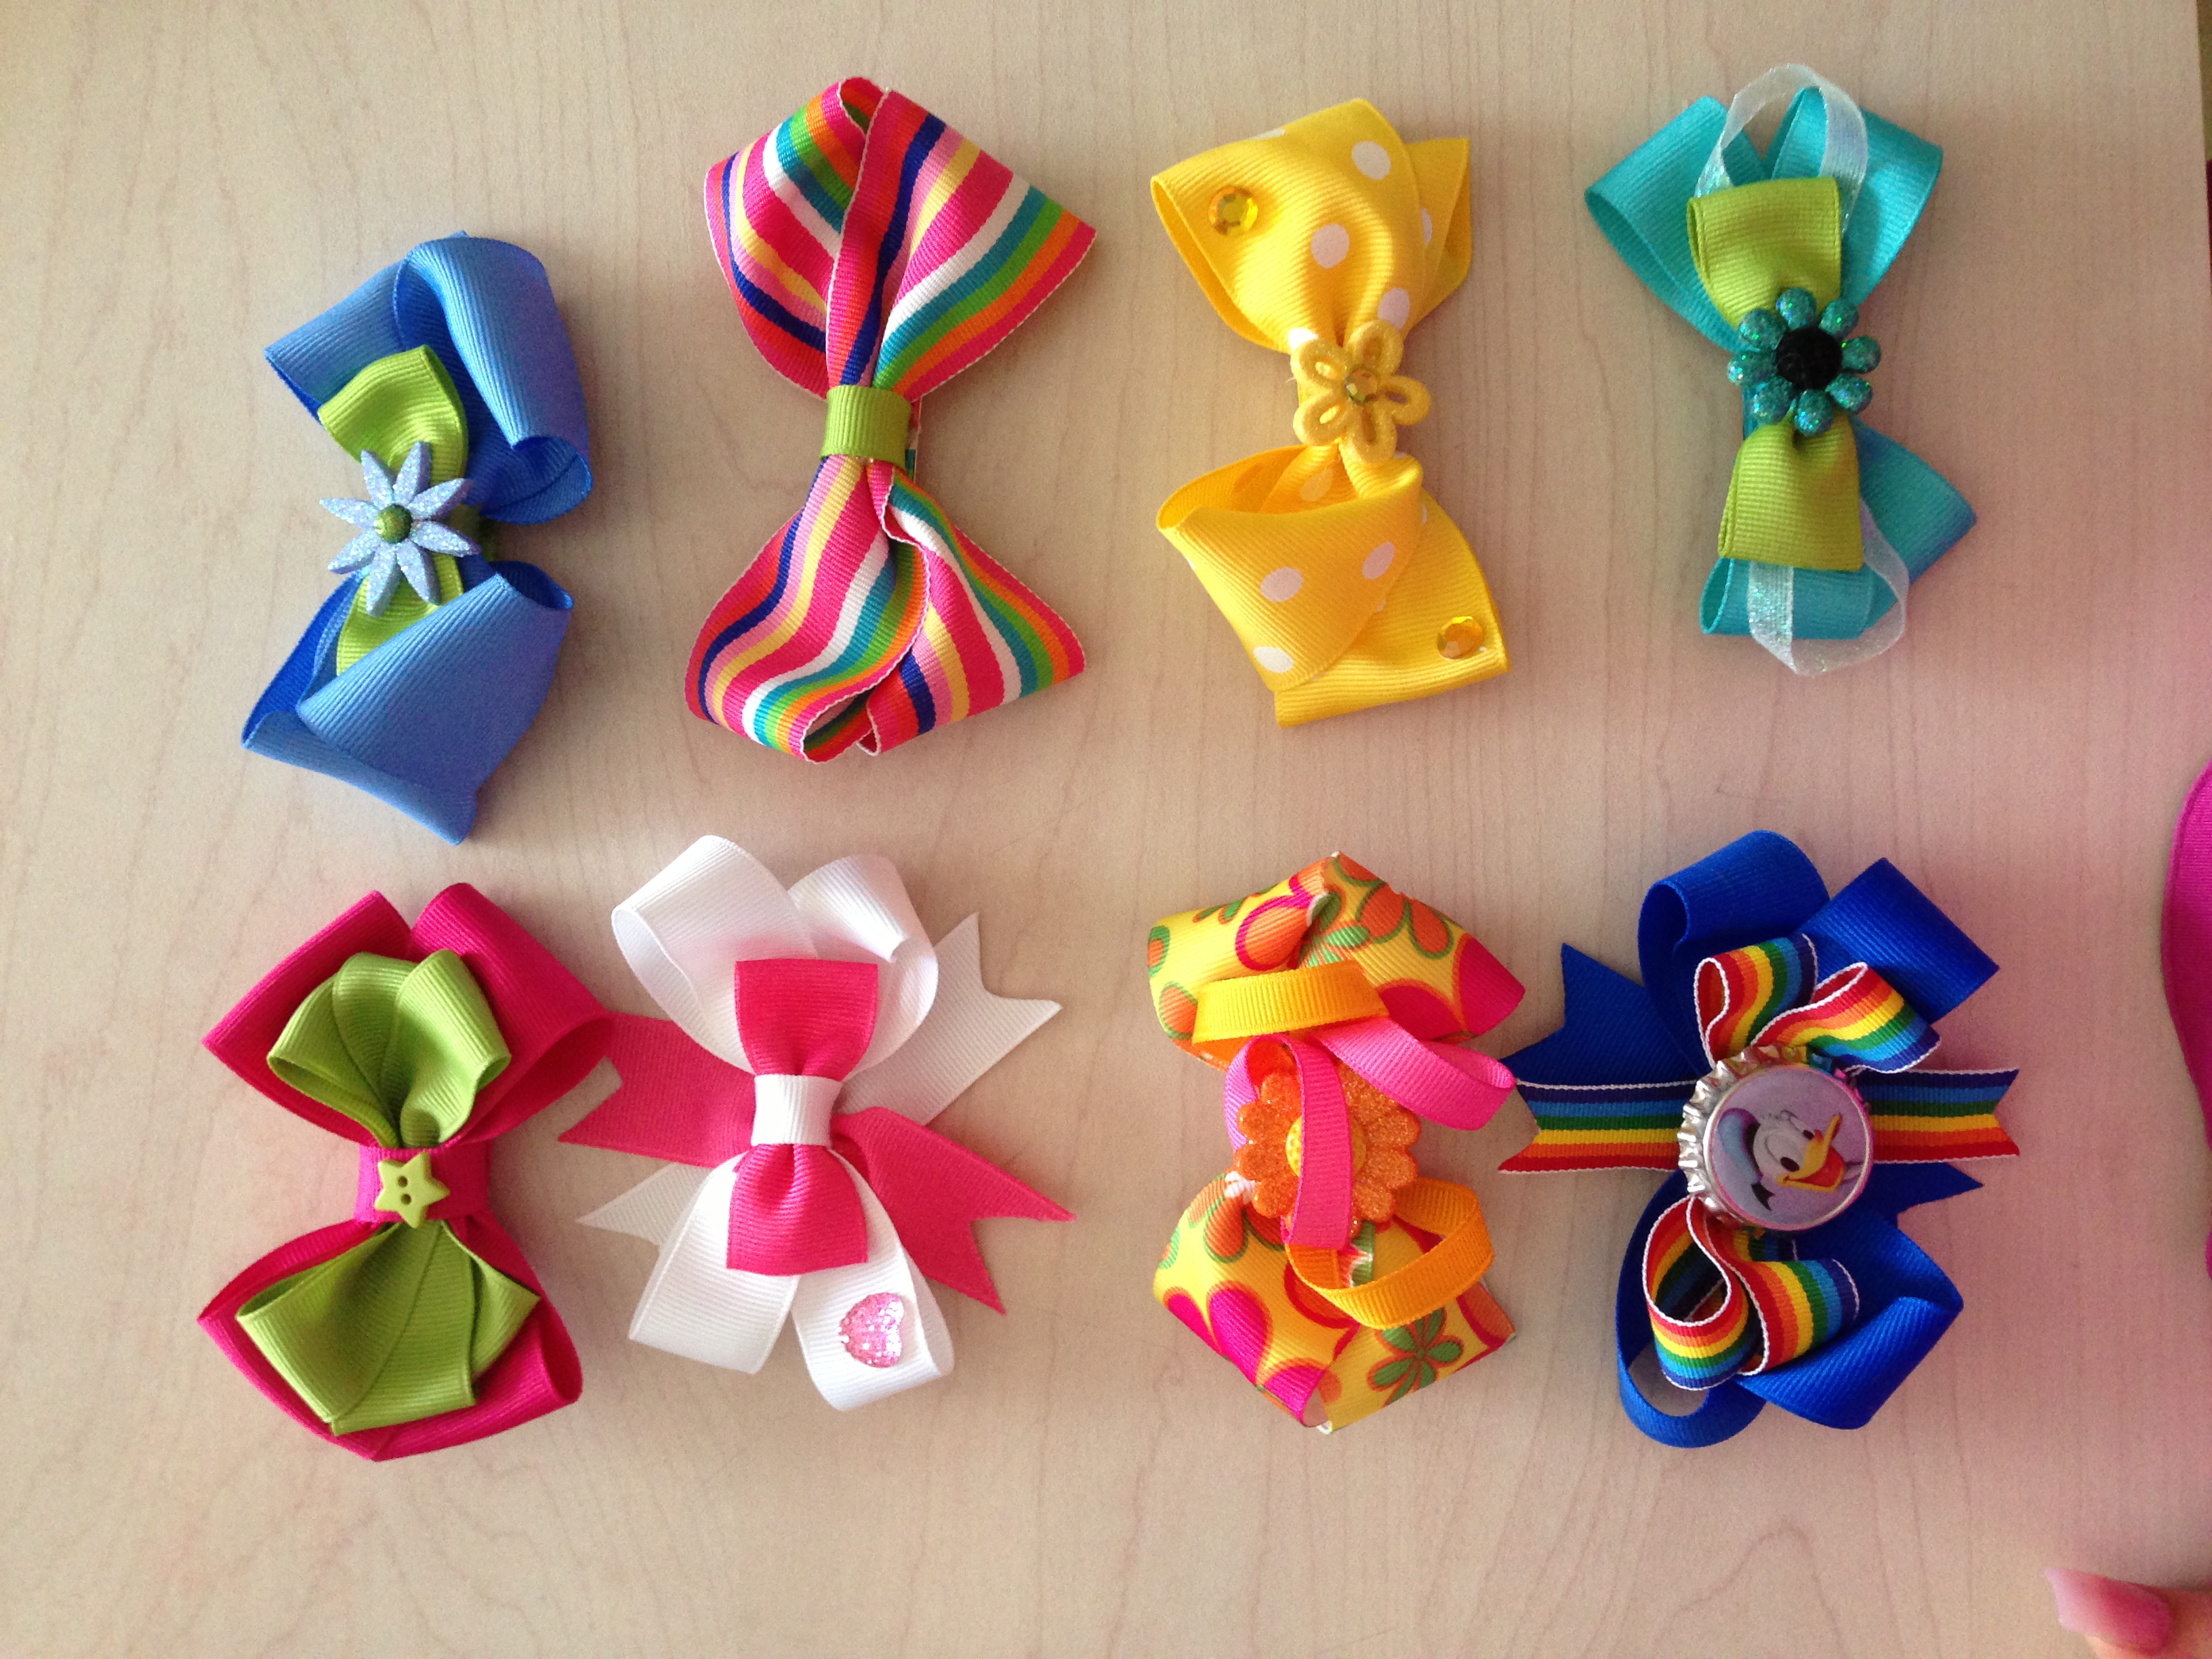
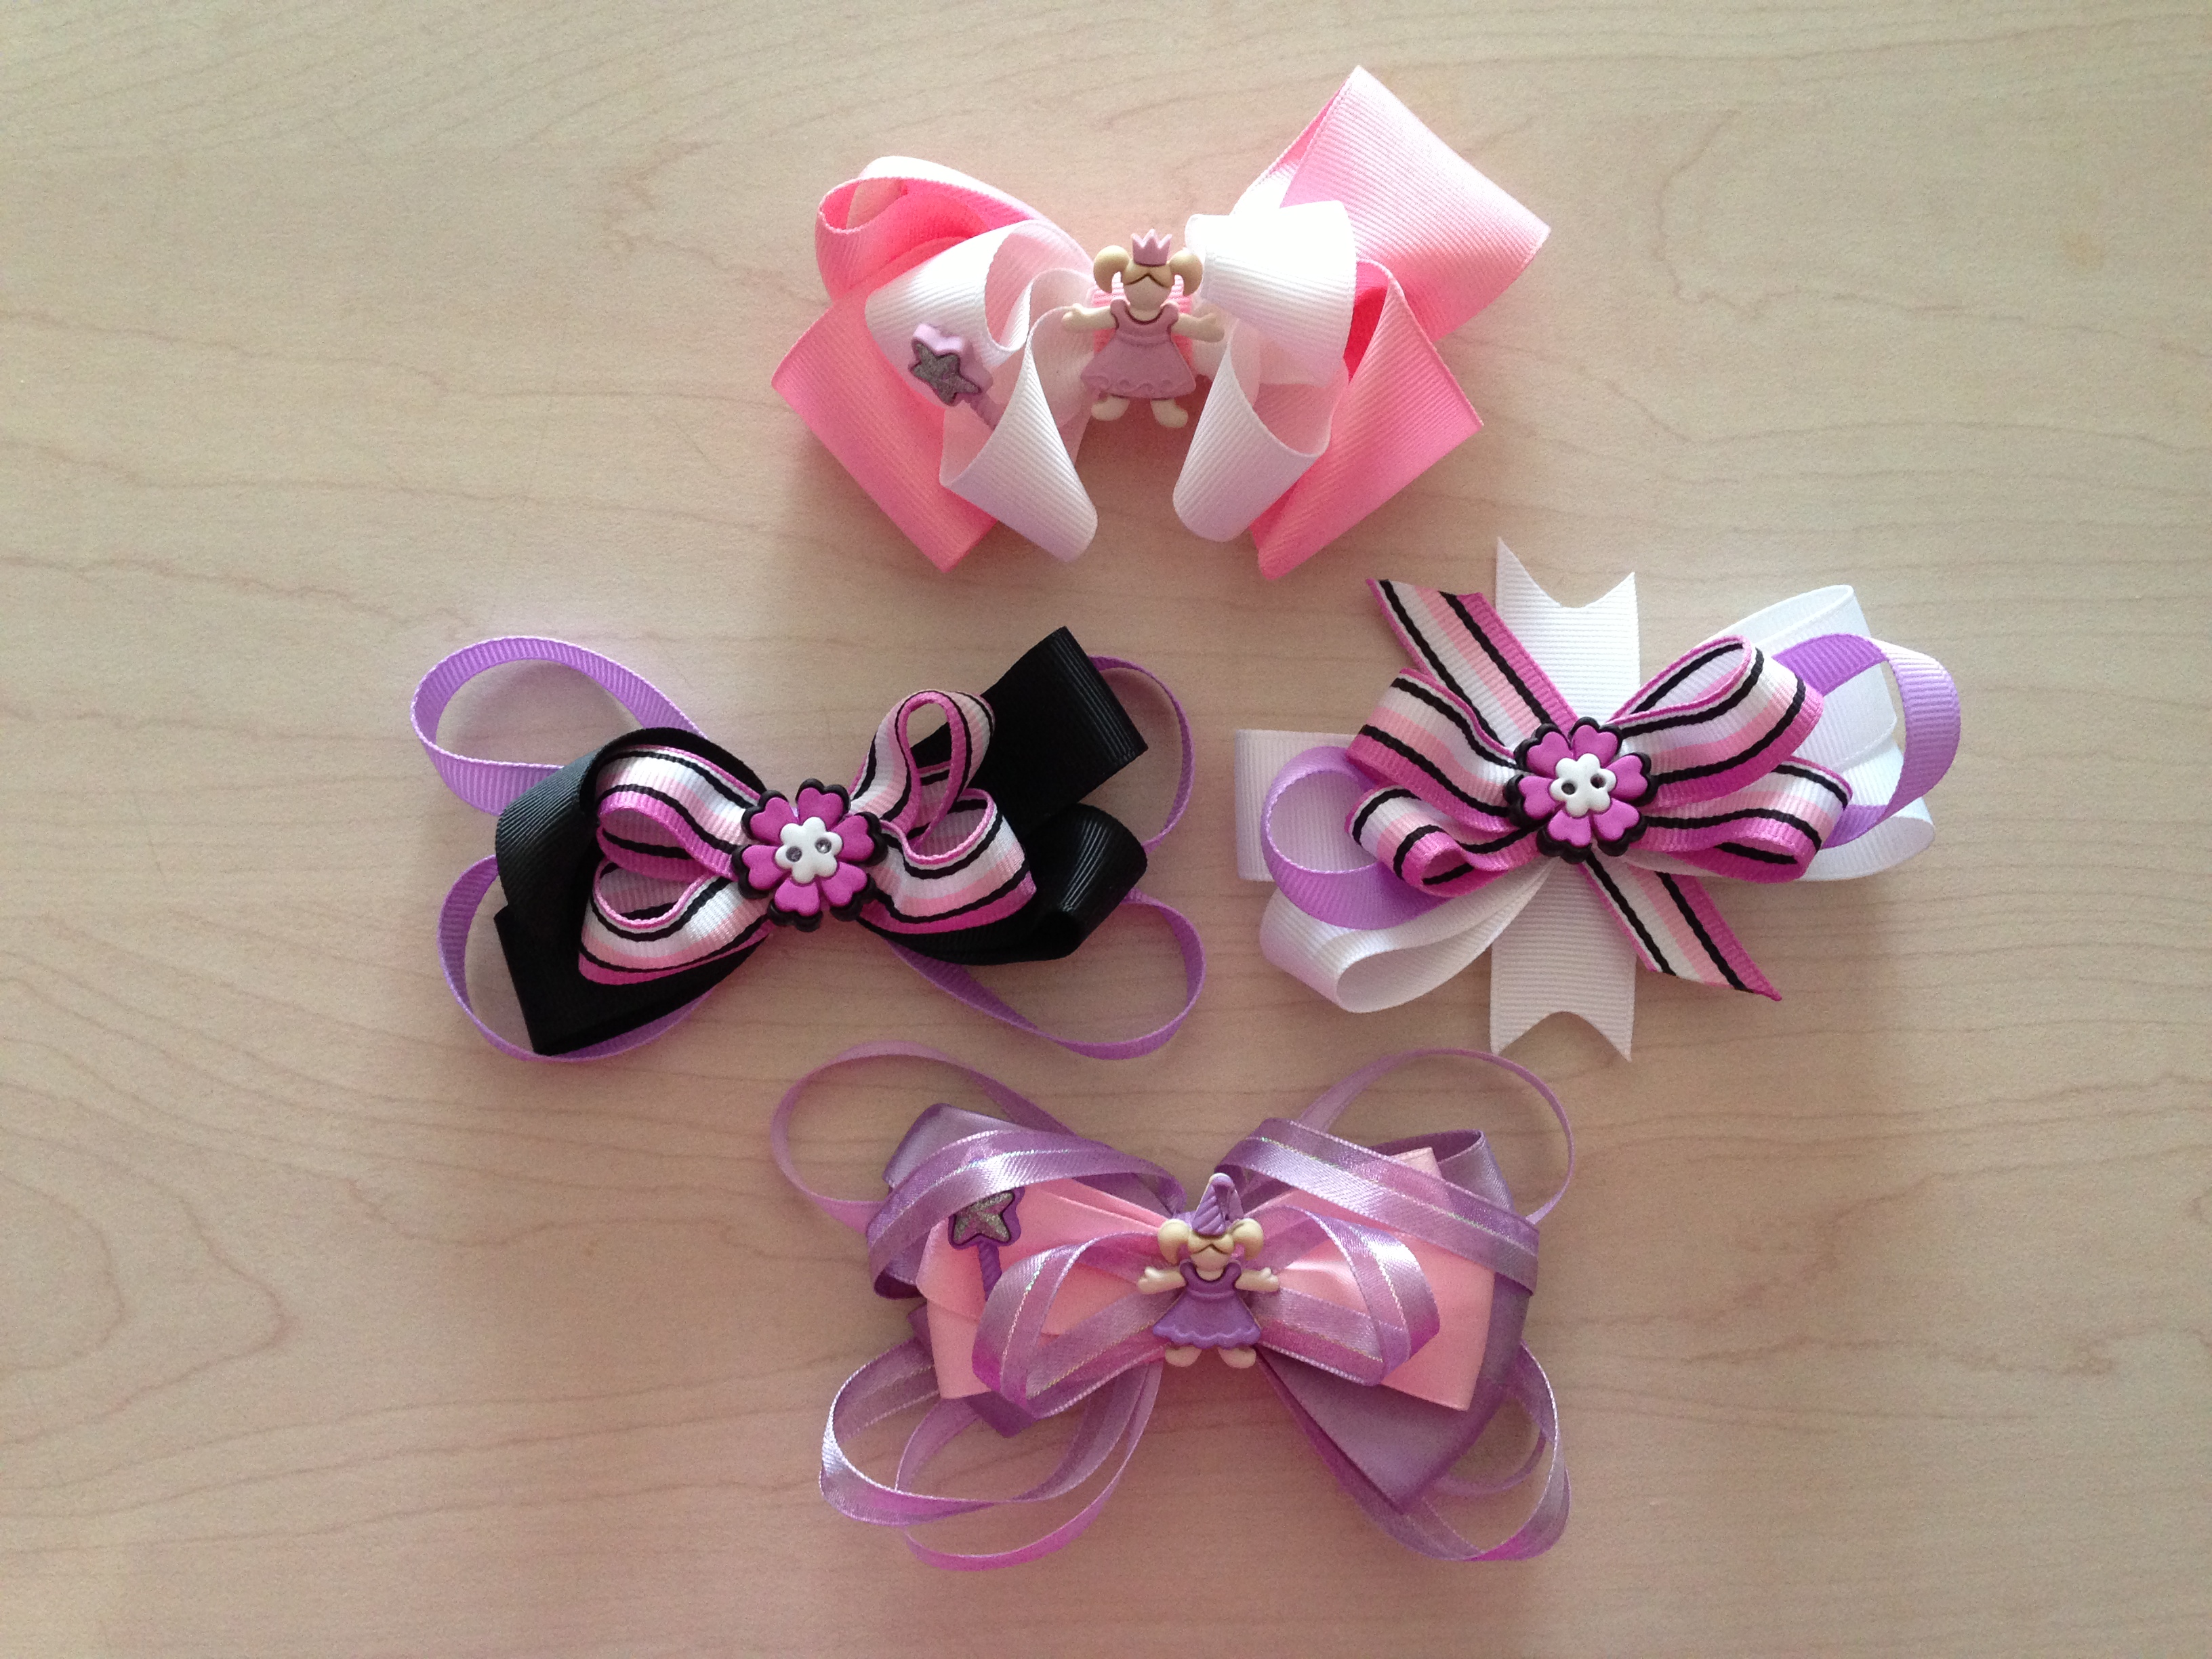
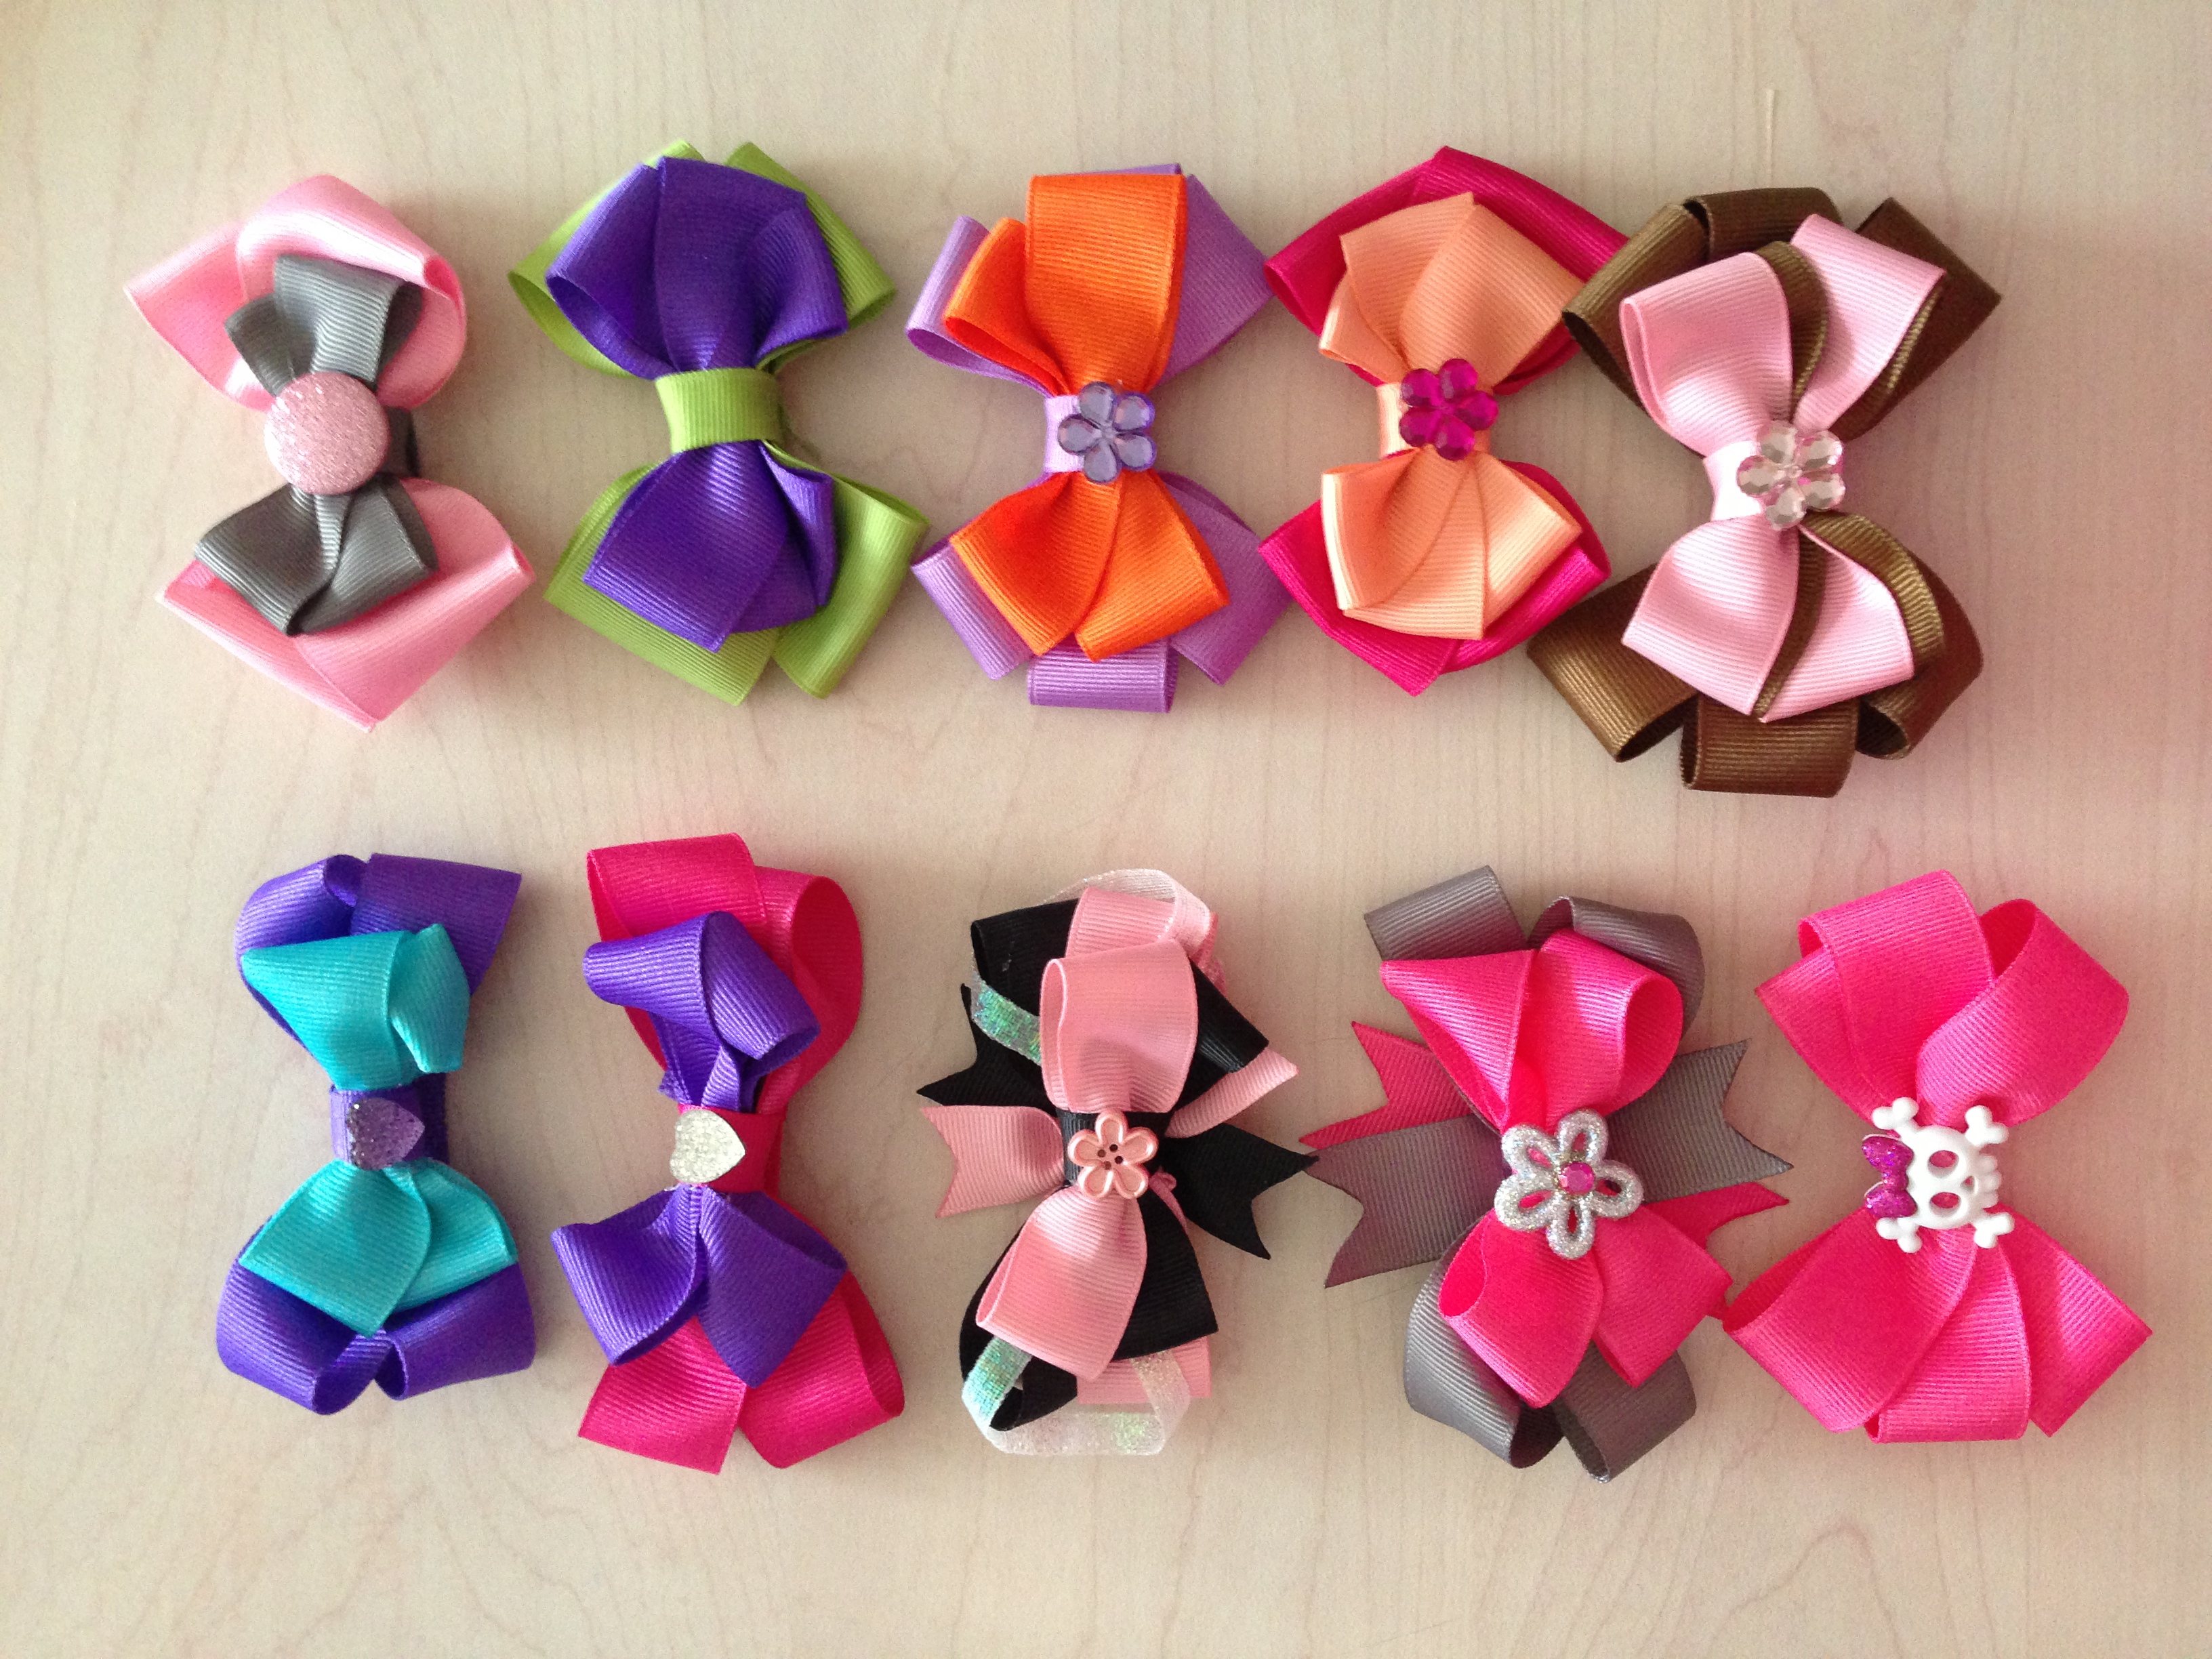
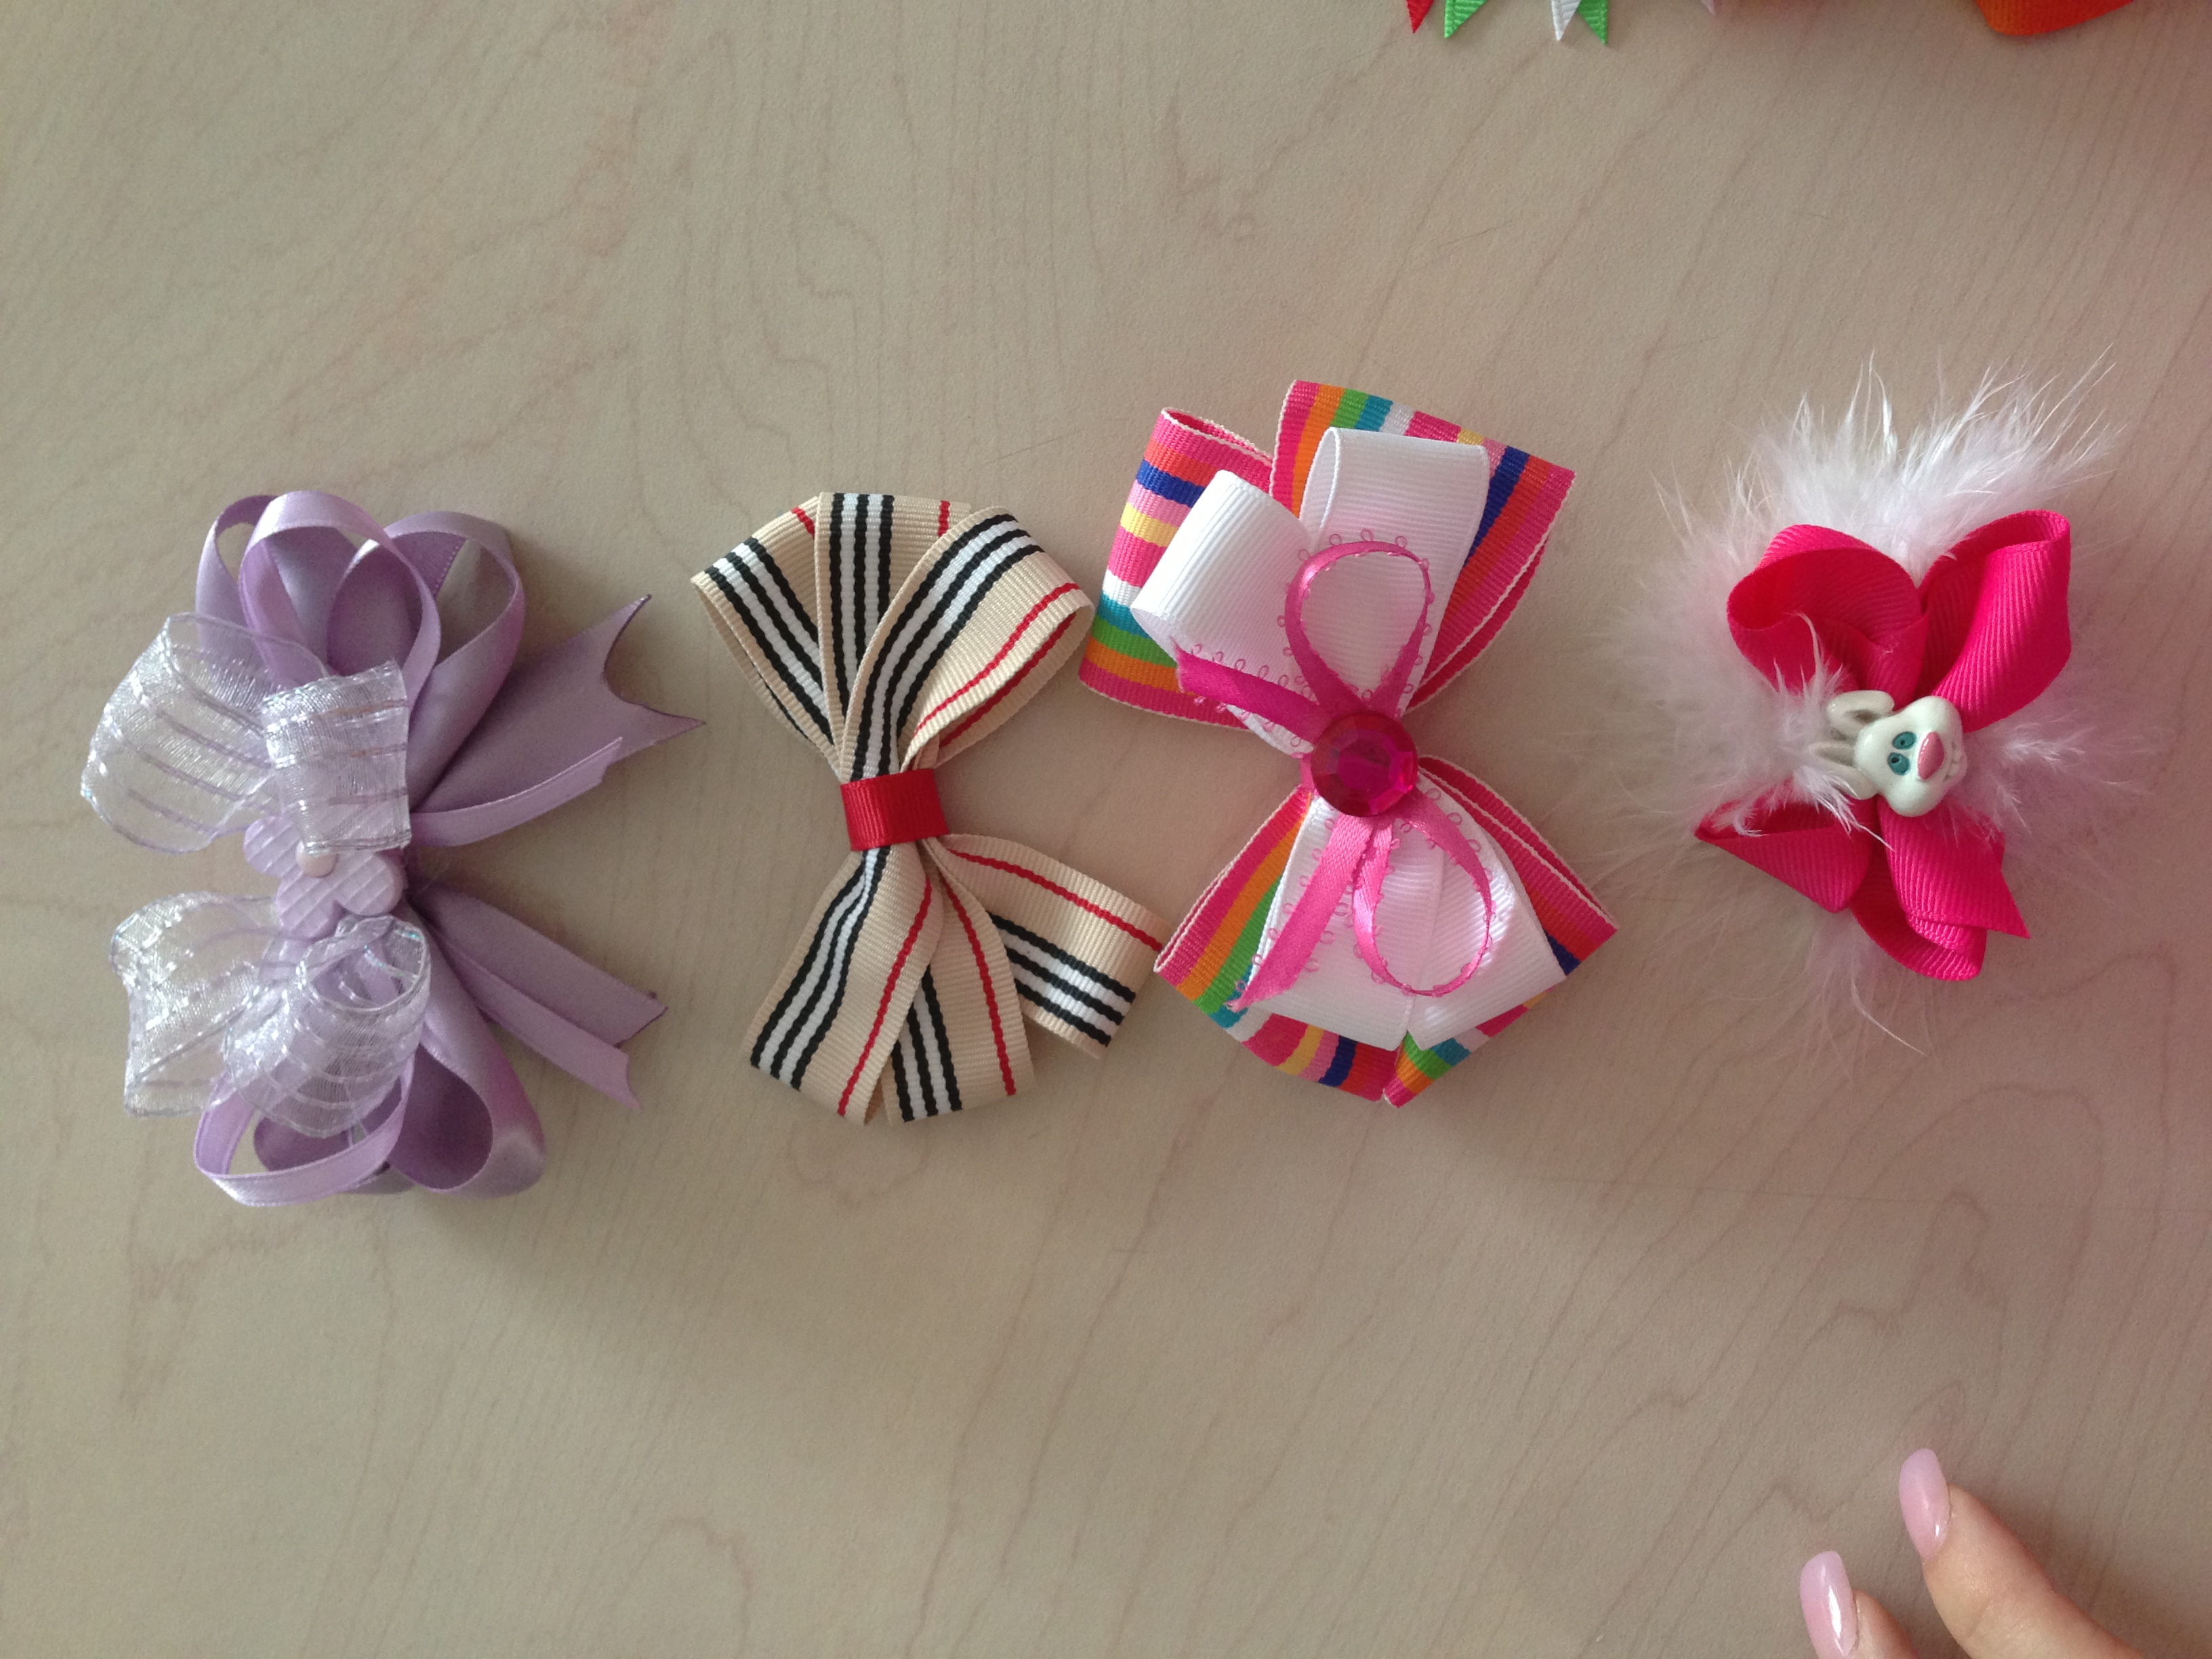
How to Make Hair Bows
Instructions
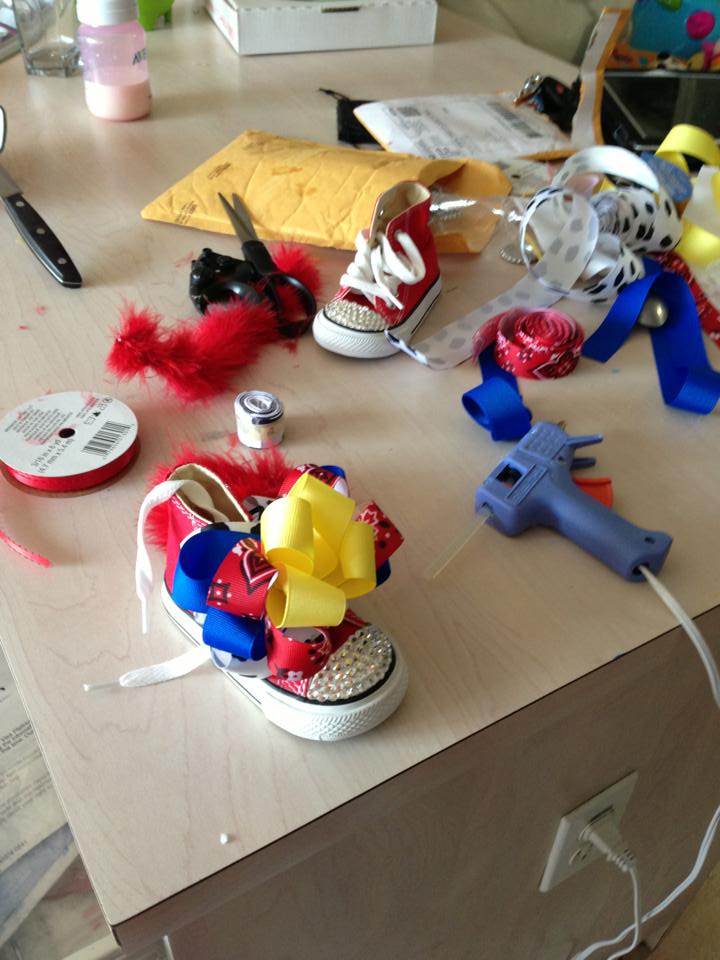
Items You Will Need to Make Hair Bows:
- Glue Gun
- Decorative Ribbons

- Elastic Hair Band
- Cloth Headband
- Barrettes
Step 1
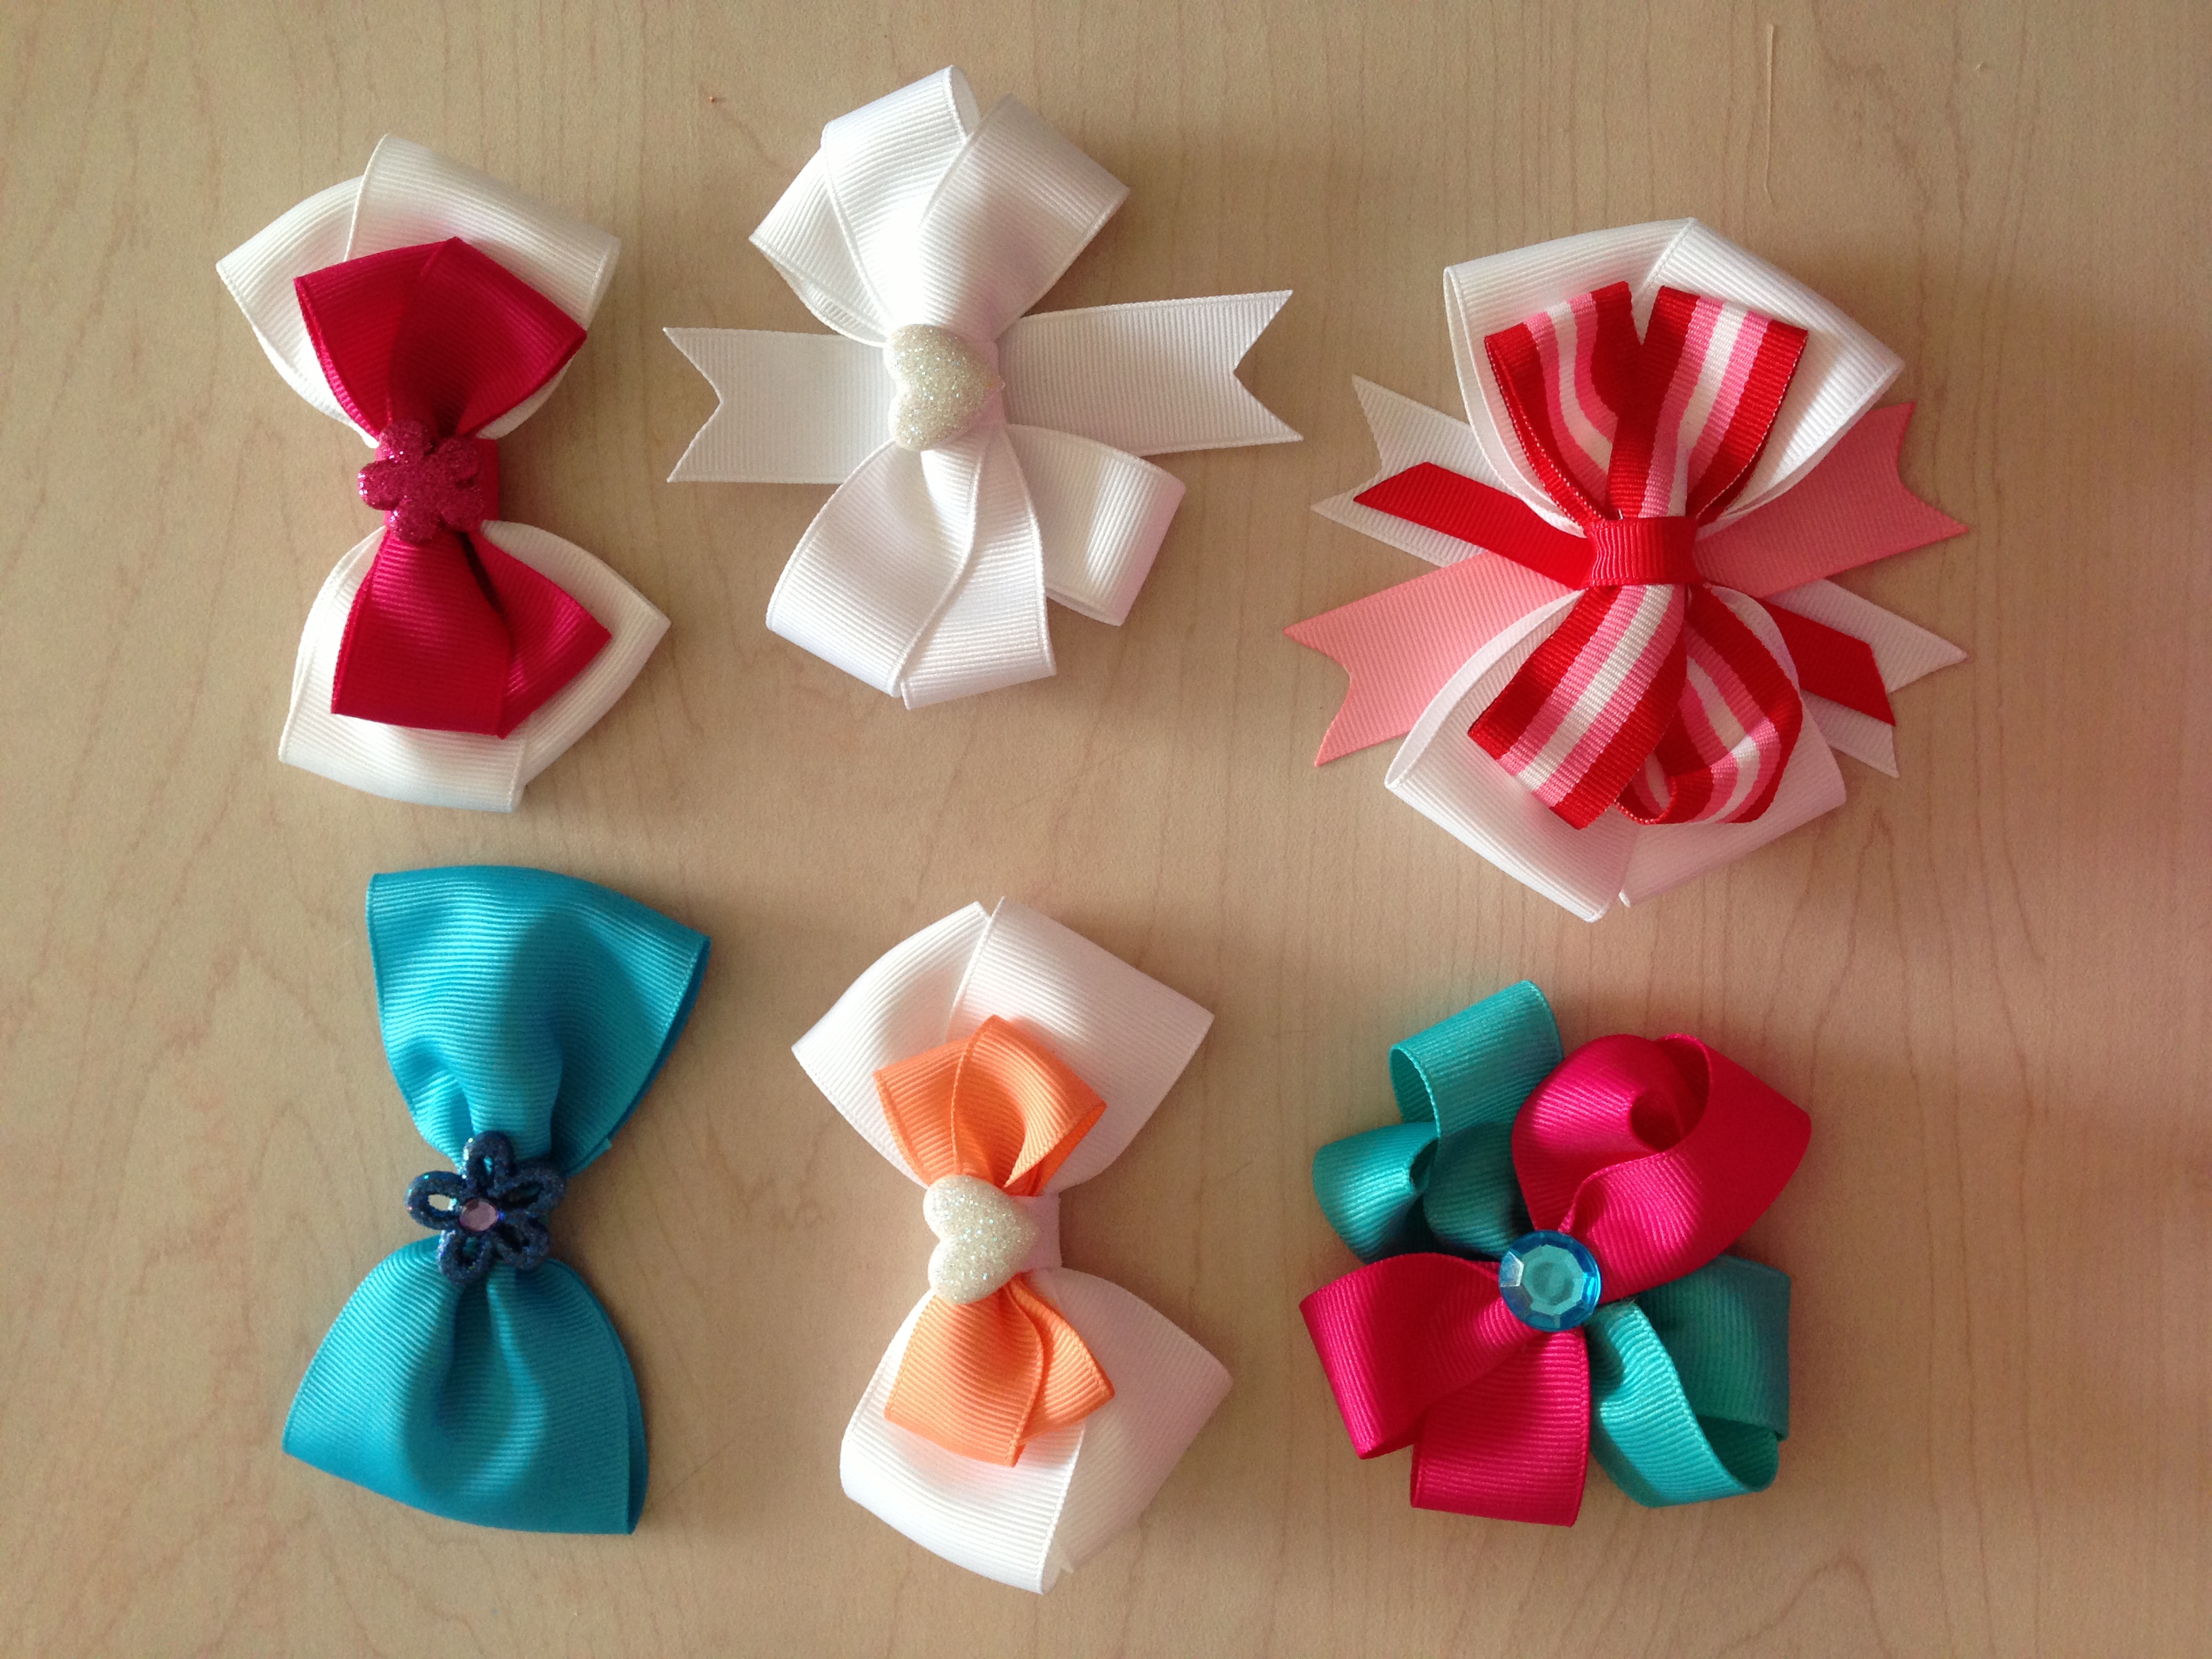
Tie a bow. If you don’t know how to tie a great bow, research how online. This is important for the presentation of your hair bow.
Step 2
Tie the bow by making two “bunny ear” loops. Hold one loop in each hand and cross them. Pull the loops through the hole and adjust the ends of the bow. Make the bow even on both sides and also make the two tails equal in length. This is about as perfect a bow as can be made.
Step 3
To form a bow for a head band, you’ll need to be able to make a knot as well. Place the ribbon down the hair, wrap the ends on top of the head. Make a knot and tie a bow just like the step above this one. Remember to adjust the ends of the bow and the tails. Make a larger bow to slide onto the plastic headband and position it towards the side of the head. This adds a little pizzazz to your presentation.
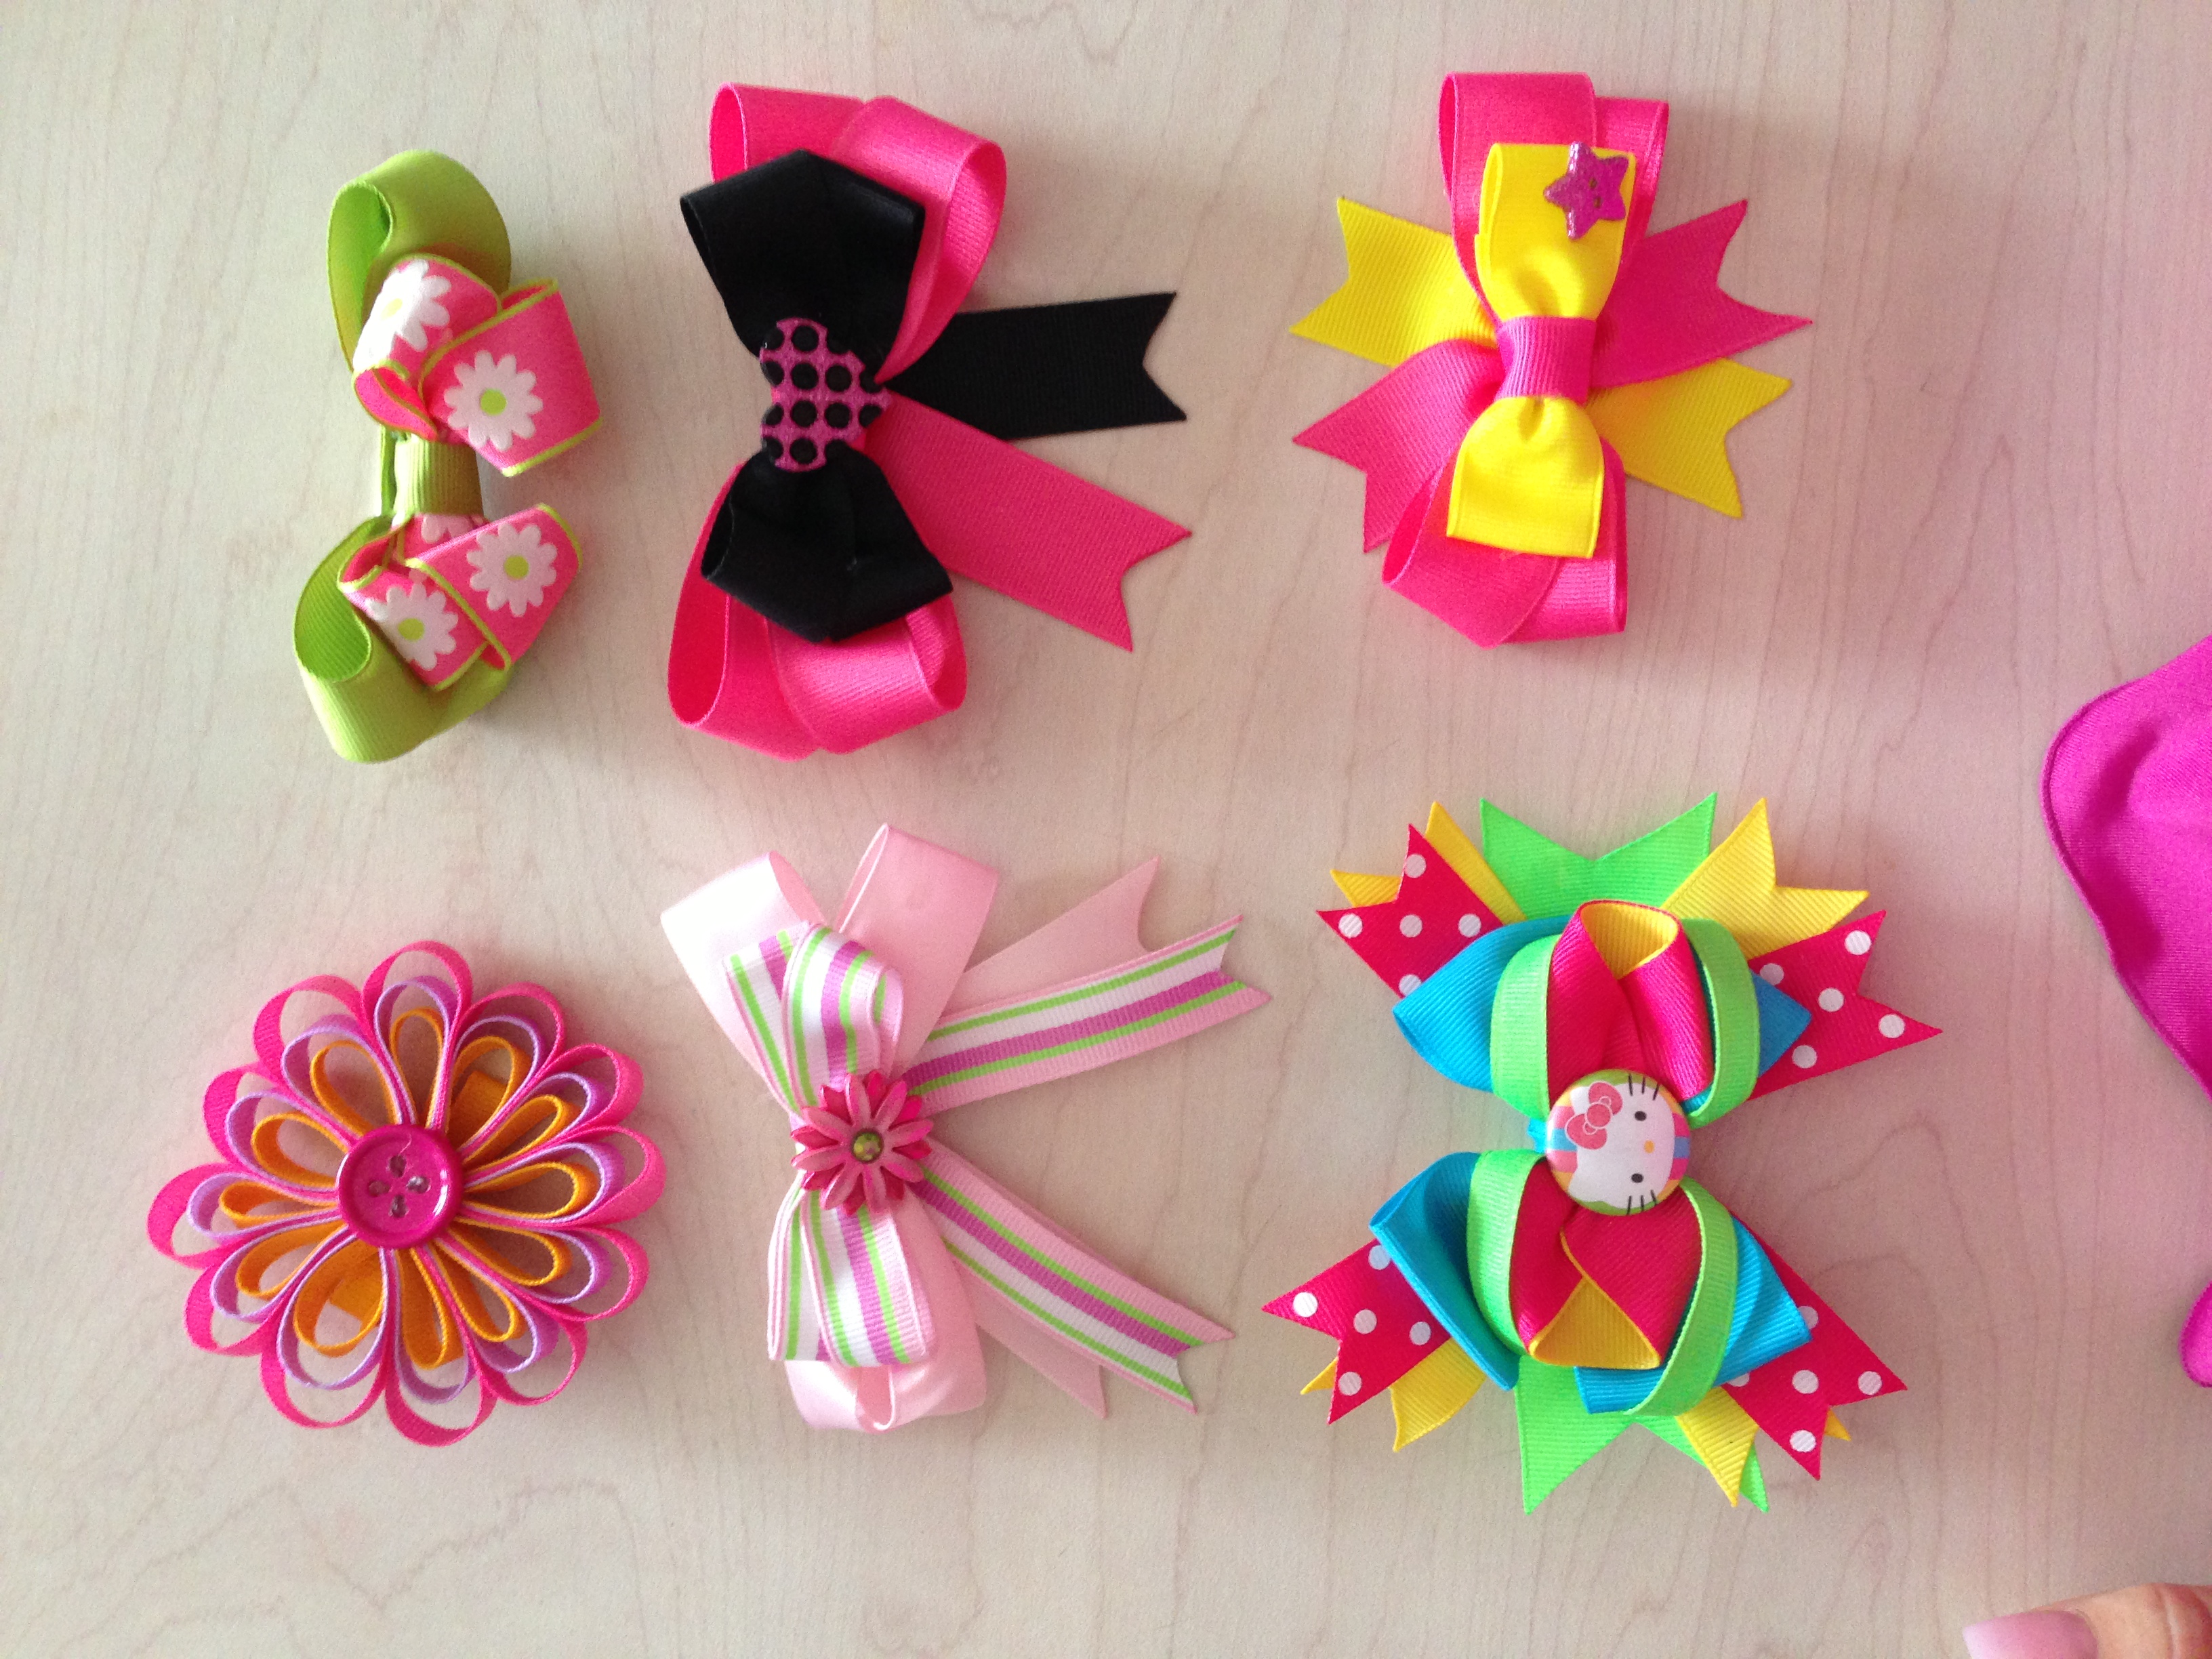
Step 4
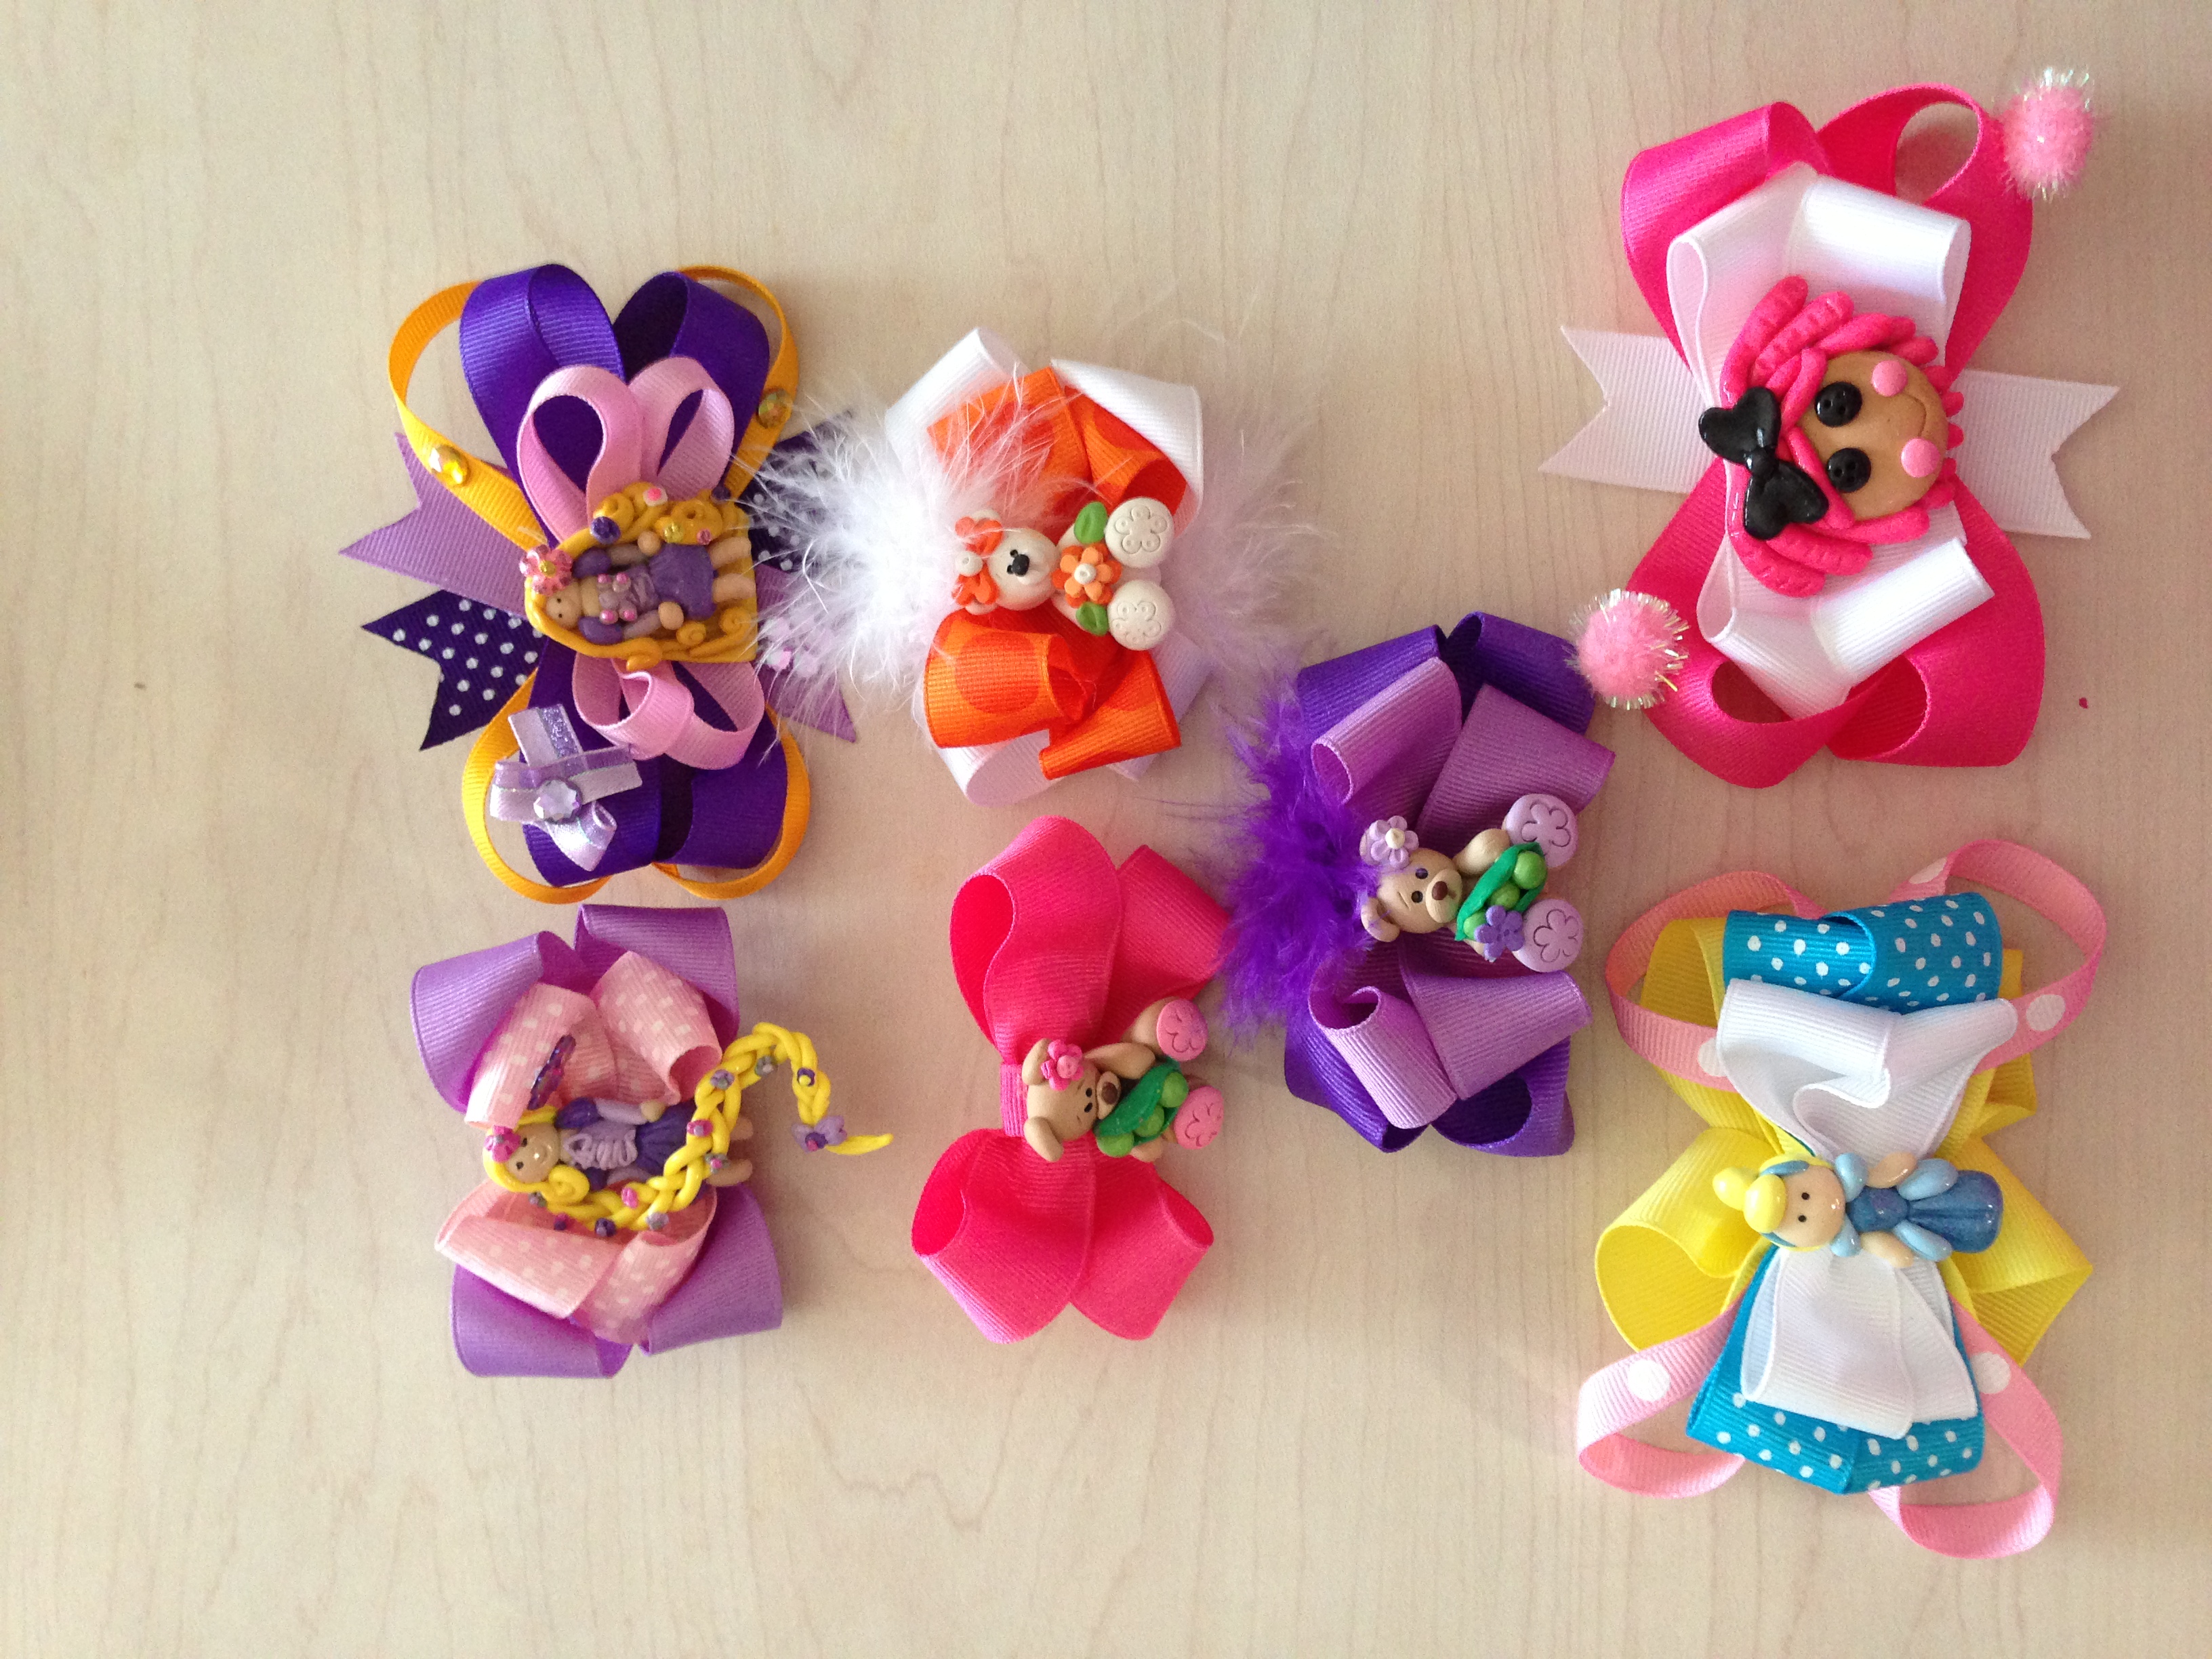
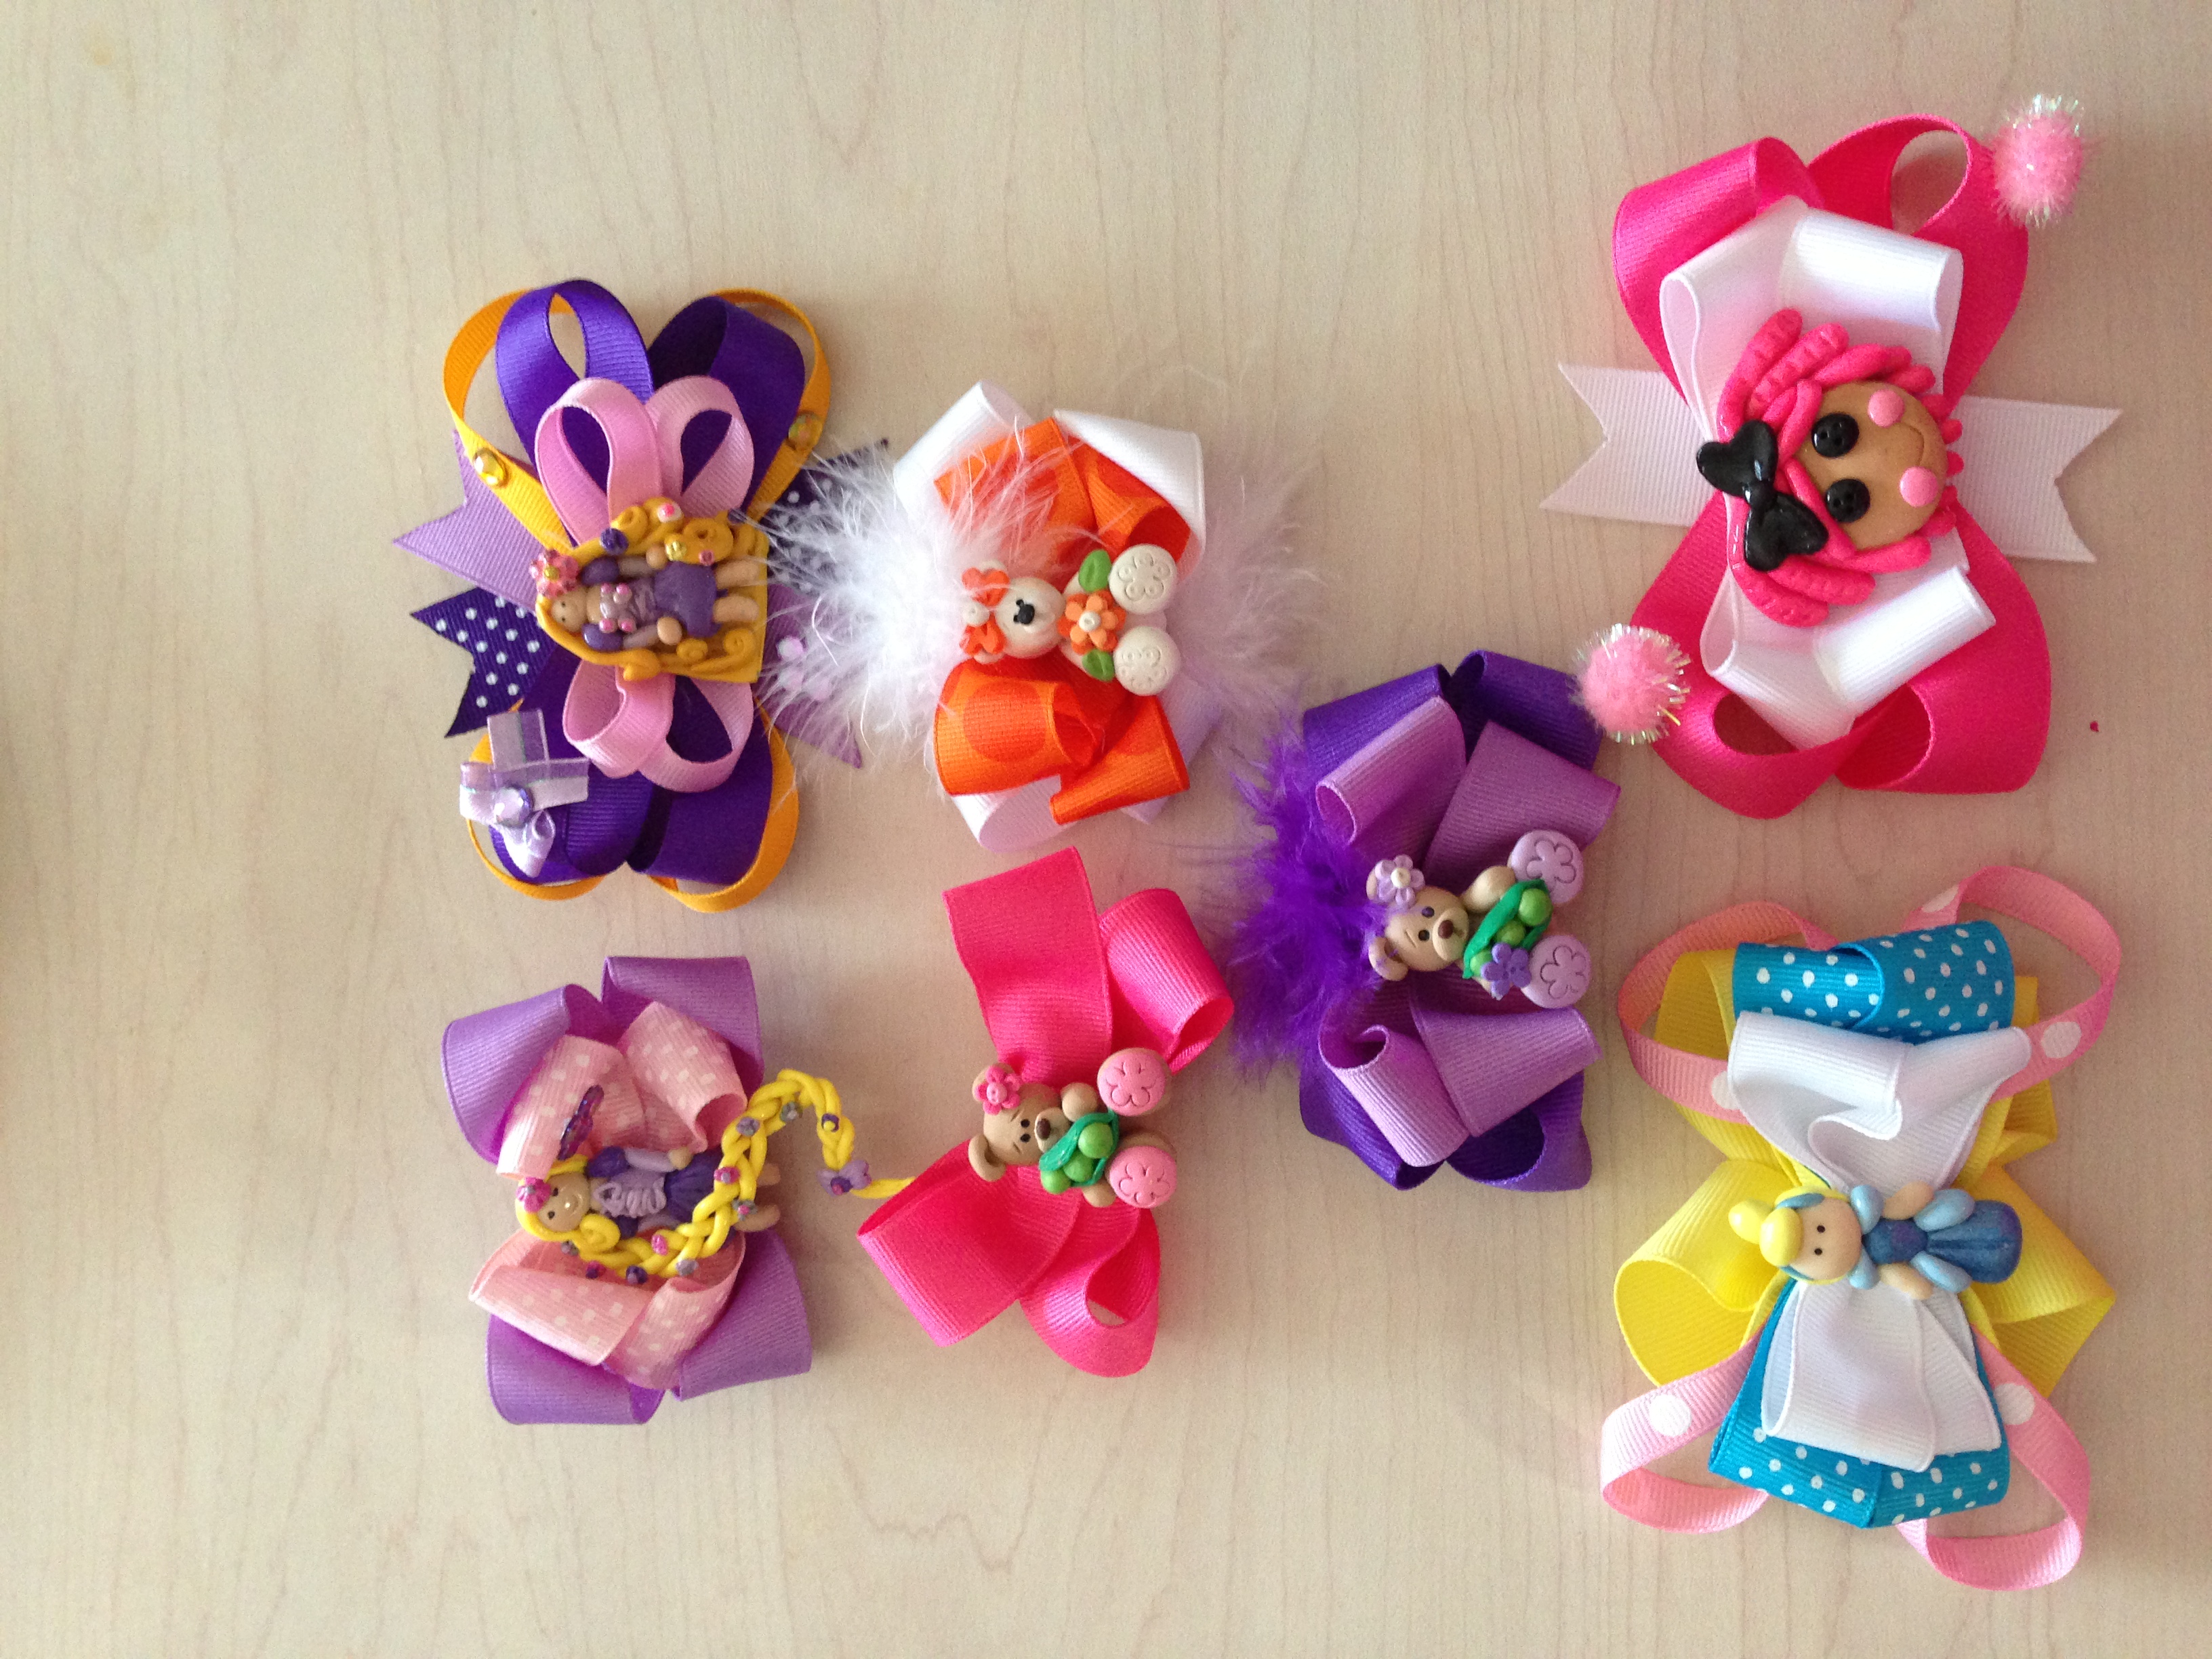
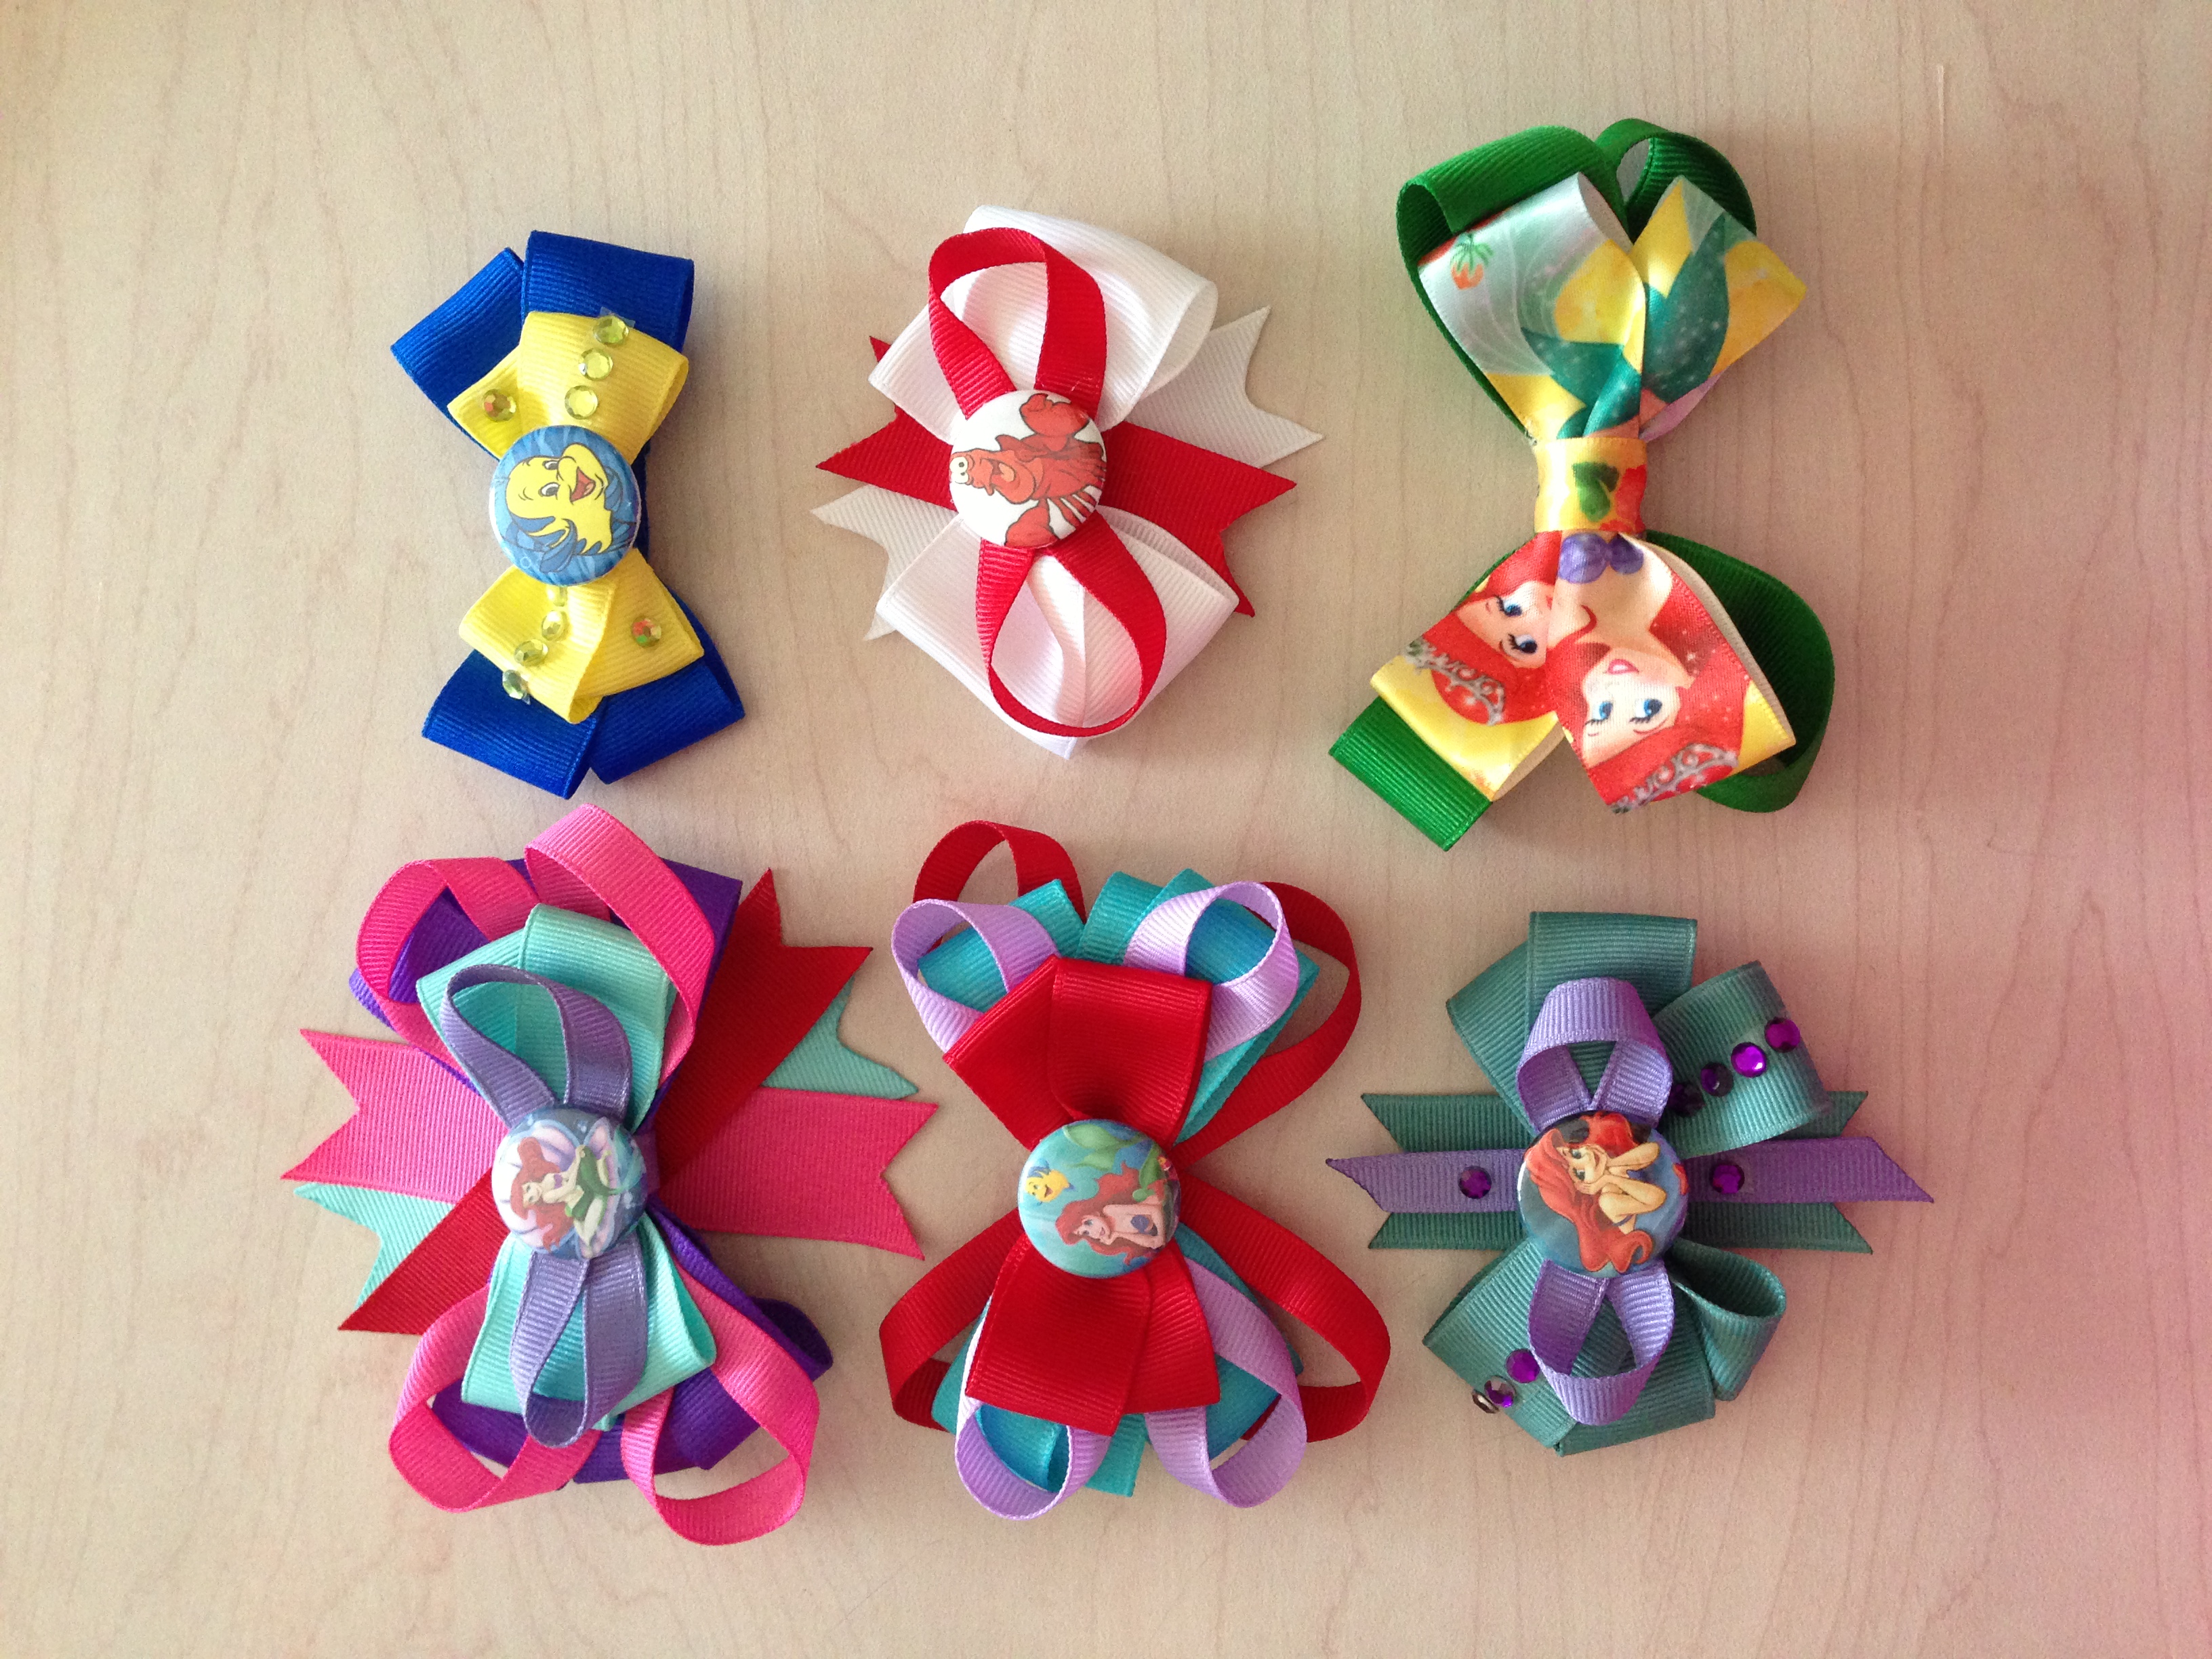
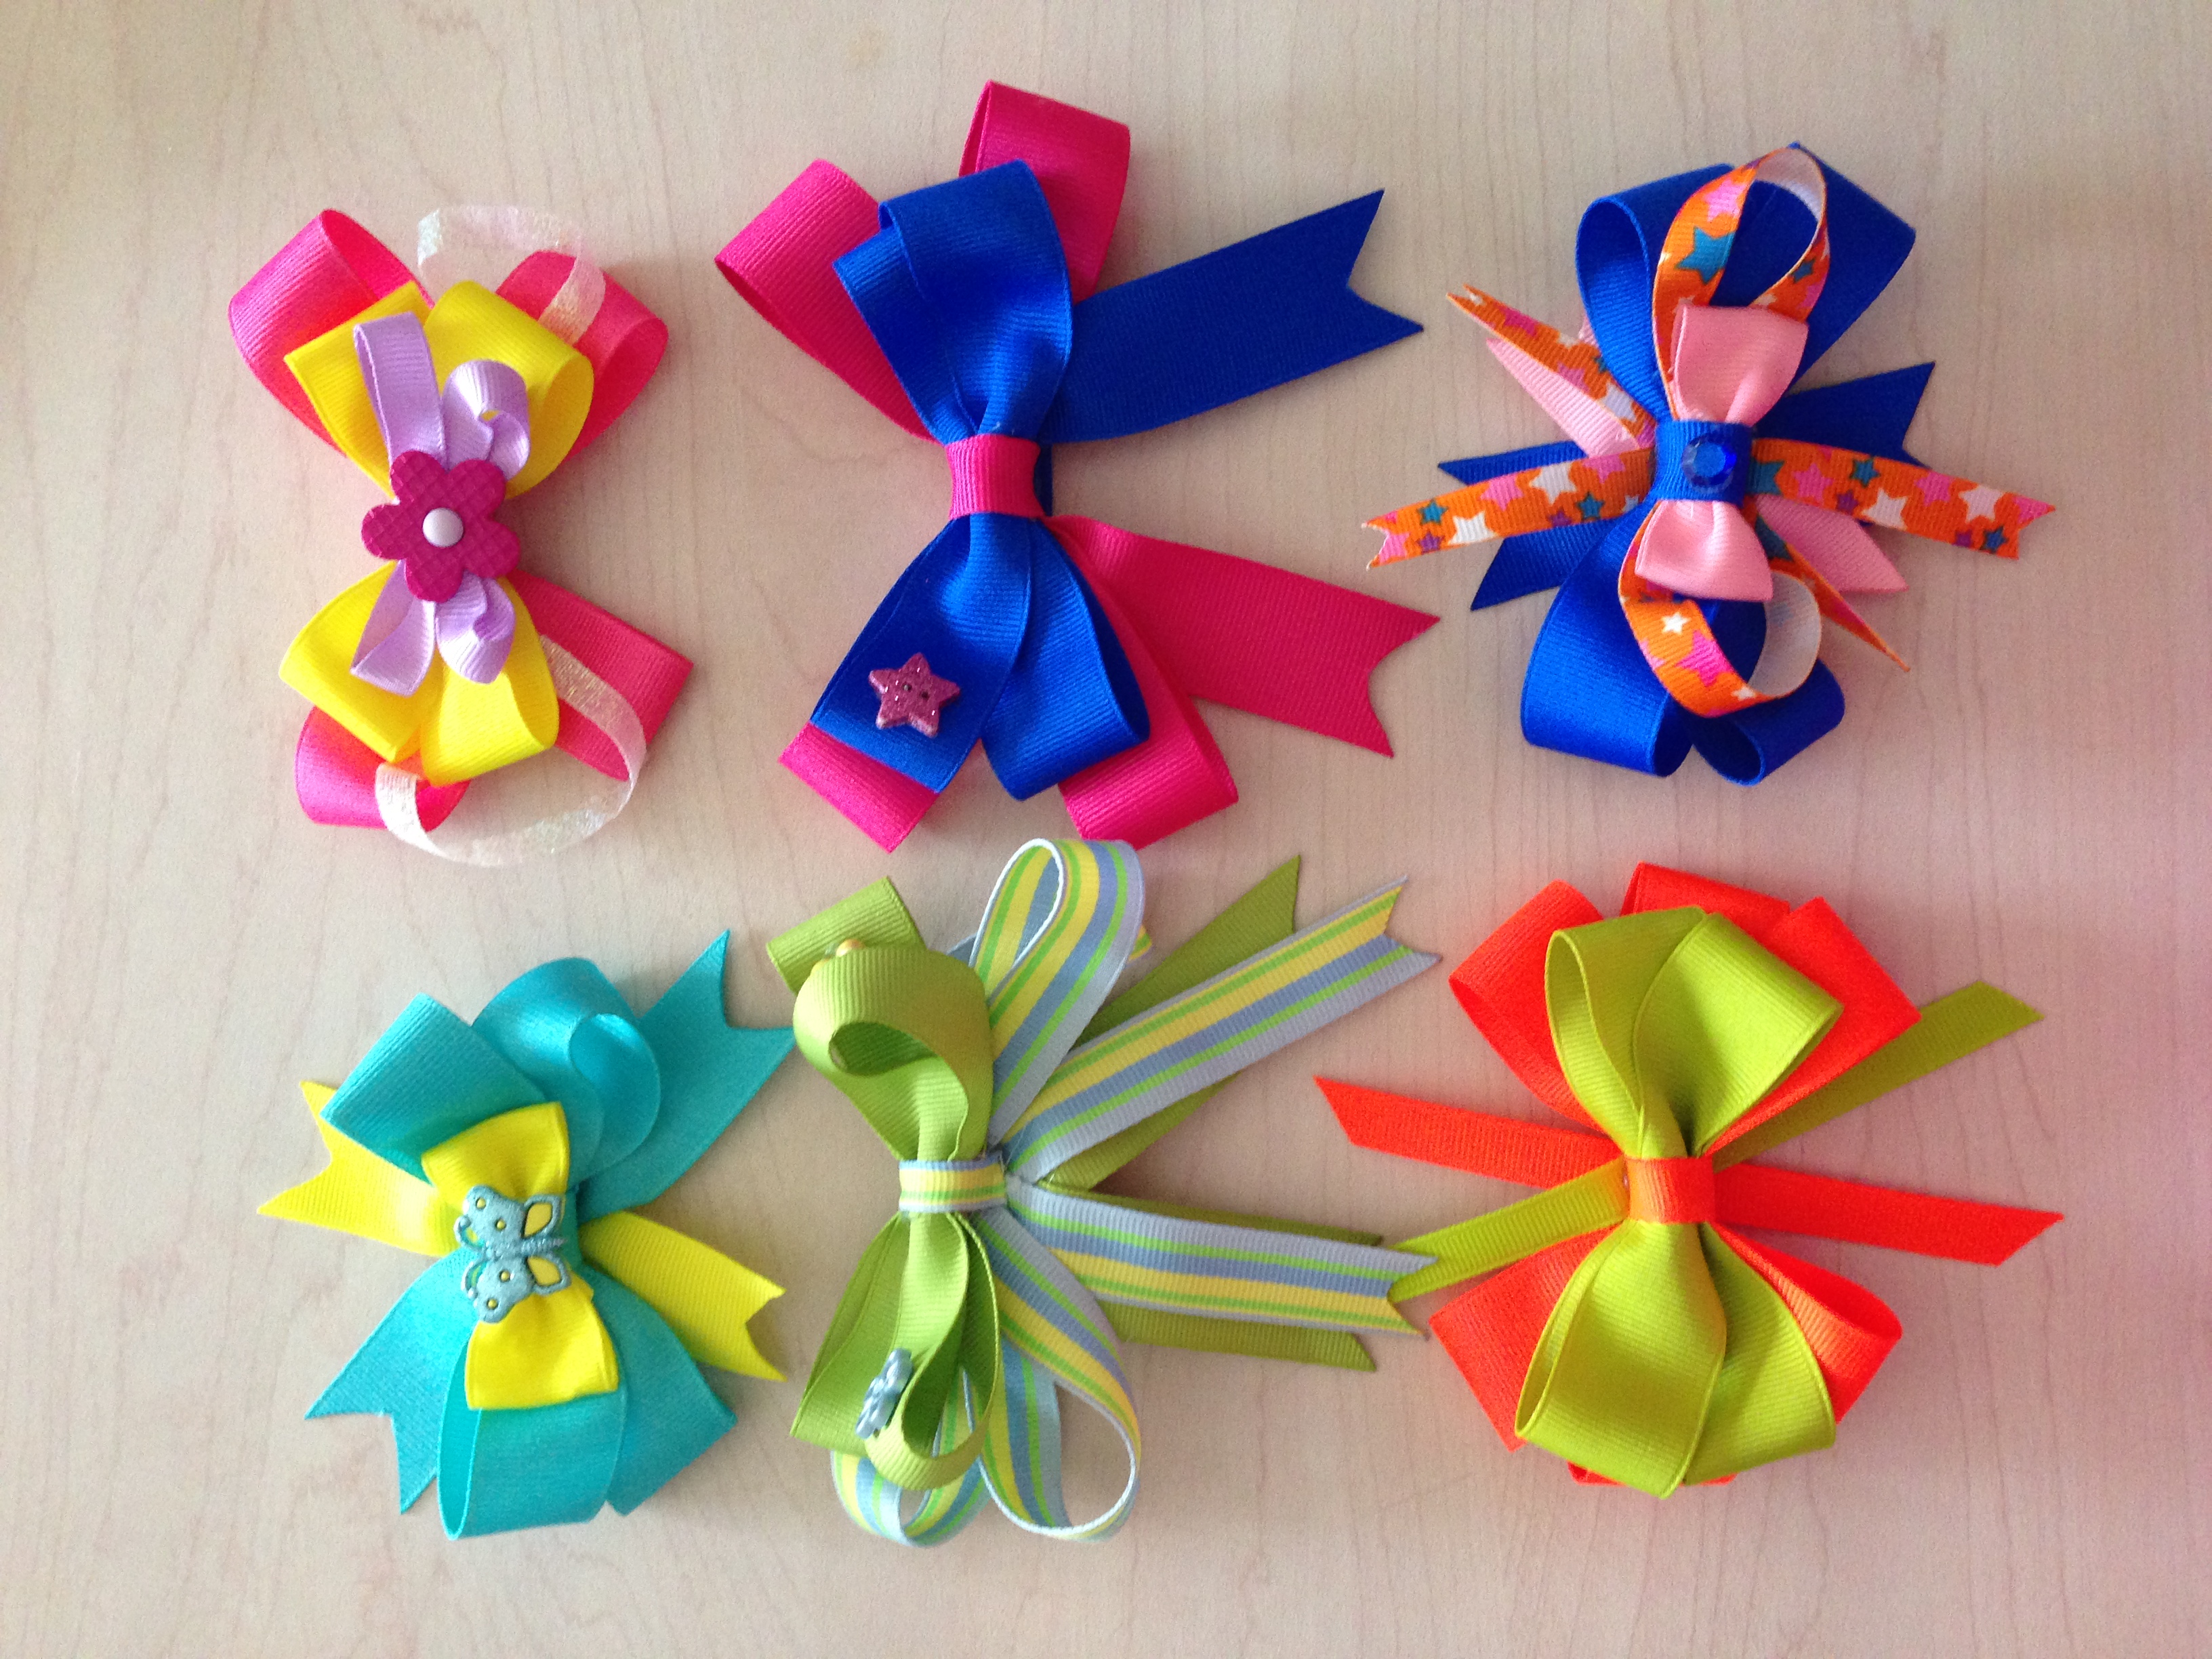
Make accessories that will last a while. You are free to use your favorite colors, ribbons and more. Tie another knot and place a bow right on top. When the bow is the size you need, use a clip to position your new creation off to the side of the hair.
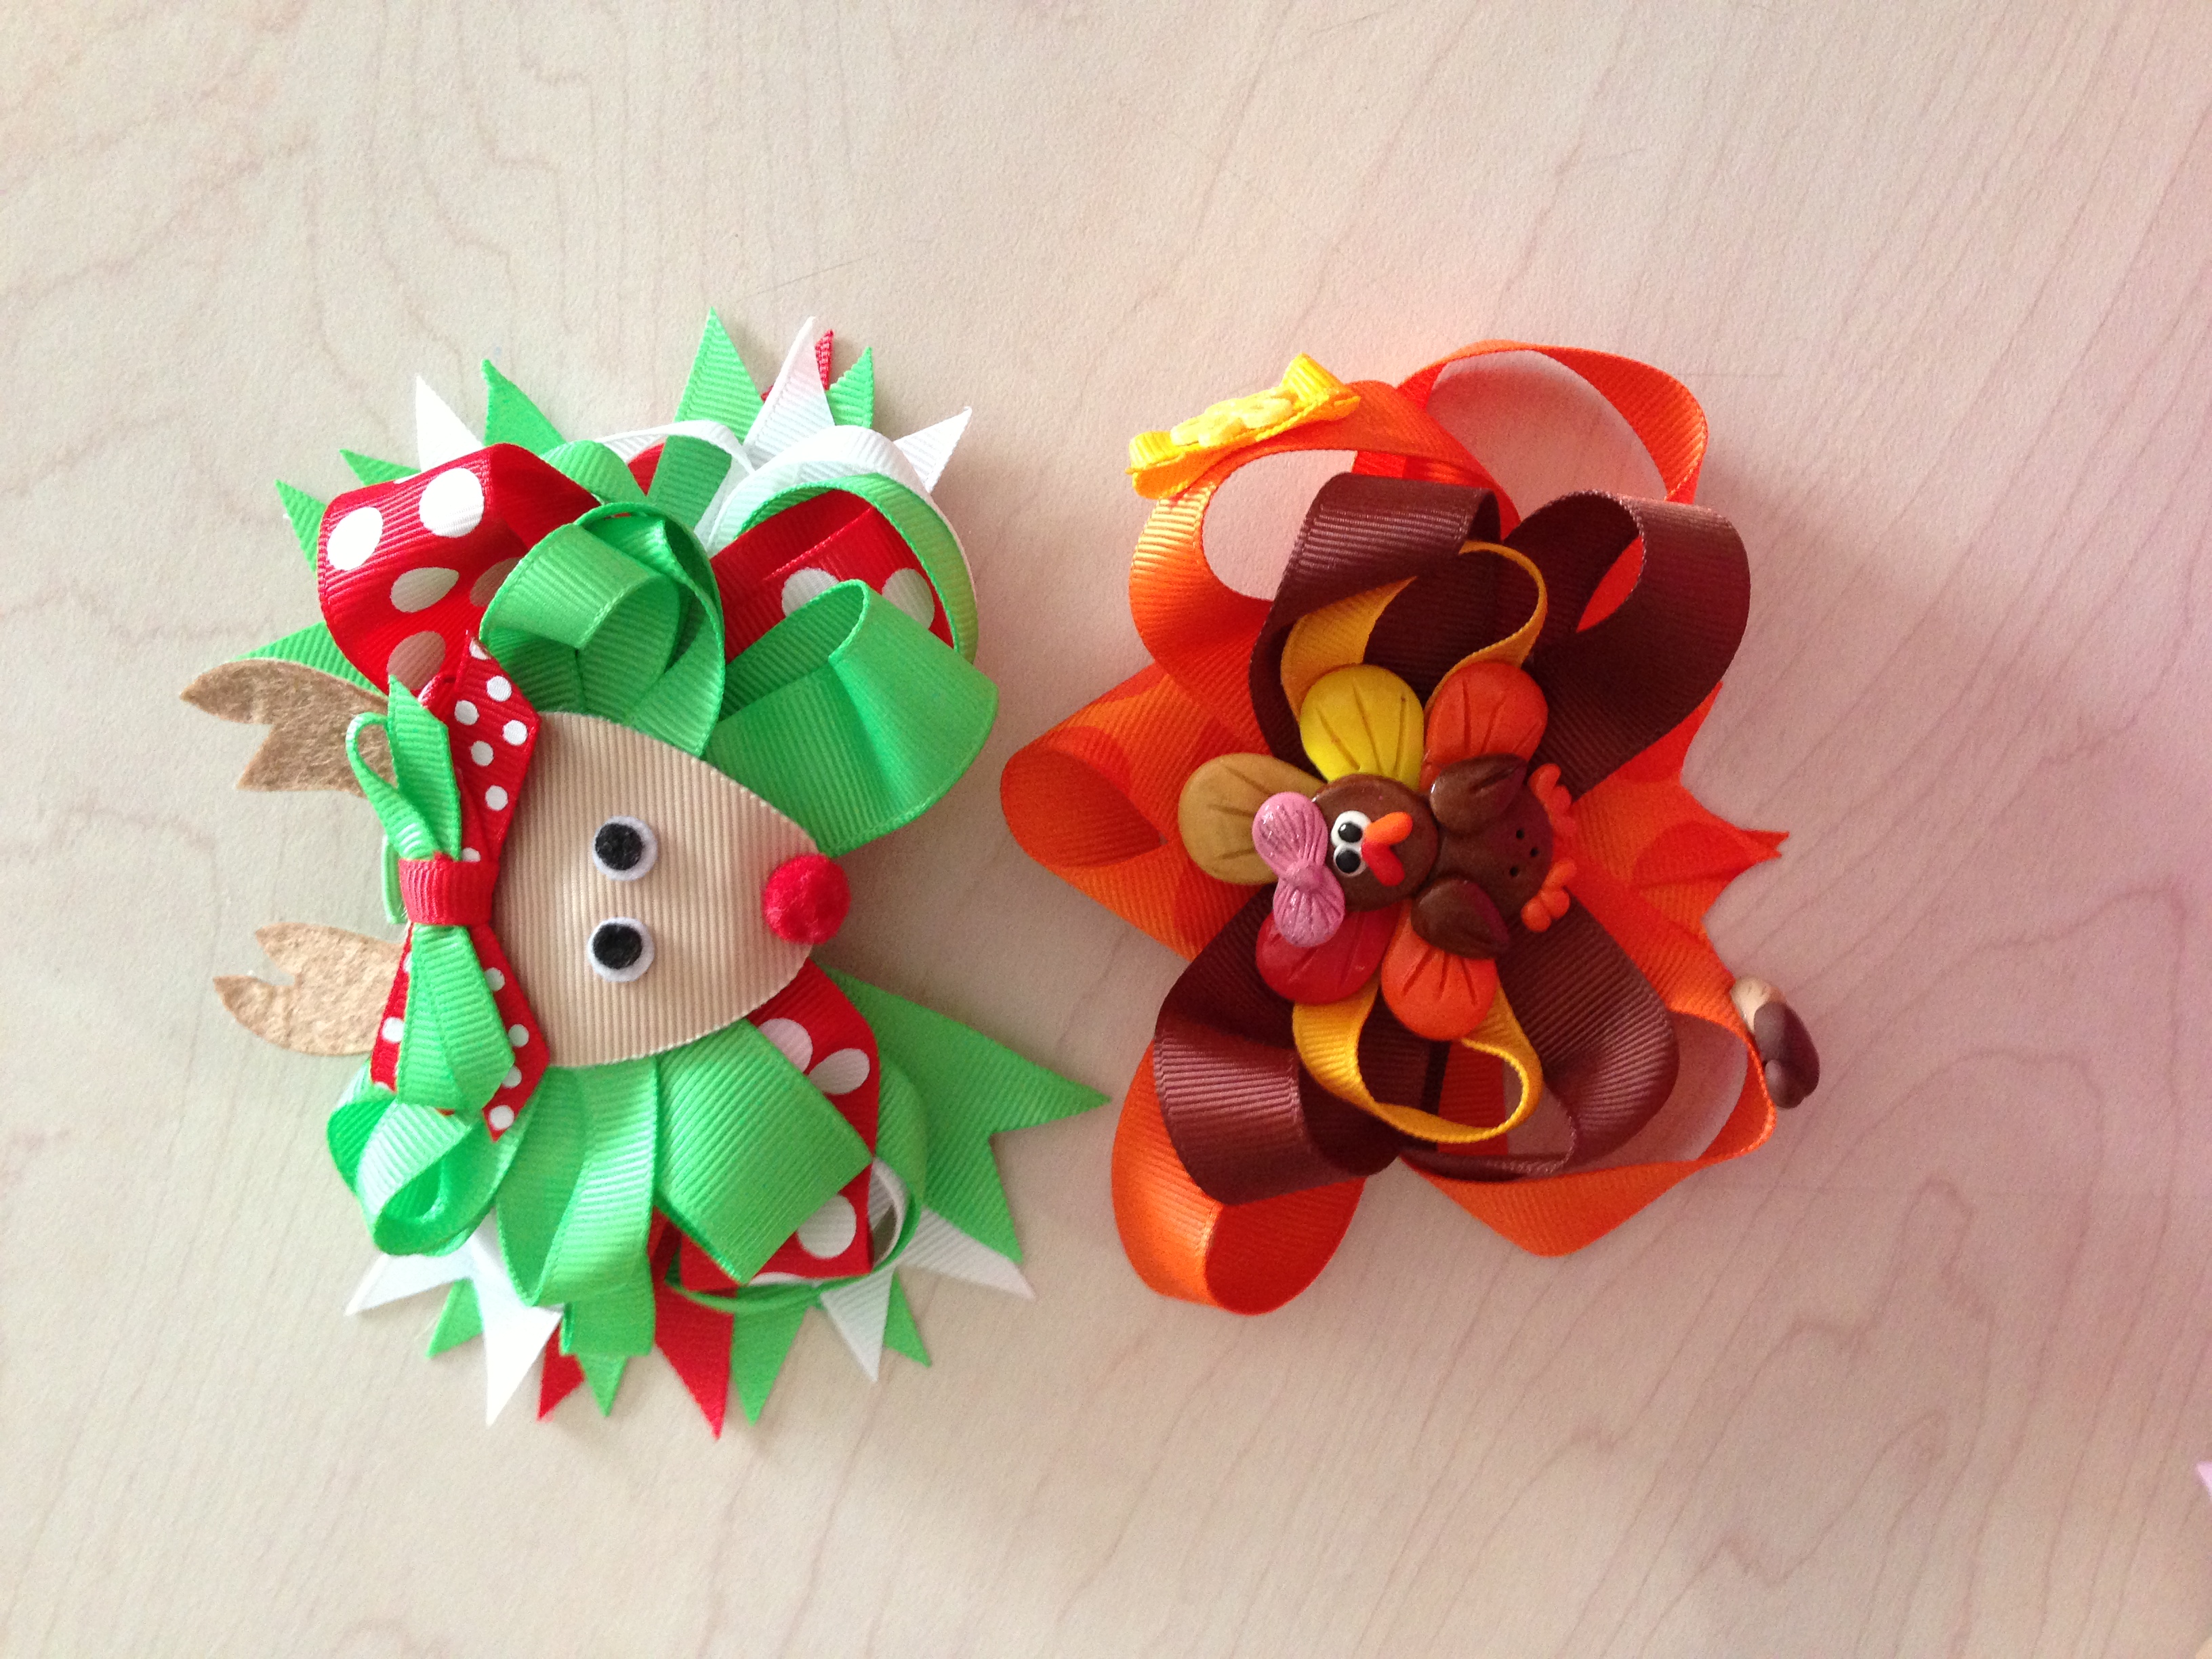
Step 5
Use the glue gun to secure all the decorative pieces in their proper places. Allow the hot glue to dry completely before wearing. You don’t want the decorative pieces to fall over when you decide to wear your new hair piece outside. Wear your custom creations out with elegance and style.
Step 6
Enjoy your new custom made hair bows.
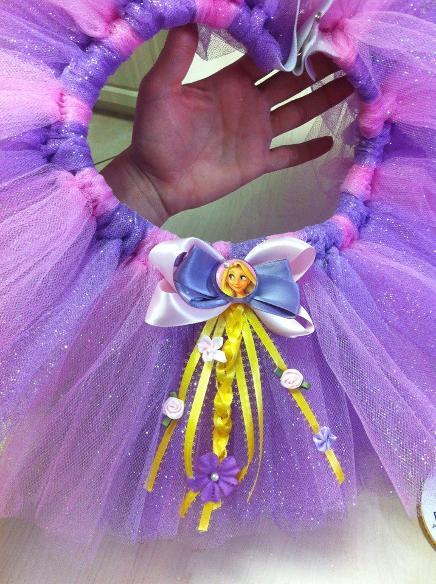
La Trenza de rapunzel , Miren q linda queda y facil de hacer ! Yo se la hice para Halloween 2012 !

1. Hilo de tejer ( lo pueden encontrar en Walmart )
2. Flores de tu preferencia.
3. Pistola de silicona.
4. Hacer una trenza bien larga y pegarles todas las flores.
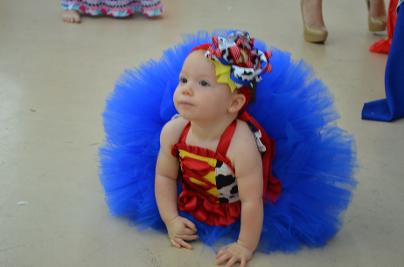
Como hacer un Tutu :
Tul del color que quieras
cinta elástica
Esta falda no va cosida. Ata la cinta elástica.
Corta el tul a trozos, doble de largo que el largo de la falda.
Ata el tul a la cinta con un nudo de corbata

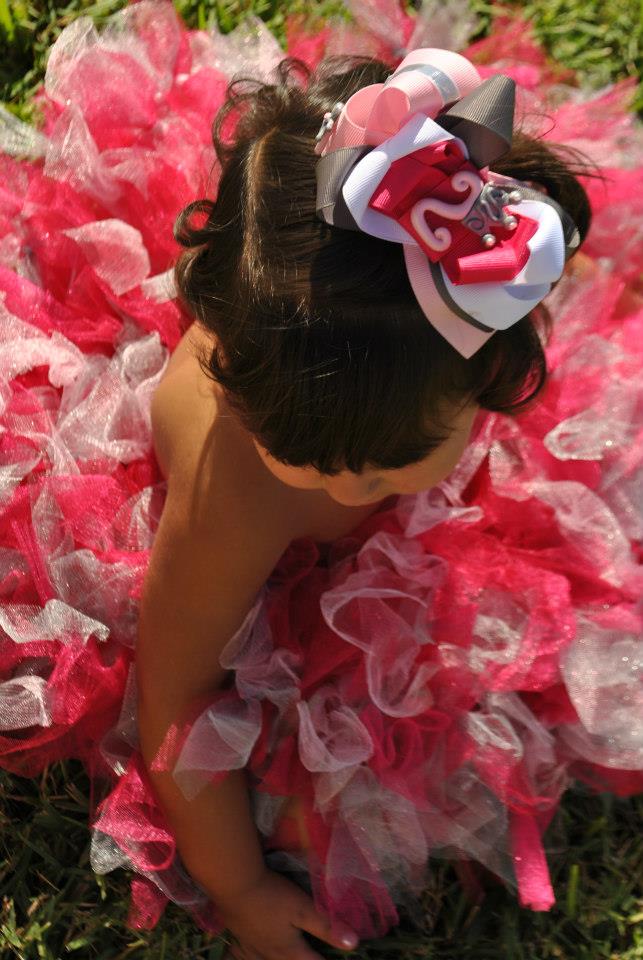
Terminados : El tutu y el lazo se lo hice a la nina de una amiga.
Nuestro Web site ?Este web : esta inspirada en todas las manualidades que pueden crear en casa con pocos productos sin necesidad de gastar tanto. Solo tenemos que hechar a volar nuestra imaginacion. Miami F.L |